Oh no, you dropped the blue thing! That ring magnet is so easy to break. Or maybe blue things just don’t bring you joy, so you discarded it. Whatever, who am I to judge? But now, my friend, your cuts are getting weaker and your lens probably needs cleaning. What to do? Is your beautiful machine naught but a paperweight for lack of a blue thing?
Well, let’s fix the problem…
- Order a new blue thing. Oh wait, that’s a bit expensive and slow.
- Source a replacement ring magnet. Talk about expensive! And in terms of fragility, back to square one.
- Take the cover off your print head, remove the mirror, and push the lens out from above with a q-tip. Effective, but boring, and be careful with the exit drop and the fiddly re-insertion!
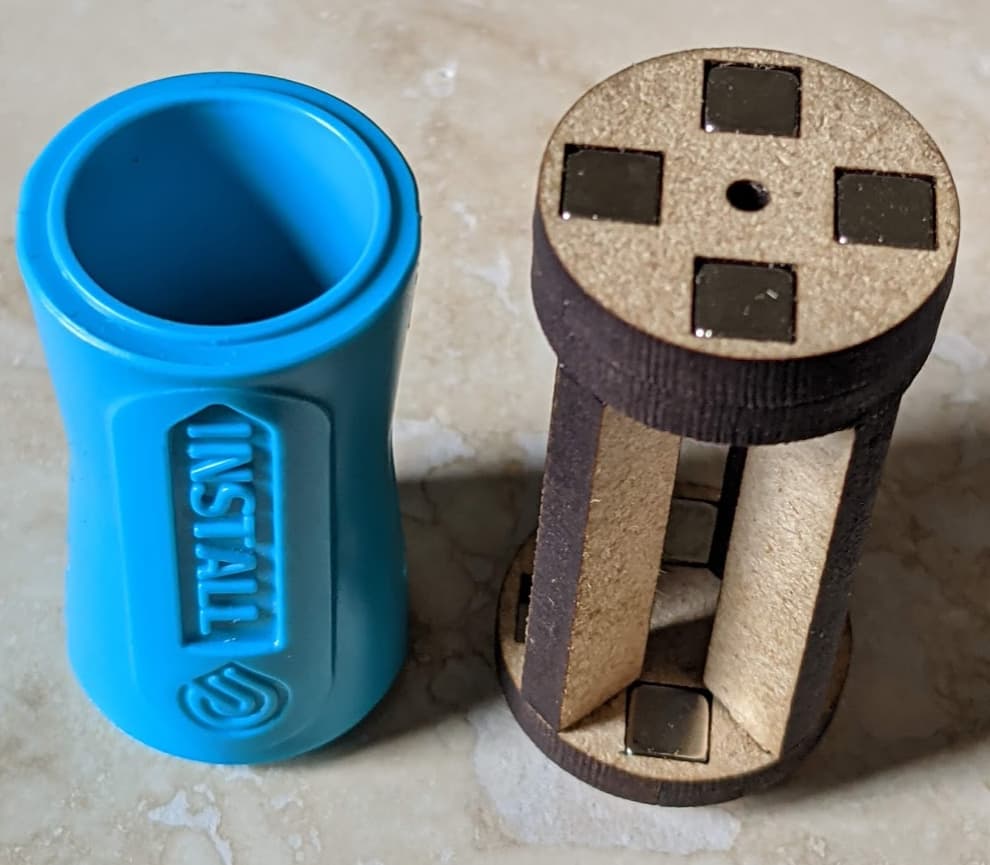
- Use your laser to make a replacement! Now we’re talking. And while we’re at it, let’s make it better than the original.
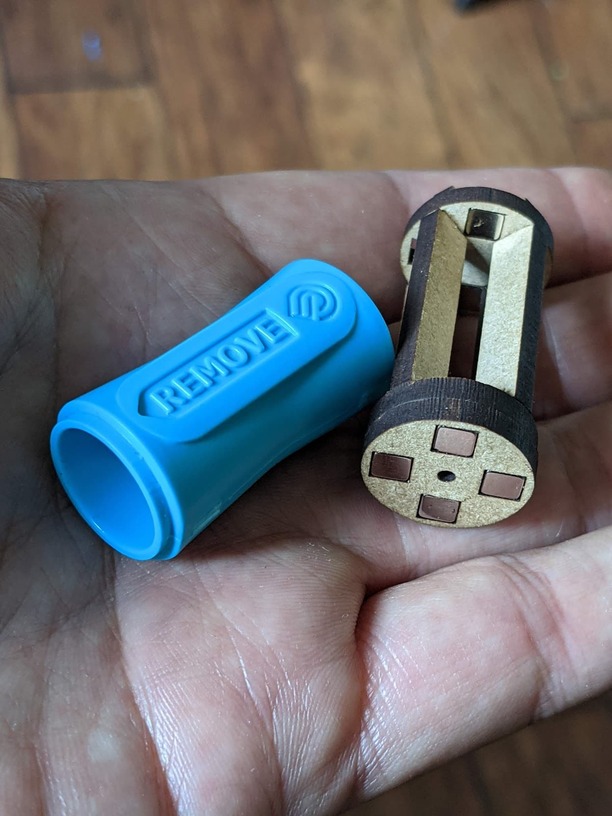
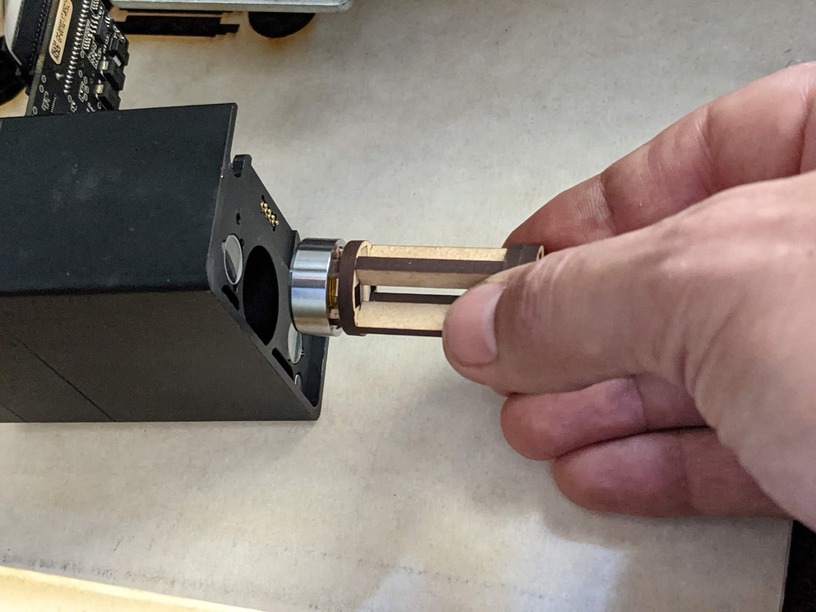
Not only will this replacement not-blue thing effectively remove the lens just like the original, it also uses magnets to hold the lens in place during re-insertion. No more awkward balancing acts! Feast your eyes on this casual horizontal approach:
There’s a small catch. (Isn’t there always?) You’ll need some little neodymium magnets. This design is for 4.75mm (3/16in) cubes. Fortunately they are easy to source online (like here, or at another magnet source you find attractive), often quite cheap in “toy” form, which is how I got mine. For far less than the price of an actual replacement tool, you can purchase gobs of these little magnets for use in this and future projects.
Here’s the (1/8" or medium thickness) design, with a .006" kerf, suitable for medium draftboard. Included on a hidden layer is the un-kerfed original so you can adjust kerfing and magnet holes to your liking.

Assembly Instructions (click to expand)
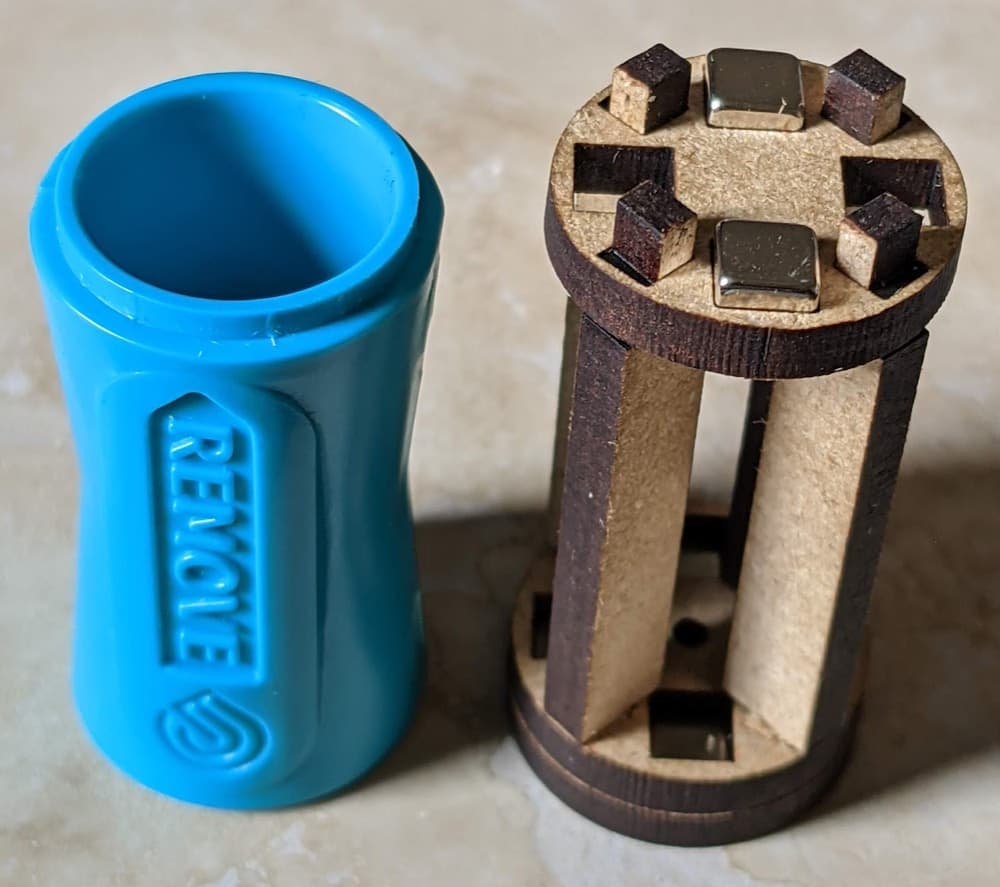
- Press two magnets into two opposite holes of part B, both in the same (north or south) orientation. The magnets should be flush on one face and proud on the other.
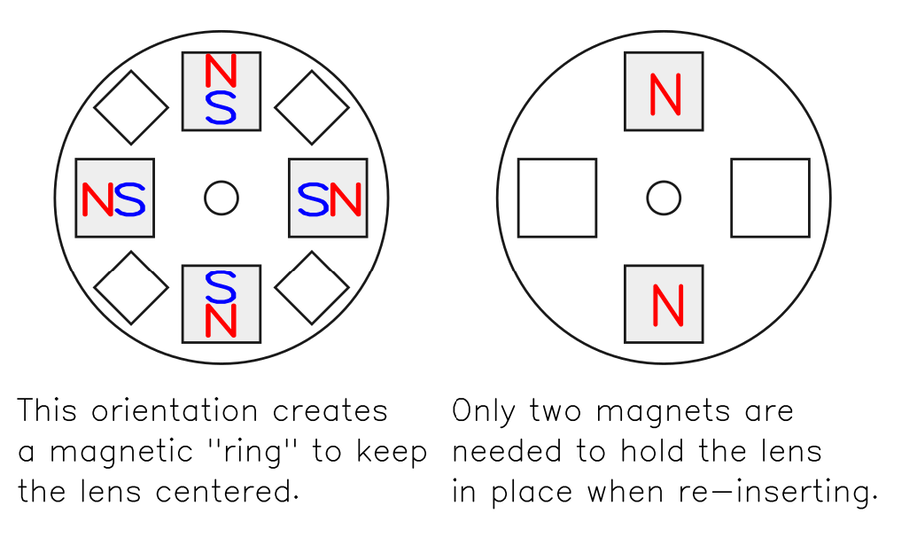
- Press four magnets into the holes of part D in a radial orientation (either north or south, facing away from the center). The magnets should be flush on one face and proud on the other. Pay attention, the radial arrangement is important! Otherwise the lens will snap to one side or the other and won’t want to come out of the head.
- Press parts C (no magnets) and part D together so that the magnets protruding from part D hold them together (friction fit).
- Insert the long end of each part A “leg” into part B so that the notches face outward. The thinner tips will pass completely through part B, forming a “ring” of the proper size to hold the lens centered in “cup is up” position.
- Press the C/D assembly onto the other end of the part A support legs, flush magnets facing outward.
And drop away, this little not-blue thing won’t break. Enjoy!

