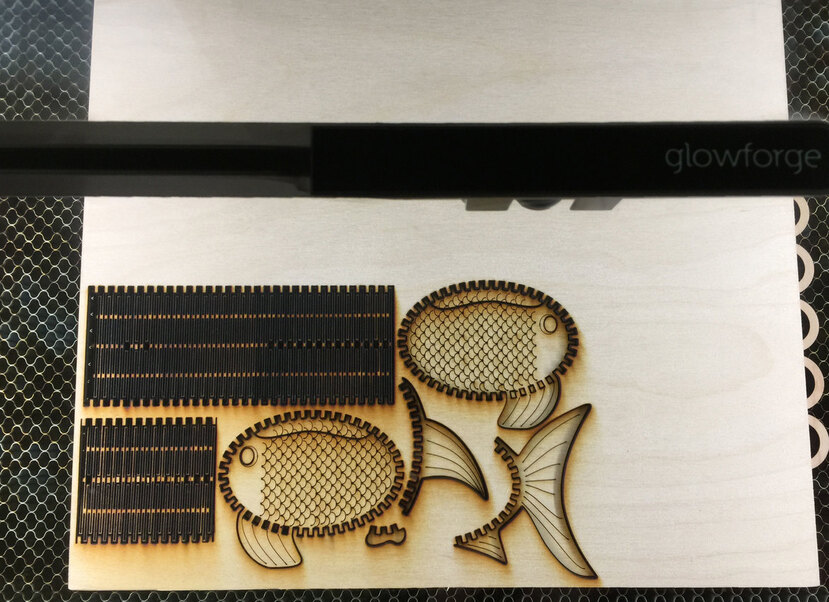
I needed a quick display item for the week and since we had a request waiting I decided to go ahead and just knock one out real quick - it took about half an hour.
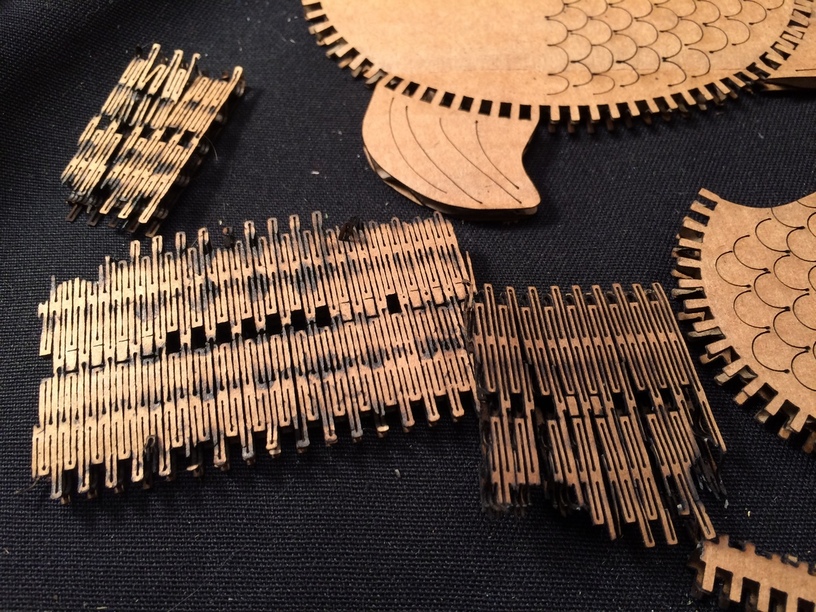
(Note: I deliberately did not adjust the settings and didn’t mask because I wanted to also test for a couple of other things. The result comes out much darker than what you will likely see when you cut it, especially if you cut it out of Proofgrade.)
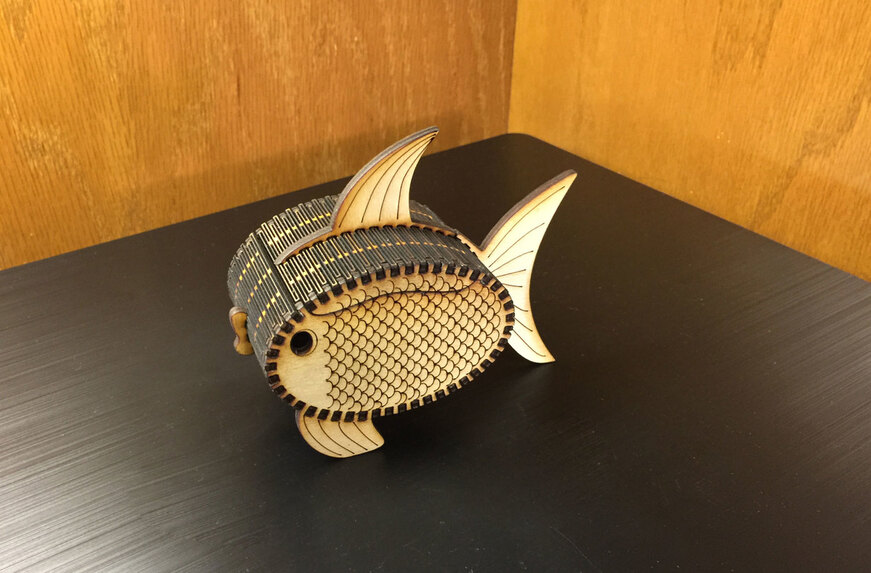
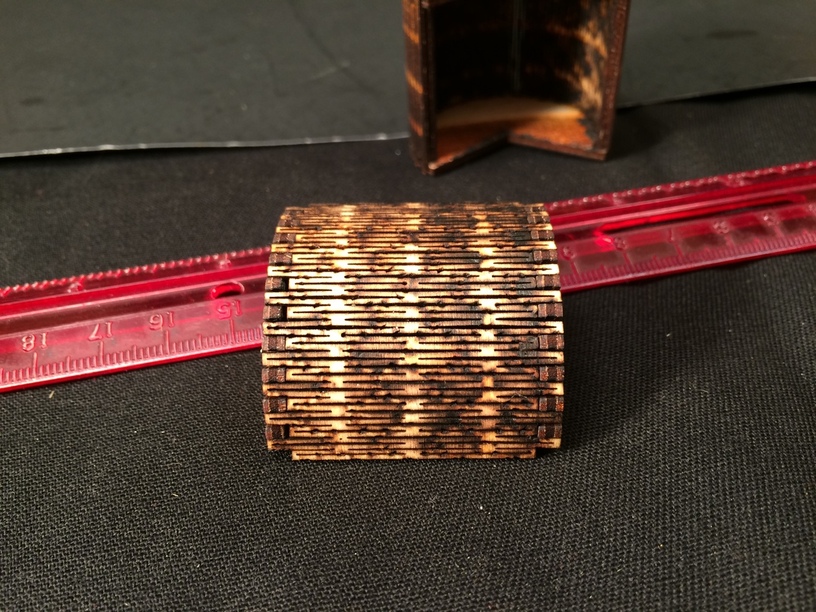
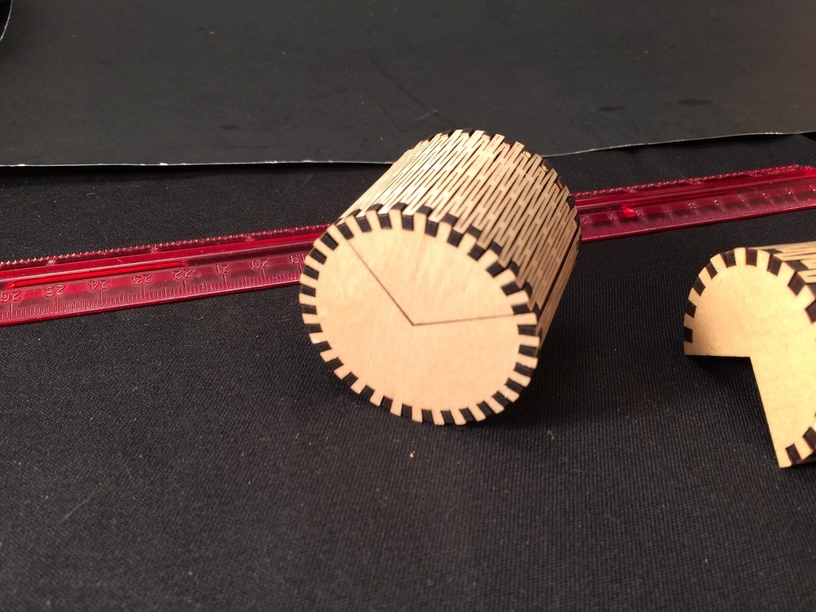
One thing that did surprise me…I would have expected lines cut that closely together to fall to bits when I put the box together…but as you can see from the picture above…they didn’t. It’s a really cute little box pattern. You really only need to glue it in a couple of spots.
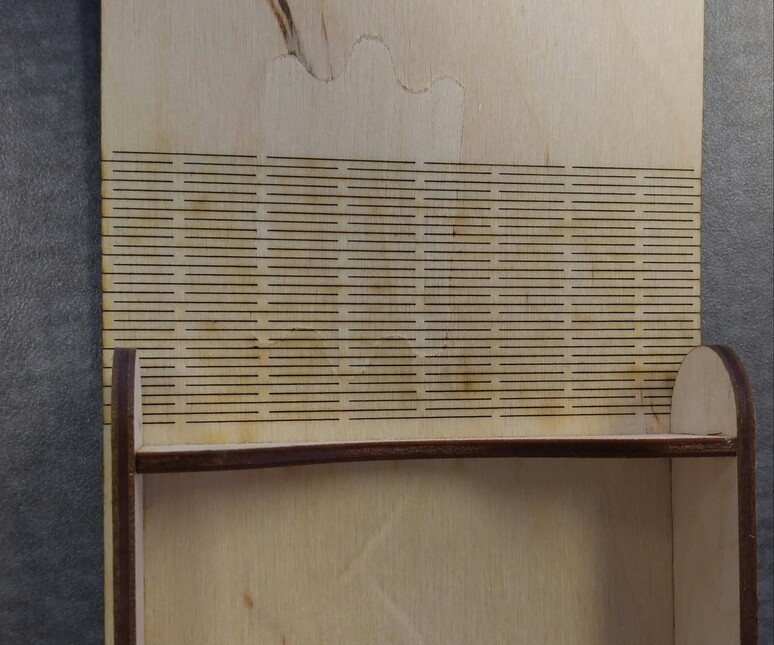
Couple of tips when you do cut it - make sure you use masking on the back of the material, even if you want to let the front get colored by the smoke residue. Those closely spaced lines and tiny notches cause a lot of discoloration on the backside.
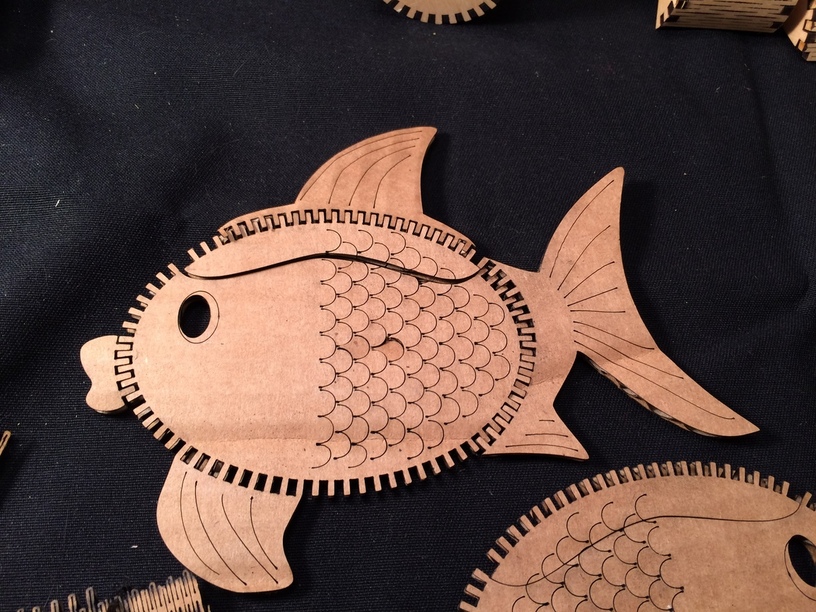
I would also create a negative of the engraving for the fins, and flip them over to engrave the back, so that the back side of the box can have engraving on the fins as well. (Didn’t take the time to do that for this one. I’ll do it when I recut it from Proofgrade.)
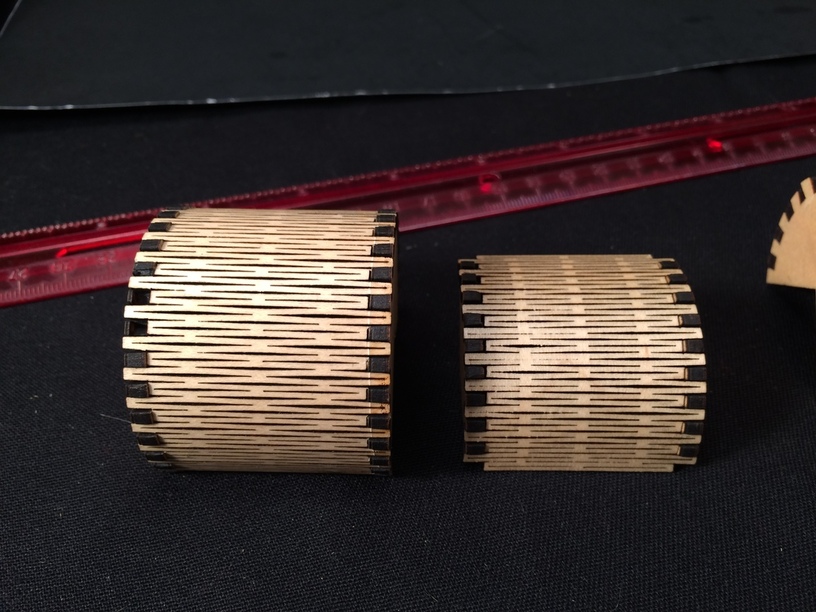
But it looks great @davidgal2 ! You might want to make it a little bigger in size to cut down on the charring, but it does work at that size, so you can probably get at least couple on the 12 x 12 sheet.
This one was elevated - I had it propped up on off-cuts of 1/8" ply at the edges.
In this case, it’s the pattern causing the burning underneath - the lines are too closely spaced. (The slow speed I was using also probably contributed some.)
It’s set for 3mm ply. How are you going to redesign of Proofgrade thickness? I’ve been puzzling it out. The box itself will be easy enough with Inkscape extension but you still have to do the fins and other parts.
That’s an interesting question - I hadn’t given any thought to the fact that the Proofgrade is actually a little thicker.
Looking at the pattern, the only square holes that should need to be adjusted would be the width of the holes for the top fin in the lid, the tail and the lips.
(It might not be necessary to adjust those much either - there’s a little leeway from the kerf. They have to be glued in now.)
I wouldn’t be surprised if the Inkscape extension adjusted for that as well.
Thank you so much for doing this. I think it turned out great, although a little on the dark side. That is something that I didn’t plan on . I guess scaling it up will not work because of the tabs on the edges of the box. Thank you for knocking it out so quickly.
This is the base idea I used for my pokeball. Used the plugin in inkscape…was pretty easy to resize for the different material…just swap out the ribs for right size.
This looked like an interesting challenge. There are so many designs out there but if they are just SVGs, they are tied to material thickness. That means some work redoing for other materials. That’s where I get stopped because if I have to redo a design, I might as well spend the time working one my own stuff than redoing someone else’s.
There was a bit of a hunt getting the extension working on my Windows 10 Inkscape install. The file linked from the Instructable wouldn’t work. First has to chase down a helper ancillary file and then get a different version. Finally got the extension to work.
Ran into a limit right away: the material thickness does not do decimals of inches. So if Proofgrade is .139", you can’t enter into the dimensions if you use inches for units. Or at least I couldn’t get it to work. So the whole thing can be done in mm, and it doesn’t make a difference to the Glowforge once you put the design in, just that I have been thinking in terms of Proofgrade measurements, kerf widths and tab depth in relation to that. No biggie.
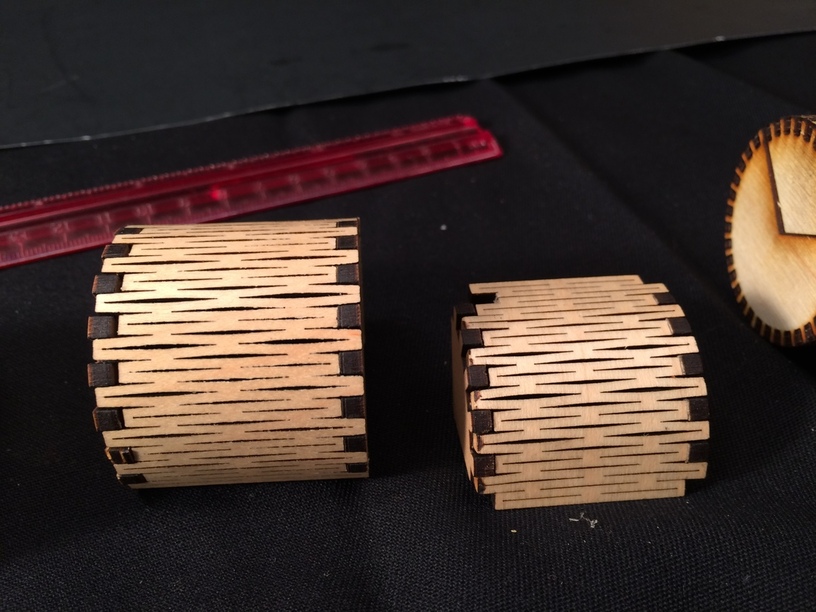
First did a small 45mm round box. It is tiny! worked fine, but I didn’t need to make the distance between the lines in the living hinge so small. I had some 3.5mm plywood that was fine. No masking. pretty dark, but I am just amazed at the precision of the cuts. The Glowforge processed it perfectly. And the design from Inkscape worked fine. It really is an amazing plugin. Does require some testing though for the materials to get a sense of how fine you want to go.
One thing I thought was cool was the sounds of the steppers. With the circles and strips it really made some different pitches. Exhaust sound is pretty strong so I really couldn’t isolate the steppers.
So I made a box of roughly the same dimensions but a little bigger and then pulled the decorative elements over to the new design and attached them to the ribs. About 45 minutes of tweaking and redoing a few things to get it right and then found some cardboard to test it in.
Definitely had the lines spaced to closely together since the cardboard burned up in a few spots, although there was no continuous conflagration.
As a handy trick for scaling non-parametric designs… if you resize the whole design so that the slots are the thickness of the material you’re printing on, it usually works.
Works out fine. I did a couple small boxes first and then tried cardboard. Not sure if I want to start a new sheet of Proofgrade. I have a new delivery tomorrow but I wanted to make sure this works first.
Scrap Proofgrade. Note that the cuts barely go through. Didn’t have the QR Code on these scraps and forgot to use the drop down menu to choose it, which you can. Needed just a little more power. I didn’t use default.
The Elliptical box maker extension for Inkscape is really amazing. Definitely worth checking out.
It will work as output by the script, although I do change the stroke size to .25 px and make the stroke red before saving and importing into the GFUI.
It is so amazing how differently the proof grade material cuts. This fish box is like a commercial for proof grade. Thank you for taking the time to make them.