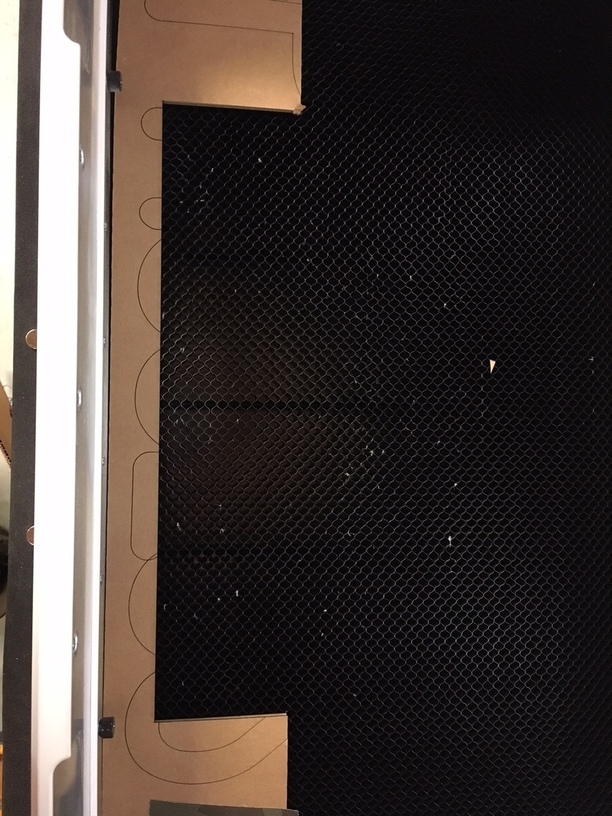
As far as I can tell, the jig didn’t move during the rotation, and the geometry at the front end of the part seems to be correctly placed on the board. Is this a known issue? I got good repeatability using the cardboard jig method when doing multiple versions of the same part on a different project. Any suggestions appreciated.
Either your design isnt perfectly centered in the 14x14 box, or the jig slipped. When I make jigs, I also cut holes in the jig the exact size of my magnets, and drop them in the slots to hold the jig in place a little better than it would without them.
@jefish’s comment is also valid. flipping might be a good answer here if the design isnt centered
I guess I should elaborate on my question, which is, should I pursue the jig as the culprit (operator error) vs. some known issue with alignment of the cuts? Sounds like from the early comments that the jig is the issue, but I had read elsewhere that there were alignment issues (I guess mainly between the camera and the actual cut?) and didn’t want to go pulling my hair out with the jig if there was another issue at hand.
Aren’t those passthrough cover screws? If that’s a Pro model you can run it through the passthrough slot without having to flip it, and you can get really exceptional accuracy.
There’s an excellent tutorial here that describes how to do it:
I did rotate (vs. flip) but the design is centered in the 14" box. The weird thing is that the aspects of the cut that were close to the jig (the south end, for lack of a better term, the end closest to the operator) seemed to be aligned properly in the X dimension, but in the middle, the design was off by about 0.080" But it only seemed to be off in the X, not the Y. I guess I will try again with a better jig.
Yes, it’s a Pro. Since the design is symmetrical in X and Y, and the whole part fits inside the enclosure without taking off the passthrough covers, I thought this would be an easier approach without having to line up index marks. I also wanted to perfect this technique for parts that are thicker than the measly 1/4" that will fit through the slot.
If you want to use a jig and flip it, you might have better luck if you flip around the vertical “Y” axis, (that’s what we were told during early days), and I’m not sure if it’s going to work if you rotate around the X direction. (I’ve done a lot of double sided engraves that work perfectly with a Y axis rotation, never tried one around X.)
Unfortunately though, given the size, you can’t really pull off a “Y” flip for 14 inches.
Maybe the jig just shifted though, so it’s something to check out first. Maybe it will work if you tape it down.
Print (paper printer, not Glowforge) the design on a piece of paper (just one side). See if the first cut you did matches up with the piece of paper. If not it might be compressing one side
I could cut the piece in half along the mirror axis and see if it lines up that way. That would seem to implicate the jig vs. the machine depending on what I find.
So I cut my part in half, and lined up the two halves, and they are exact copies of each other, so the lineup issue seemed to be just that the design was shifted to the left on the board.
So that made me think that the error was in the artwork (not centered). I checked the artwork, though, and everything was as expected. Maybe there was an error in the way the artwork was translated from the SVG to the GF? To test the process, I made a new design of short lines spaced every 1/2", to see if there was something getting scaled down in the X dimension. I printed that and it came out perfectly. The only thing I did differently was to make the overall file size 20x12 instead of 14x8. So maybe it’s possible that when I moved the artwork before in the GFUI, it got scaled a little bit?
I’m going to change the overall drawing to 12x20 in my file and try again. We’ll see what happens.
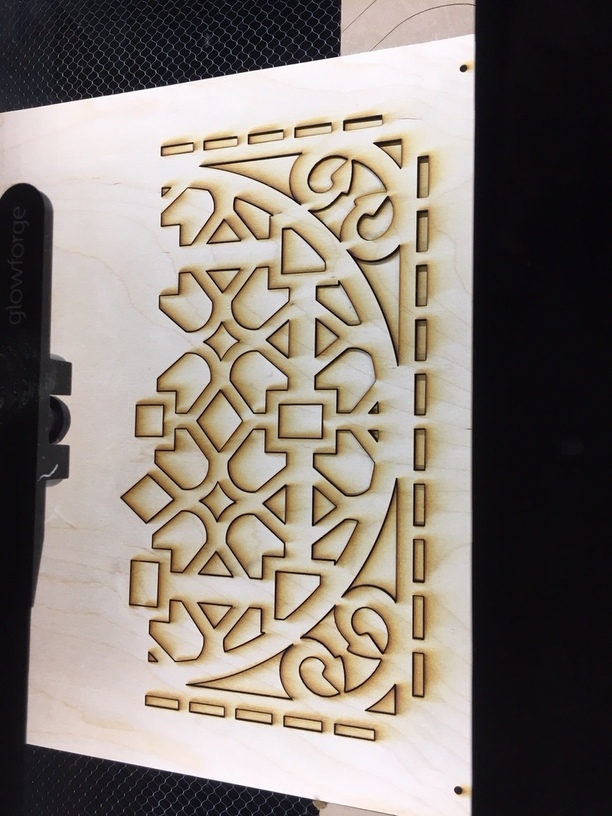
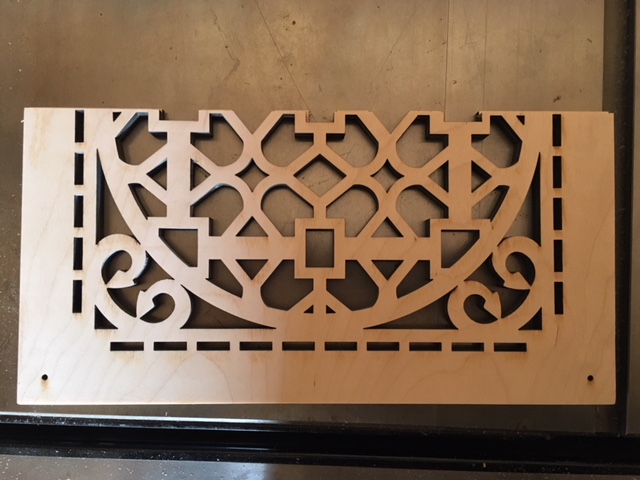
it’s a register cover for the return air duct in my house. All the supply ducts have this design, but the design didn’t come in a large enough size for the return.
So the alignment of the re-cut came out fine. I used a slightly different jig, and placement was done all in the artwork on a 12x20 canvas. Can’t really say what caused the first go-around to come out skewed.
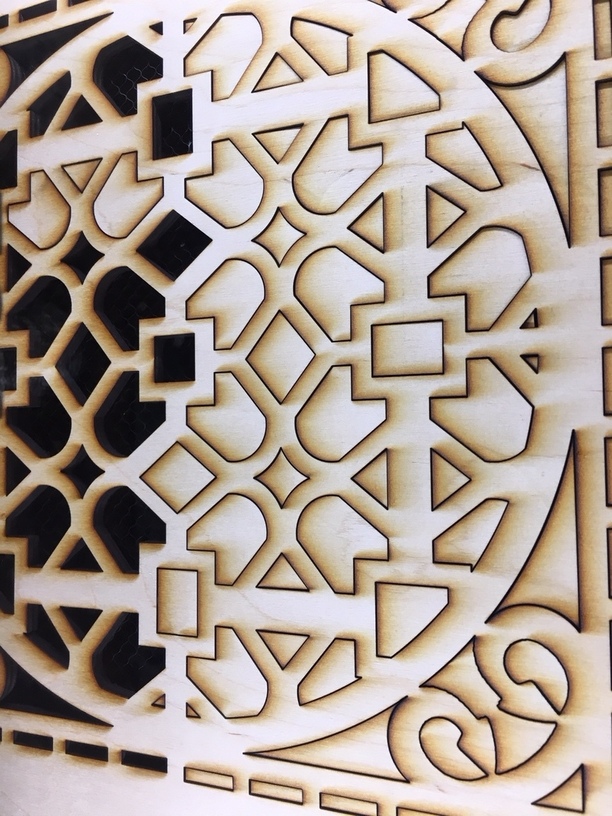
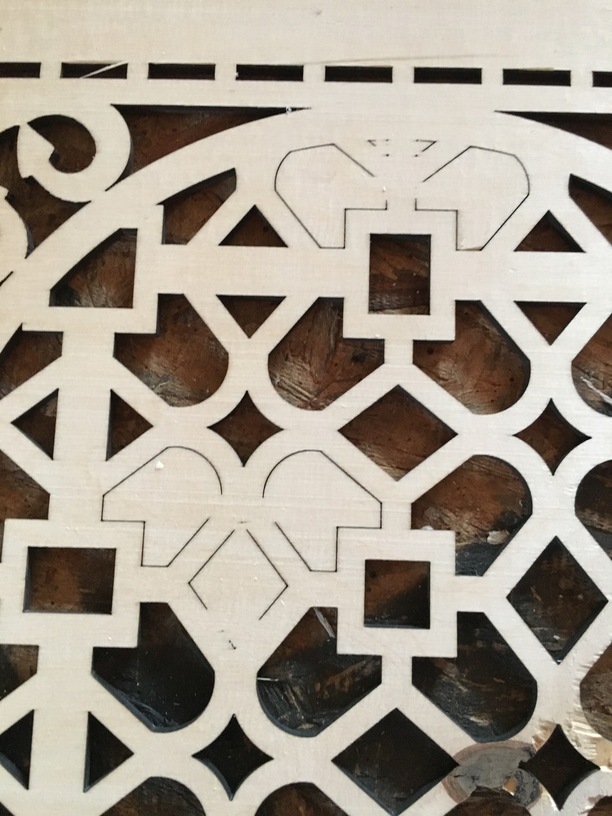
Next issue is getting a consistent cut through the material. The material is 1/4” (really 0.236”ish) Baltic birch plywood. Calling it proofgrade thick dradtboard cuts through about 90% of the time. I switched to a manual cut and slowed it down as well as correcting the material thickness and the success rate was no better- just more burning/char. I switched to two passes at a somewhat faster rate and still not an improvement.
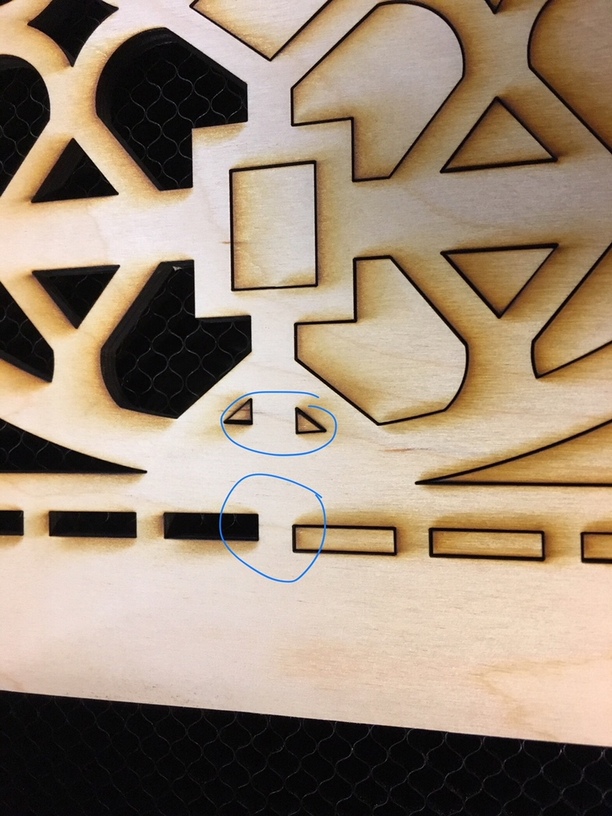
In some spots it cuts fine but in others not so much. Originally I guessed that the areas where it was not cutting through were only a few thousandths shy, so I ran the whole thing through my planer figuring I could lose a little off the back and that would be easier than exacto knife work. But I ended up planing away almost 1/2 of the board and there are still areas that are not cut.
I know, I know- that’s what proofgrade material is supposed to solve. Maybe it could get offered in larger sheets for such purposes?
Meanwhile, anyone with the magic settings for 1/4” Baltic birch, please share!
I see knots and filler, both of which have completely different cutting characteristics. That is why the proofgrade stuff uses MDF in the middle. You could try a strong light on the backside of your material to find an area that doesn’t have anomalies?
Based on the picture you posted I’d go talk to your wood supplier. That doesn’t meet the manufacturing definition of Baltic Birch. They’re selling some knockoff plywood. Most states have laws about that.