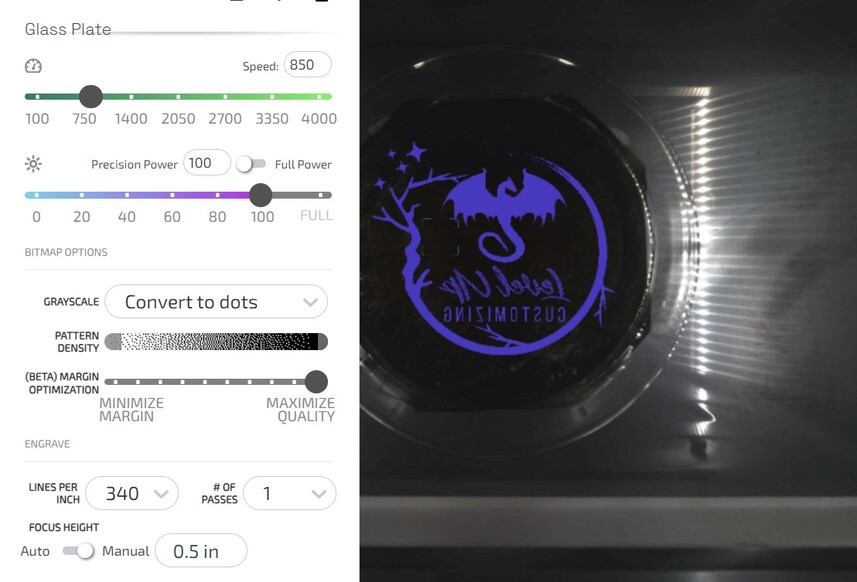
I’m attempting to engrave a glass plate. Unfortunately on top of my crumb tray it’s a bit too high, so I needed to remove that.
Here’s where I’m running into trouble - Every time I try to go to print, it keeps saying my material height is too low.
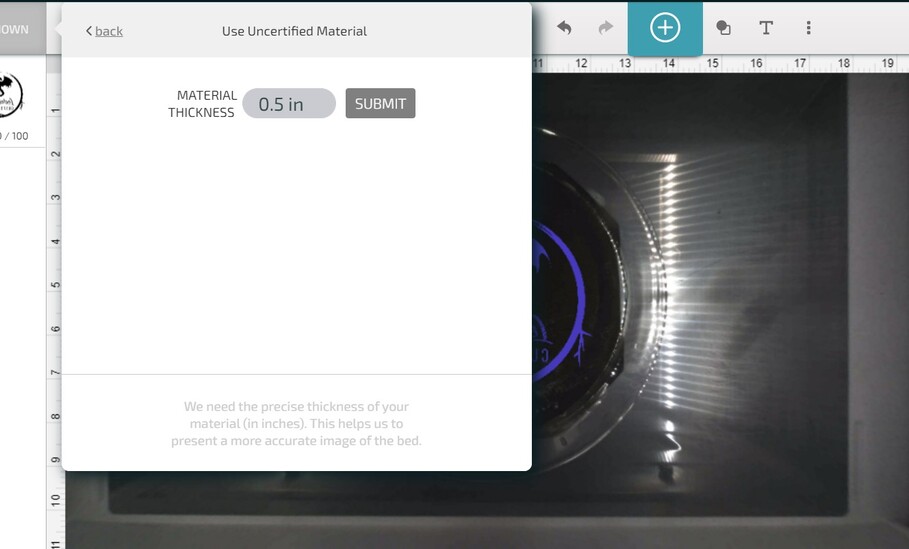
So when I got to “unspecified material” - it’s stuck on .5". I have the autofocus set to manual, but whenever I attempt to override (2, 2.0, 2 in, 2.0 in, etc.) - it defaults back to .5".
Can someone help me with what I’m missing? The glass is at 2.0 (I have a wood block under it to raise it up.)
The really key issue is I seem to be unable to change these two points. (Focus height and material height)
Yes, your wood prop might be the wrong size. Measure the thickness of the plate, and add a prop underneath it that elevates the top surface of the glass into the range from 1.5" to 1.75" as measured from the bottom of the bed.
(Or, since that appears to be black underneath the plate…try putting a white masking on the plate. The red laser targeting dot might not be visible.)
Thank you! I’ll try that - the problem is it’s a non-flat glass plate. So I did all the measuring, flipped the glass upside down, and the height is at 2.0. (The wood is at 1.5").
Really, I want to be able to do actual glasses in the future - so I’ll need to be able to focus the height where the glass is. Is there a way to stop the auto-focus and input my manual measurements?
You won’t be able to add 2" for manual settings. You have to think of it as height above what the crumb tray should be.
So .5" would be the max height above the crumb tray that you could engrave. When you enter your measurements, it would have to be from that height and not the bottom of the machine.
I hope that makes sense. Somewhere on here, there is a procedure for measuring all that since it said everyone’s crumb tray may be slightly different. I use the no math focus ruler to make sure the height of my material is within range. Then i change up how i get my number based on what I’m doing.
I’ve never done a plate, so i’m no help there, but i know the small round shot glasses for me, after I’ve stacked up my wood and jig, needs a focus height of .3" for the best result (alot of testing and messing up lots of cheap shot glasses). I’m only mentioning that because when i do an exact measurement for the height of the shot glass, it always looked awful
Good luck!
If you want to do auto focus, i’d put a piece of masking tape in a spot that you won’t be engraving, but the same flatness as the other parts of the plate, then auto focus on that piece of tape.
It might still be just a little too high…try to find a book or piece of wood that’s about 1.0 to 1.25" thick and use that for a prop underneath the plate.
And I really do think that you are going to need to mask it with white tape in order to get the design to align correctly. That targeting laser cannot focus on transparent glass, and dark colors absorb the light. So try the masking…you can adjust the speed down slightly to compensate for it and engrave right through it.
You state that the plate is not flat. How tall is the rim?
The Glowforge has a 1/2" focus range. The surface to be engraved must be between .001" and .5" from the lens. With the tray in place, this means anything from a piece of paper to something 1/2" thick can be engraved. Without the honeycomb tray, the surface to be engraved must be between 1.5" and 2" from the floor of the Glowforge. Using the no math focus tool is very helpful. No-Math Focus Ruler
If the lip of your plate is more than 1/2" above the surface you are trying to engrave, you are out of luck. If the printhead clears the lip it will be more than 1/2" from the plate bottom and you will not be able to focus.
Although others have mentioned it a bit, there is a fundamental miss of understanding that I want to specifically point out, because when I’m learning something new it helps me when someone says “Hey, that specifically is wrong”.
The reason that “it is stuck on 0.5” is that that is the highest point that the laser can focus at. If it let you do 2", it would be 2" from the top of the crumb tray, or somewhere about the middle of the printer head, which is impossible
I’m going to break it down to the very basic description, which helps newbies to understand it better:
Visualize a number line, with negative numbers on the left and positive numbers on the right.
Upend it so the negative numbers are on the bottom of a column, and the positive numbers are on the top.
Place that center Zero at the surface of the crumb tray (or where the crumb tray should be, if you have removed it).
You can focus the laser at any point between .001" to 0.5" on the positive side of the number column. Anything higher than 0.5" above the crumb tray (Zero) will hit the printer head parts, anything below that will be out of focus.
You can still engrave something out of focus, you would just set the Glowforge focus height to .001", as if you were engraving paper on the crumb tray. Depending on how deep your plate is, the engrave might look great, or it might be too fuzzy.
Hopefully you have more than one plate or piece of glass to test with!