This tutorial is long overdue, but I promised a few people I would post it, so here goes.
Im doing an engraving ive already done before so you can see some of the different options available when engraving something with a weird shape and an outlined cut. The outline part isnt necessary, but useful in a lot of situations, so this tutorial is a 2-fer.
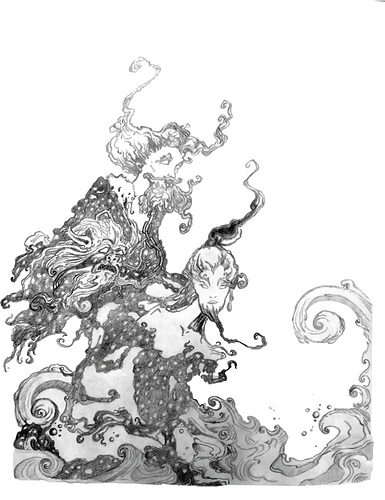
This is the image we are starting with. Im going to be bringing it into photoshop to clean up, and get some of the initial shapes to move into vector software.
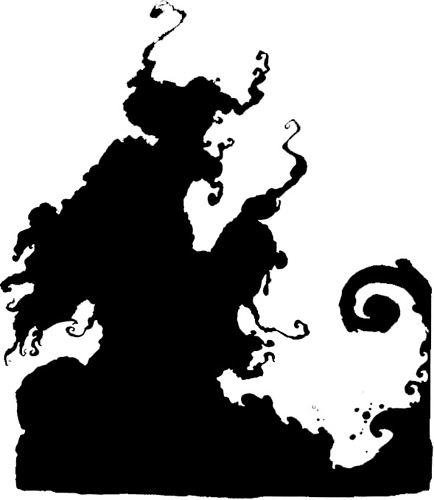
The first thing youll want to do is get a good selection of what is actually being engraved. Use the magic wand tool, or whatever you need to select the parts of the image. Once you have it selected, create a new layer and fill it with a solid color. This will be the shape that we will use to trace.
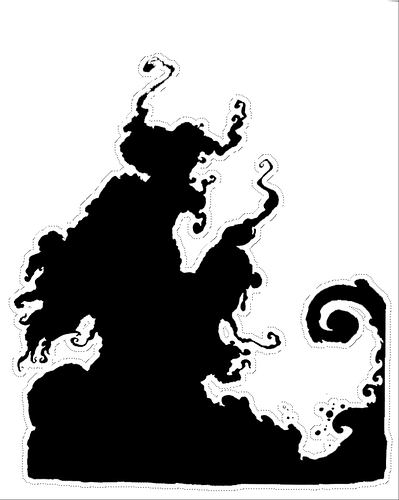
Seeing as how there are lot of little pieces floating off by themselves, we are going to have to expand the cut outline for this engrave to connect all of those little floating pieces and thin areas that might need more support.
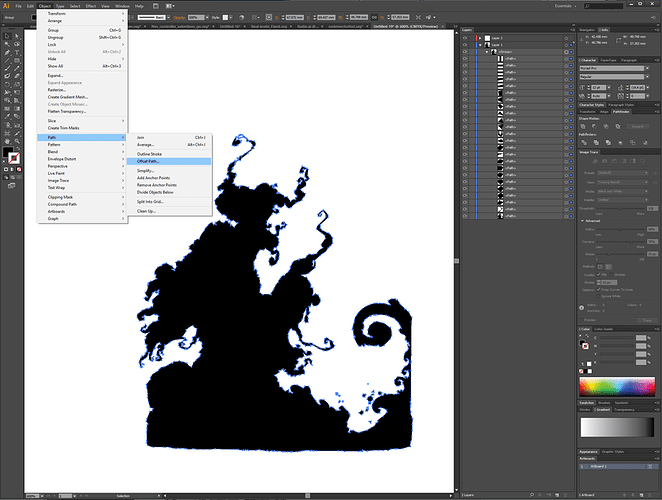
There are two ways you can do this: Beforehand in photoshop, by using the [menu] select → modify → expand function, or by tracing this in illustrator first and using the [menu]Object → Path → Offset Path function. I prefer the latter, as it gives much cleaner outlines. Im going to show you how to do it in illustrator, but wanted you to be aware you could do it here too.
Now we want to move these into illustrator. Copy both layers (the image and the outline, one at a time) by only showing the layer you want, and hitting Ctrl-A to select all, then Ctrl-shift-C to copy all visible layers as one merged layer. (Make sure you still have the white background showing while you do this.)Paste that into illustrator. Then return to photoshop, and do the same for the other layer as well.
Create a new layer once youve copied them both in, and move the image to the layer above the silhouette.
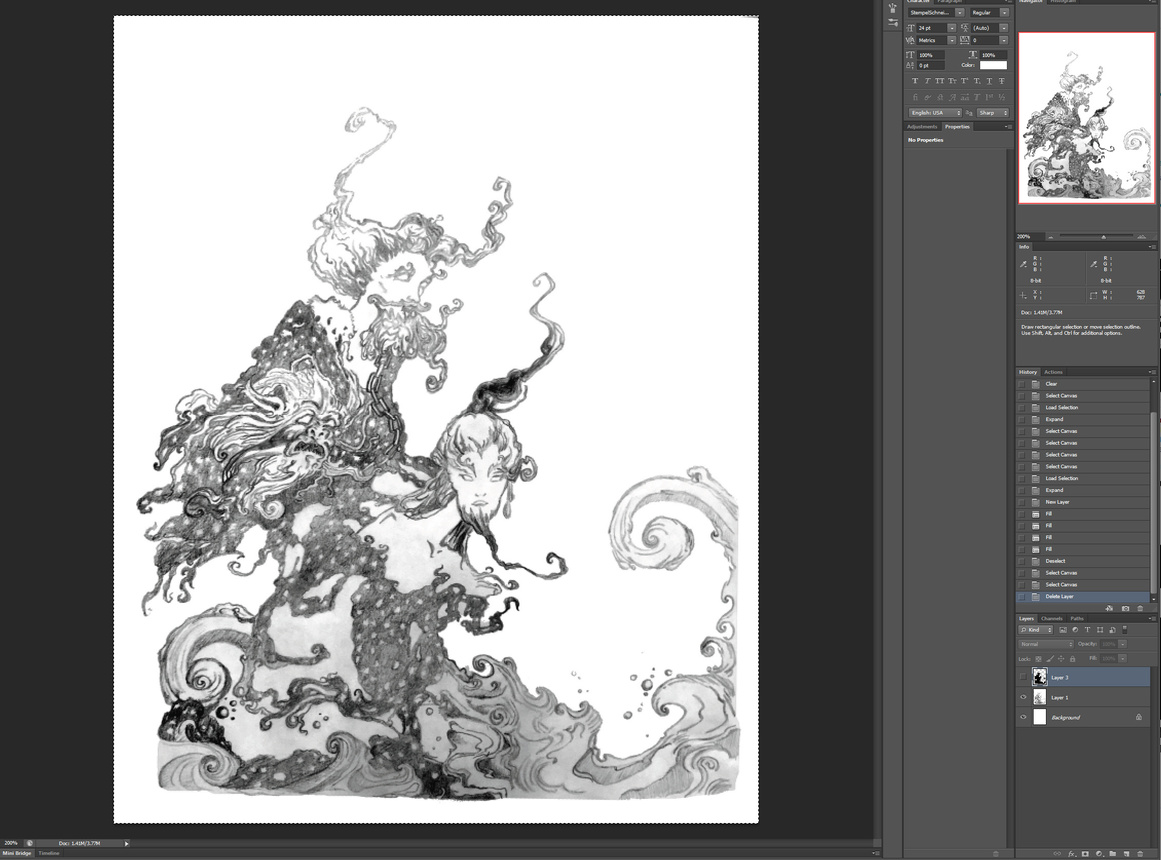
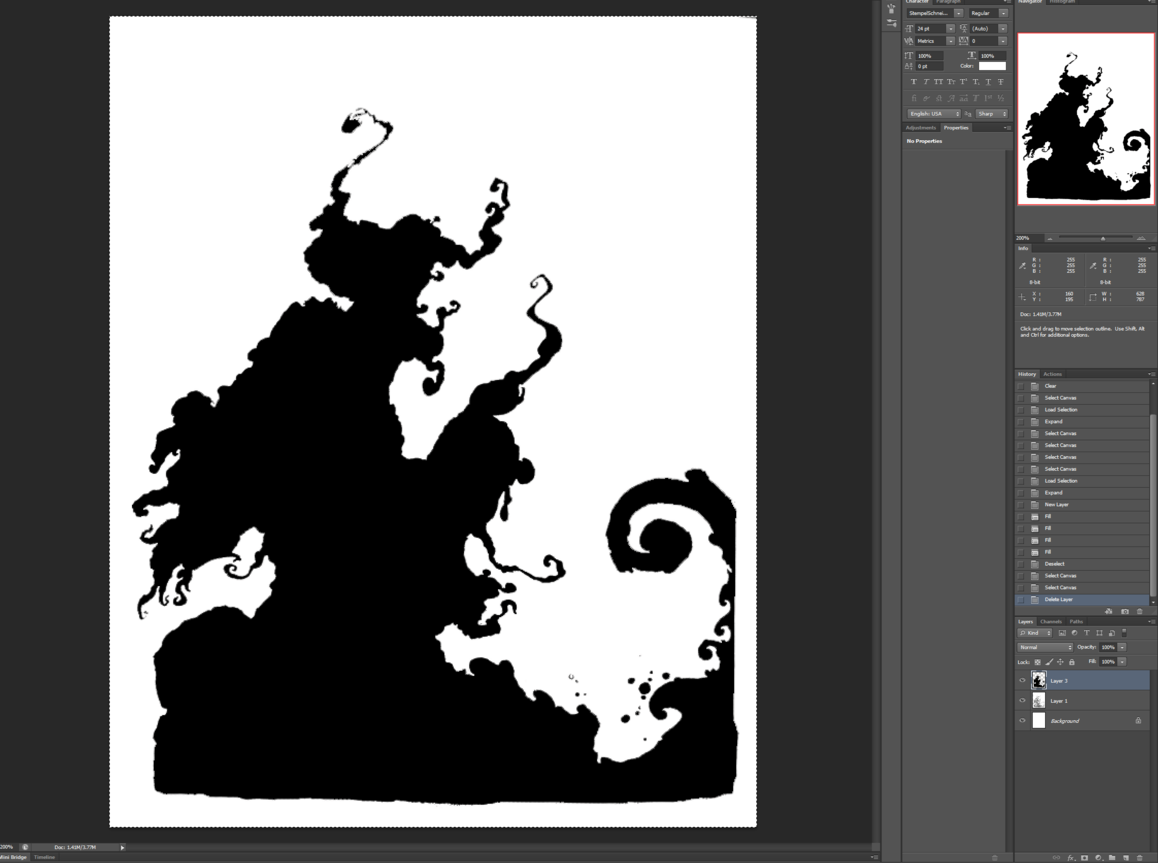
You should now have two layers in illustrator exactly on top of each other. One is the image, and the other is the silhouette you created.
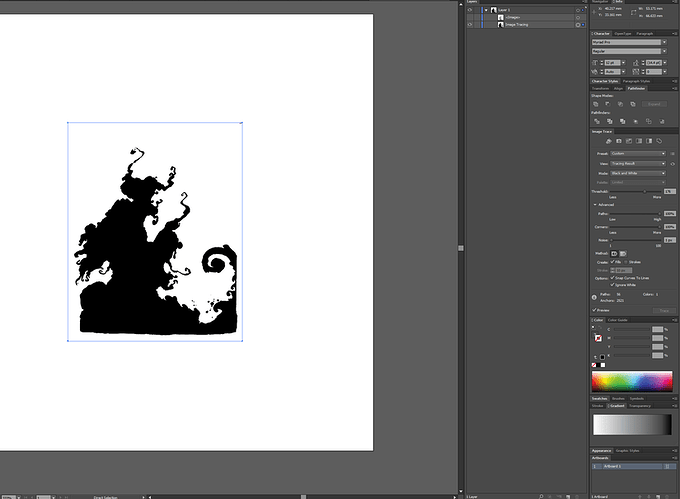
Were going to trace the silhouette now. I left the settings in here so you can see what I used. I try to keep most of them high. Turn on ignore white. The go to [menu] object-> image trace → expand. It will create this outline path for you.
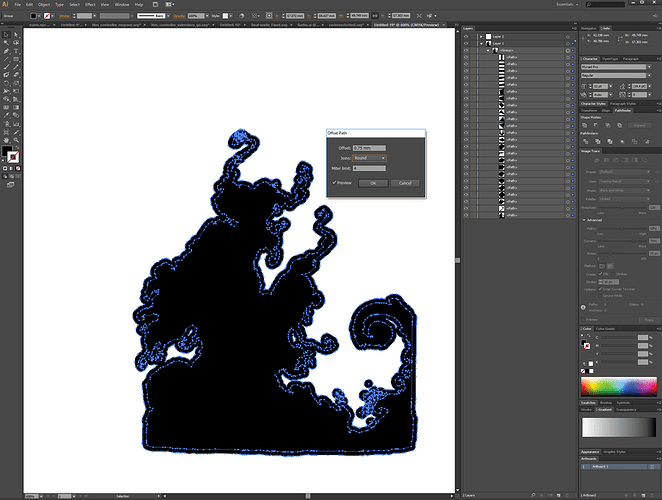
Now we will want to create our expanded border using the offset path function. Select everything that the trace function just made, as it is in the picture. Then run the offset path function. [menu] object → path → offset path. I used the rounded joint type here to make it look more smooth. Hit ok and youre good to go.
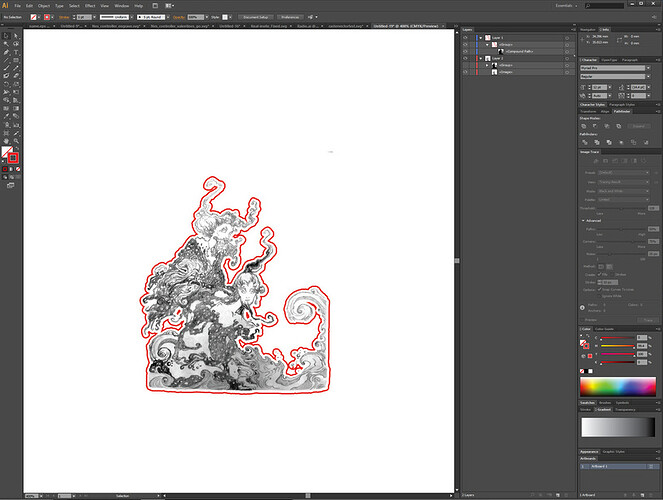
Now we will have a ton of little paths everywhere, so we want to combine them into one path to use as a cut line. Select all of the paths youve made so far, and click the unite button. That will turn them into one big outline path.

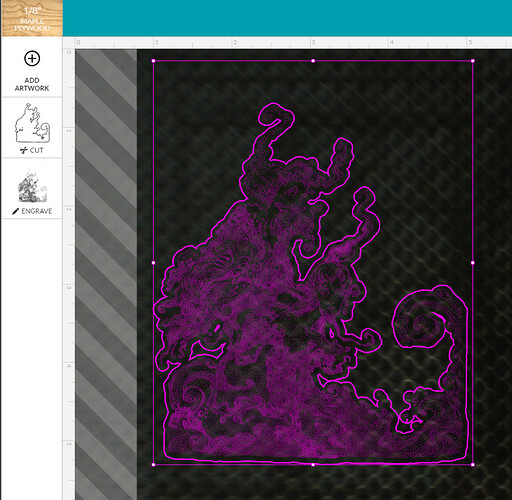
Choose no fill for that path, and whatever color outline you prefer. I always use red for cut because its easy to see. Now you can see what youre going to get when you send it to the glowforge!
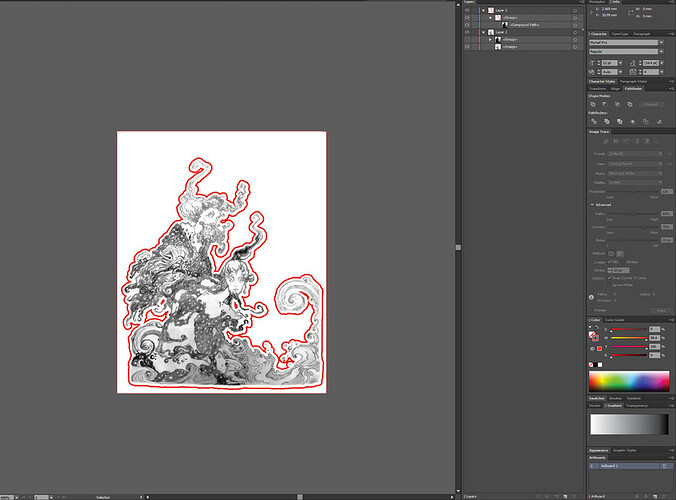
Next make sure to choose [menu] object → artboards → fit to artwork. If you have something outside the artboard you might not be able to see it in the GFUI and could have trouble. I always do this before putting it into the GFUI. Makes life easier for everyone.
So now youre ready to save this as an SVG. and put it into the GFUI. You can see we have our two layers in there ready to go! Adjust your settings accordingly for material and hit print!
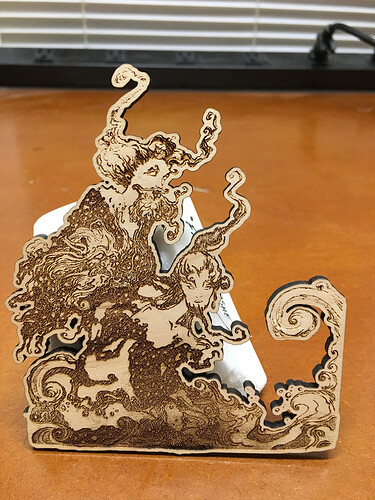
If everything goes according to plan in a short time you should have something like this:
As always, questions or comments are welcome. Happy forging!
