Ahhh, now that i like. The char gives added expression that suits the overall.
1 Like
The great thing with plywood is that all the fingers are way stronger. Try that on the edge of solid wood and the fingers would be falling off.
2 Likes
I did and they didn’t ![]()
It’s all about grain direction and working carefully.
2 Likes
It is about the edge grain, do it on the end grain and thin is great.
1 Like
Wow!! If I could just figure out what to do in your first image I’d be elated!
1 Like
This one?
3 Likes
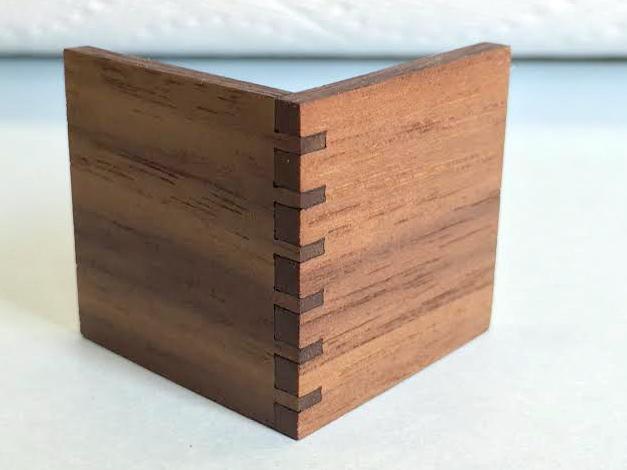
It’d be cool to see all of these as complete boxes. Some really nice looking joints there!
1 Like
No kidding; the joints would sell the box!
Yep!! Super simple and cool! Would make a great box!
1 Like
I’m so glad you put this up here!!! I’ve been wanting this information for a long time. Do you have any videos on how to design and assemble one of each??  Thanks for any resources. Just trying to be bold …
2 Likes
So I posted exactly how I make these earlier in the thread:
But, since you’re asking for specifics on this particular concept with thin/thick alternating fingers:
The only difference here is that I’d start with two different rectangle sizes and go from there.
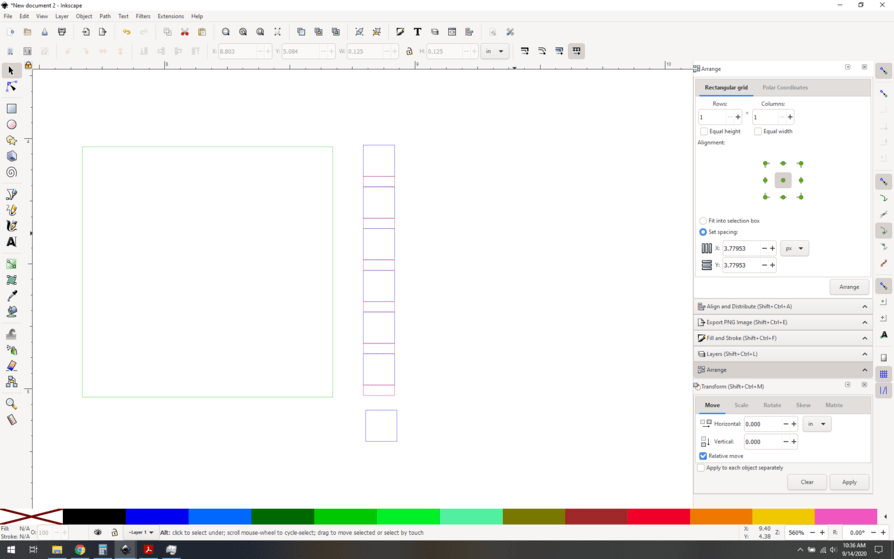
Start by making your rough shapes
- Primary box side in green (randomly 1x1")
- 0.125" x0.125" finger size in blue
- 0.125" x 0.125/3" (0.042") secondary finger size in red.

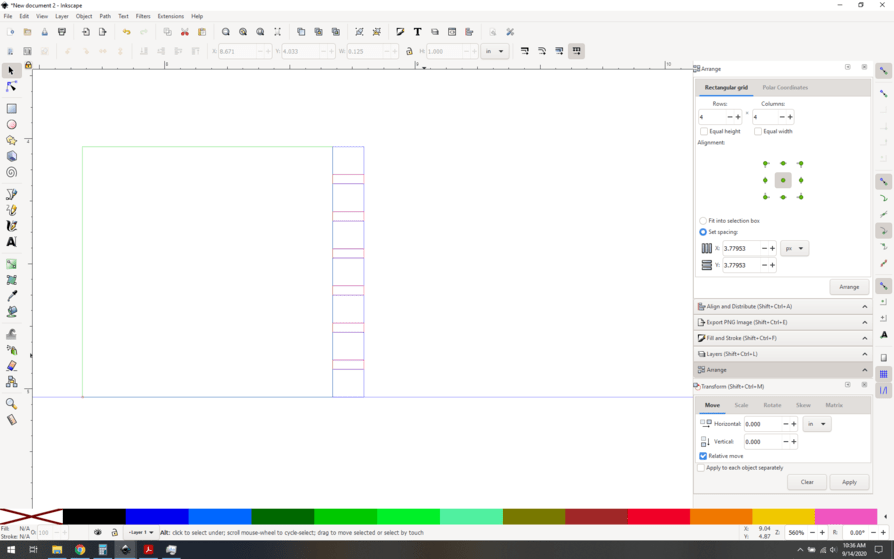
Snap them together and make copies of the pair.

Now I don’t want the skinny finger to be on the outside ever, so I add one more of the blue fingers to the bottom.
Snap them all together. You could use arrange but it’s probably just as easy to just drag and snap them.
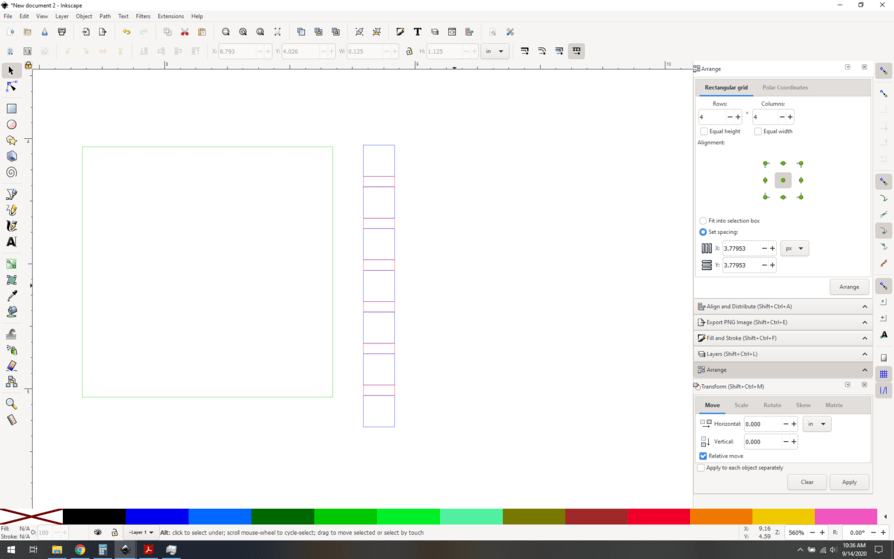
Now the height doesn’t match your box side. In this case I decided that the box side is the driver so I am going to resize the fingers to match it. Step one, snap the fingers to the corner of the green side.
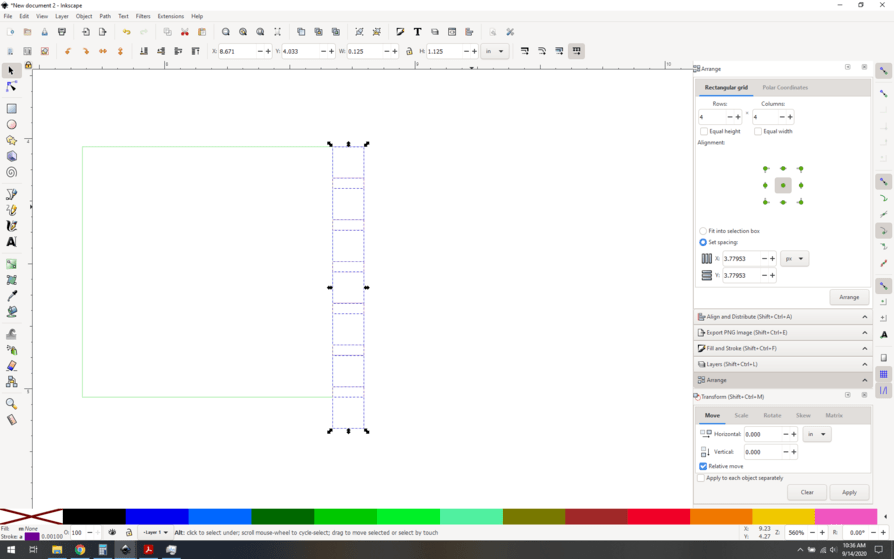
Step 2, put up a guide to make it easier to snap the correct height. Snap the guide to the bottom of your green side.

Step 3, drag the vertical sizing arrow to scale your fingers until they snap with the guide.
(Alternate method, if you know the box height (1" in this case) you could just select your fingers and set the whole thing to 1" height, but I tend to snap things out of habit).
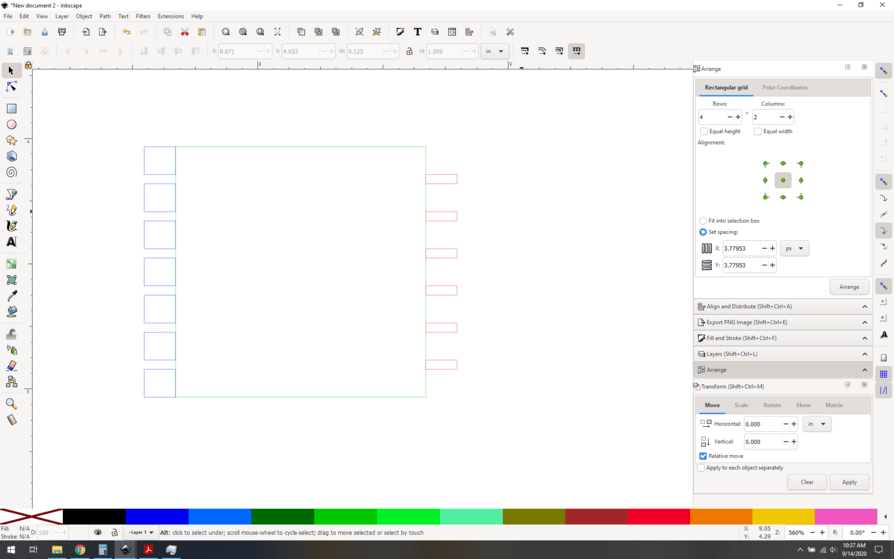
Nice, now you have alternating fingers in the ratio of 3:1. Time to separate them. Select all the blue fingers at once (shift-clicking on them, or right click and “select same… stroke color”), and then drag/snap to the other corner of the green box.
Now select all of it and do a union (Path->union).
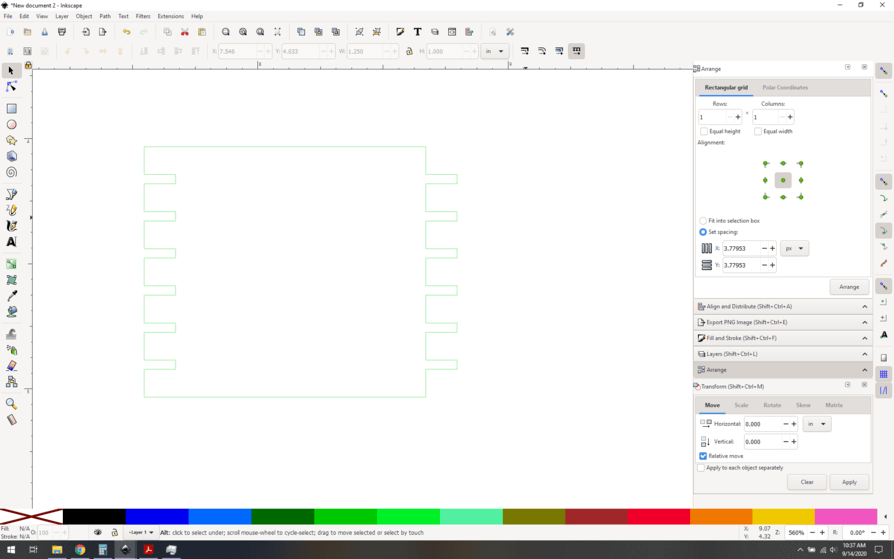
Tahdah, that’s your box side. Kerf adjust and go.
Nope… I find that I learn best by reading and that videos don’t add much to it for me, so I have never considered making videos. Like I said I posted exactly how to do this stuff earlier in the thread.
11 Likes
Holy moley! I’m a Glowforge newbie, so I didn’t see the older info in the thread. I was just enamored by the joint images. Thank you so much for resharing. Now off to try it! Wish me luck!
3 Likes
No worries, there’s a lot of info out on the forum, it’s hard to find it all. You could spend hours and hours every day and only scratch the surface. I always say “get a snack and a drink and spend as much time as you can reading forum threads”. The time you spend learning and researching will pay you back over and over.
5 Likes
Lovely work! I’ll take note of this.
1 Like