Oh, I didn’t see you there. I’m Wavebox.
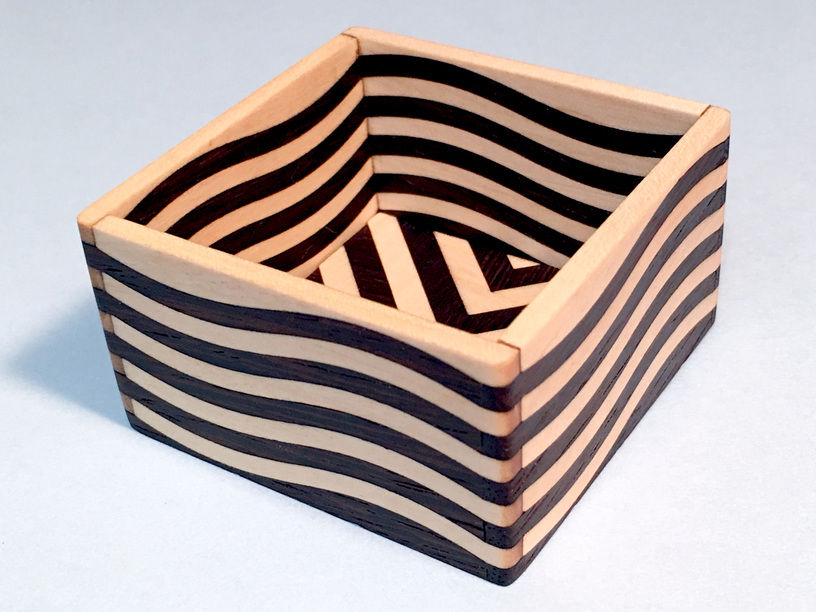
I started to think about the possibilities and limits of butt jointing a while back, and this idea was one I had around for a while. The idea was “make a box where the fingers were basically made by the butt joints”. This was an idea I fooled with in part back when I posted about the finger joint exploration, if you look closely in the inlaid “woven” finger joints, the joint there consists of inlaid pieces.
Notes:
- Kerf compensation is totally necessary here. You’ll cry if you don’t do it, nothing will fit correctly.
- Start with material that is as close to the dead same thickness, it’ll save you so much trouble,
- Use a paintbrush when applying glue to get solid coverage between each piece as you glue it up.
- Speaking of glue, I used titebond classic, it’s possible that a faster-setting glue might make it easier, but if you have a good jigging solution it’s not that bad.
- Alignment by hand is probably possible with a more complex, more tightly keyed design – it’ll self-align. These waves were subtle and so it was possible to misalign them. The solution was a special jig of sorts. (shown later)
- Waiting for glue to set is hard. The struggle, the struggle. But wait you should. Butt joints are going to get all their strength from the glue, so apply it well and let it set.
- All wood is solid hardwood 1/8" thickness. Acquired from the source we discussed in this thread.
- Overall size of the box is 2.25" X 2.25" X 1.25"
- As with any butt joint or inlay, you should flip adjacent pieces so that they mate better. This has to do with cut profile of the beam. Essentially the wenge pieces are the same as the maple pieces, just flipped horizontally before cutting. The exterior of the box is the front of the maple pieces and the backs of the wenge pieces.
- All surfaces sanded to 600 grit.
This piece is largely a test proof of concept for a larger tray or box down the line, it was surprisingly simple to glue up and assemble. Glue your sides first, then take the time to sand both faces very carefully – you won’t be able to once you assemble the box.
Maple, Wenge, Swirl mojo
The corners were hand sanded to a small radius, maybe just a bit over 1/32? Take your time on that part, go slowly, and it’s not hard to end up with nice, even corners. The entire corner easing process takes a little over 5 minutes, I’d say. A tip: count how many times you sand the corner down, it gives you an idea for how much to do on the next ones. Maple gets really dark in the end grain (the brownish areas - trust me they’re sanded like mad, that’s not laser residue), it’s possible that another bright wood might be a better candidate for a more consistent look, but I a: have a lot of maple and b: love how it finishes, so here we are.
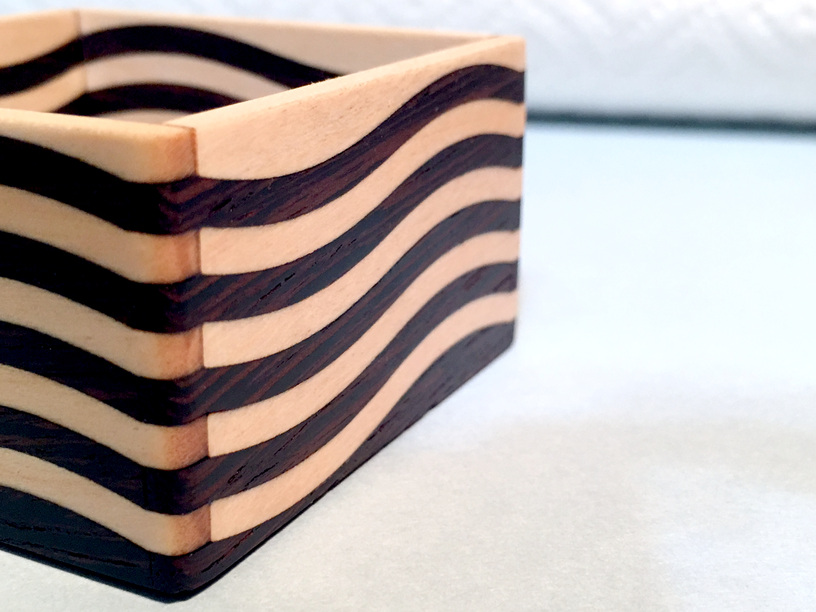
Maple, Wenge, Prayers to the sanding god
The base of the box is inset and glued into place. As with all of the rest of the box, I cut and glued the pieces before unmasking. Glue has a way of getting everywhere, so the order of operations is:
- mask
- cut
- glue
- unmask
- sand
- assemble
- finish (in this case, with mineral oil)
- take pictures
- post them here
- list steps about how to make the box
- include line item about listing steps about how to make the box
[recursion limit reached]
Maple, Wenge, Self-satisfaction
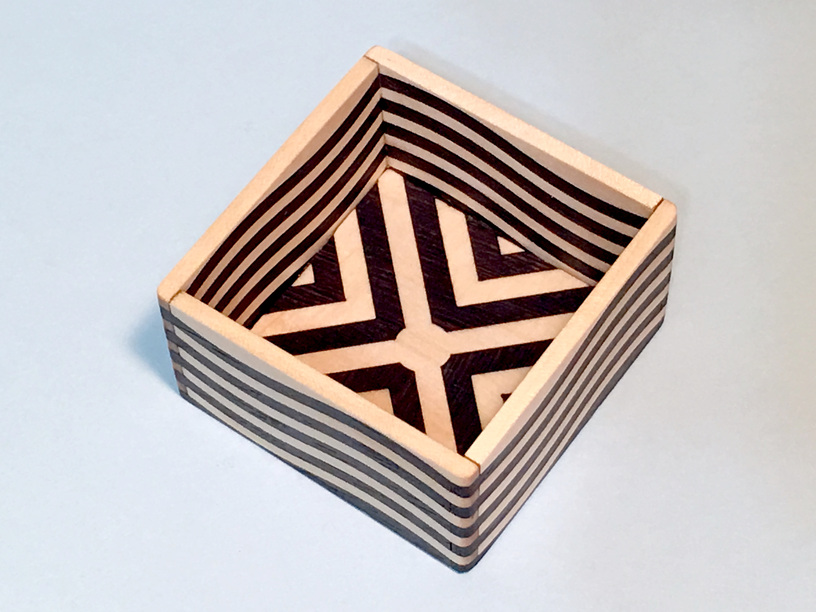
Overall I’m pretty happy with it. I’ll probably develop the concept a bit more and make a butt jointed tray gift for someone.
Oh yeah, here are the gluing jig thingies:
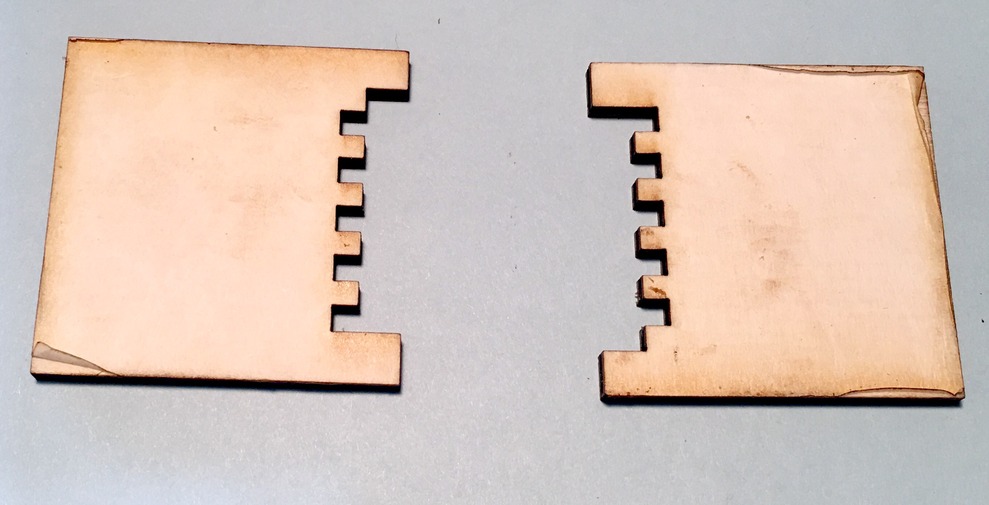
Baltic birch, Smut
(Look it up, it means dirt.)
Oh and another bonus. Scale is kind of hard to interpret. Here’s a loose piece of wenge
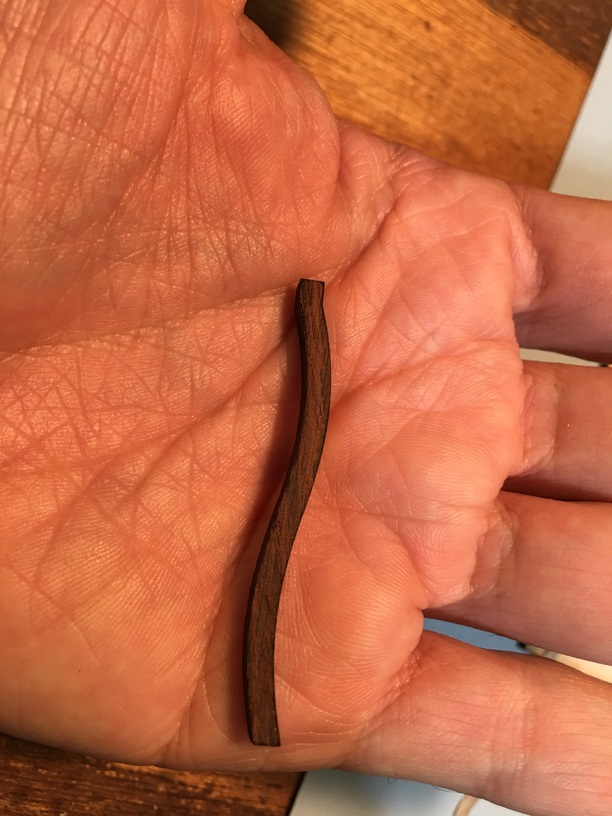
Wenge