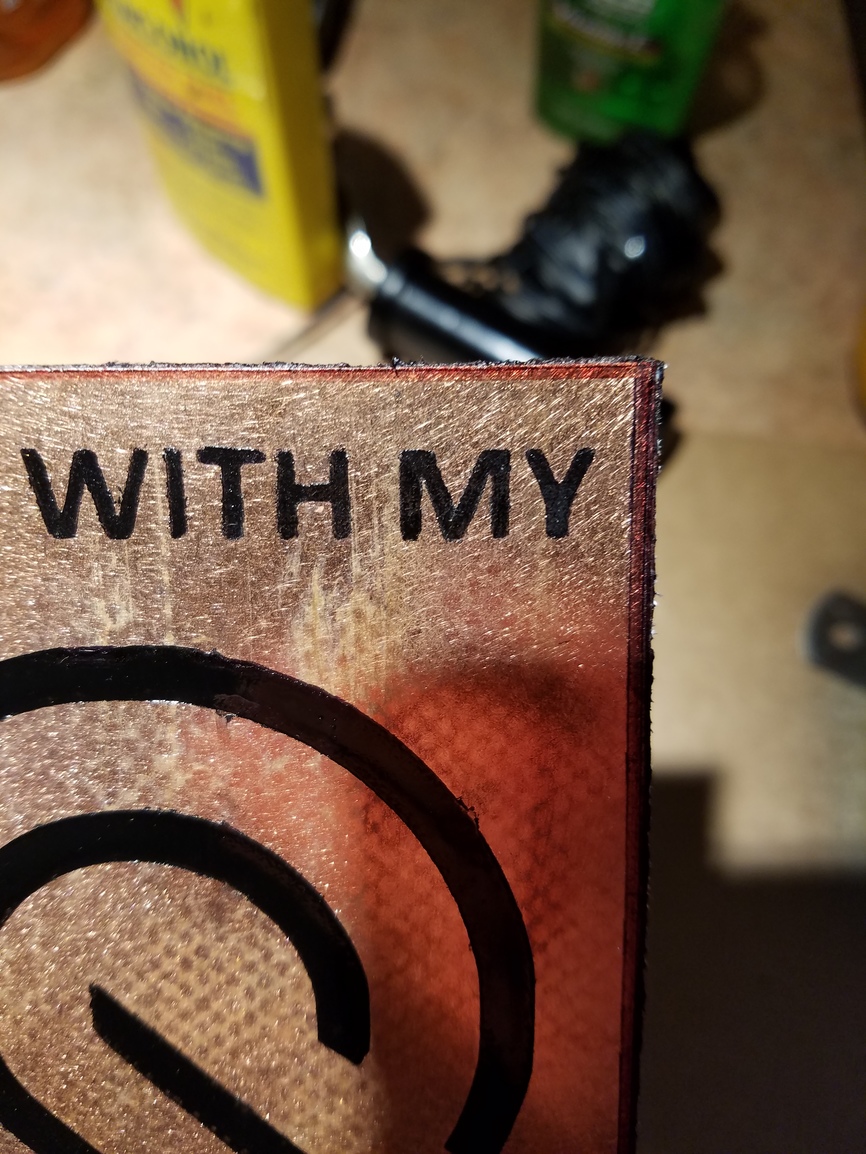
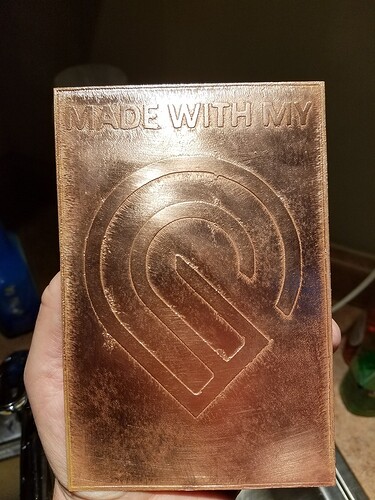
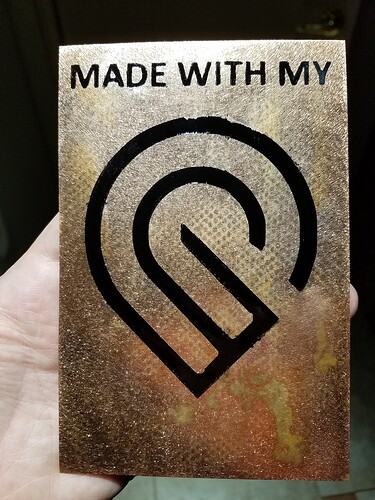
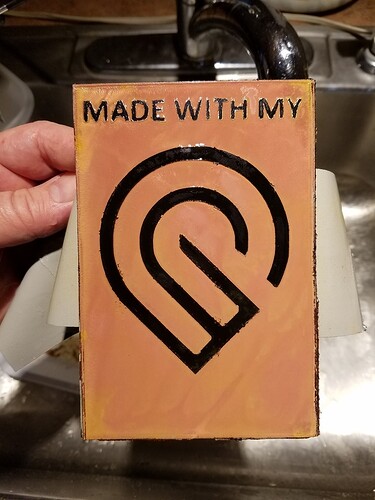
Who says you can't etch / engrave metal with the GF? I just did! Well, sort of, lol

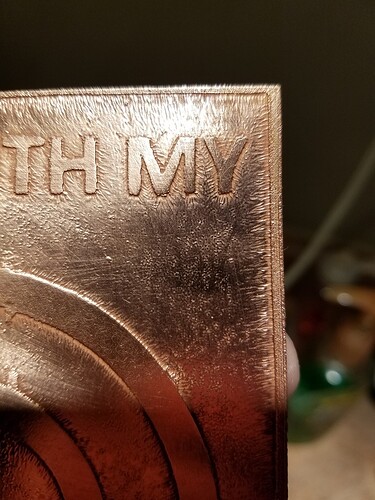
Behold, the glory…

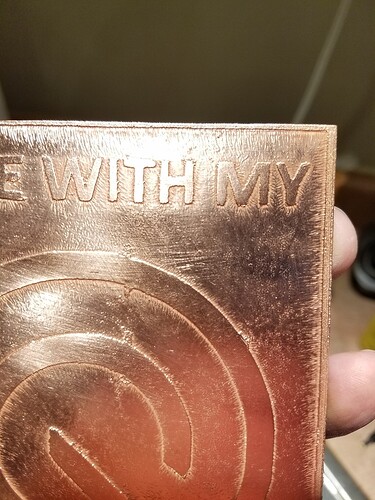
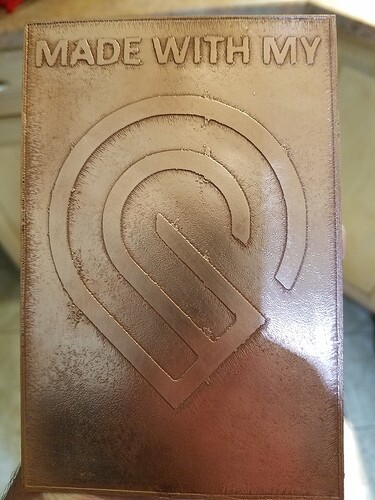
Closer look…

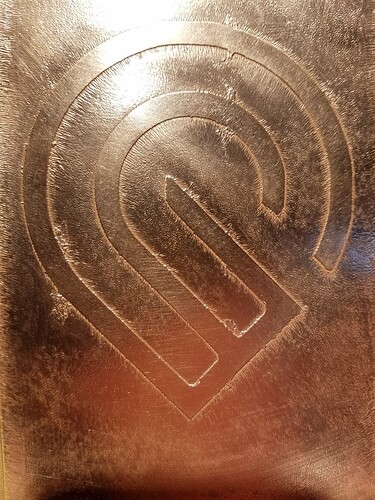
Yes, folks, that is real, pure copper metal!! I think this can be done with steel, too!

Now, obviously, I didn’t do it ONLY WITH the forge; there’s more to it, but it’s pretty easy. I’m guessing that a lot of you have done things like this in the past, and already know how it was done :slight_smile:

And for those who don’t: It’s really pretty easy! And using the forge makes the old process so obsolete; this is so much easier than how I’ve done it before. I’ll be posting the process and many more pics soon…

I’m hoping this changes the field; so much that can be done with this…

57 Likes

Acid?

2 Likes

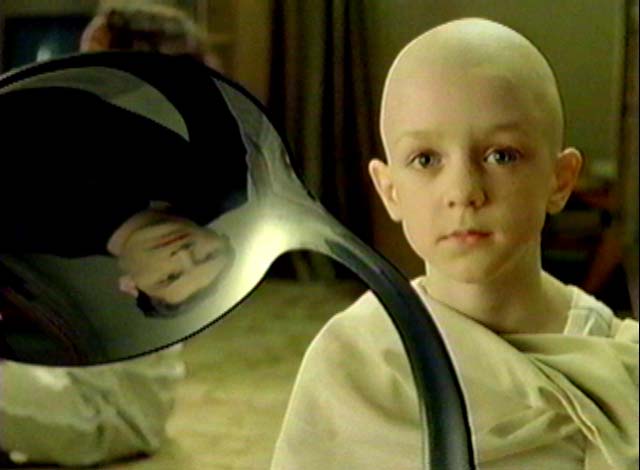
There is no spoon.

5 Likes

Yep!

2 Likes

Sweet

2 Likes

Spoon? Hhmm…I’m racking my brain, trying to think of what that is referring to, but not coming up with anything…

2 Likes

18 Likes

Ohhhh…

12 Likes

12 Likes

LOL…oh don’t even think that for a second…every single one of you other PRU recipients has blown my mind with the skills & talents you have, and the stuff you have made!

I will just be introducing the process; I already know that you guys will take it and run with it to amazing new places…

Btw, it’s the same process that I used to make this; posted long ago in the thread of all the amazing stuff that so many other members have made:

/uploads/db6859/optimized/2X/1/1271400cc2a4f0342cd8789fd20a4f5ea4196965_1_360x500.jpg

12 Likes

Electric Glowforge Acid Test?! :dizzy_face:

can’t wait to see the process - great build up of suspense!

7 Likes

LOL, I do indeed do a lot of that build up stuff…lol, it’s so true; I’m so guilty of it!

5 Likes

spoooon!!!

5 Likes

17 Likes

I think

MADE WITH MY
              :glowforge:
      AND ACID

would have been more accurate, but I can be inappropriately pedantic.

13 Likes

Oooooo, if you’ve found a good laserable masking material for copper etching, that would be awesome! I’m doing it now with UV developing film and it’s a tedious process and only appropriate for flat materials.

Your example is gorgeous, and very exciting!

5 Likes

Matrix, there’s a kid bending a metal spoon with his as if it were magic.

3 Likes

Lol, yes, true, but I hope to display the plaque with future things that I make, so it’s going to be used a lot as a “I made this XXX using my GF” sign :slight_smile:

2 Likes

Completely love this. Care to share a little more on your process for accomplishing this wizardry?

4 Likes

OK, so here is where I learned how to do this, and also where I got the acid and other materials that I’ve made things with; it’s a great site & a great tutorial! Actually, just one of many tutorials that they have…

But it is based on what I will call “the old way”, of using transfer paper, that you would have to print out in reverse (on a laser printer, btw; an inkjet printer is useless for that), and then iron it on to your material.

That crucial step was hit and miss; the print didn’t always stick well, and once you peeled it off & saw that it didn’t transfer well…um, let’s just say “good luck in trying to fix it!”; you really needed to do it all over again.

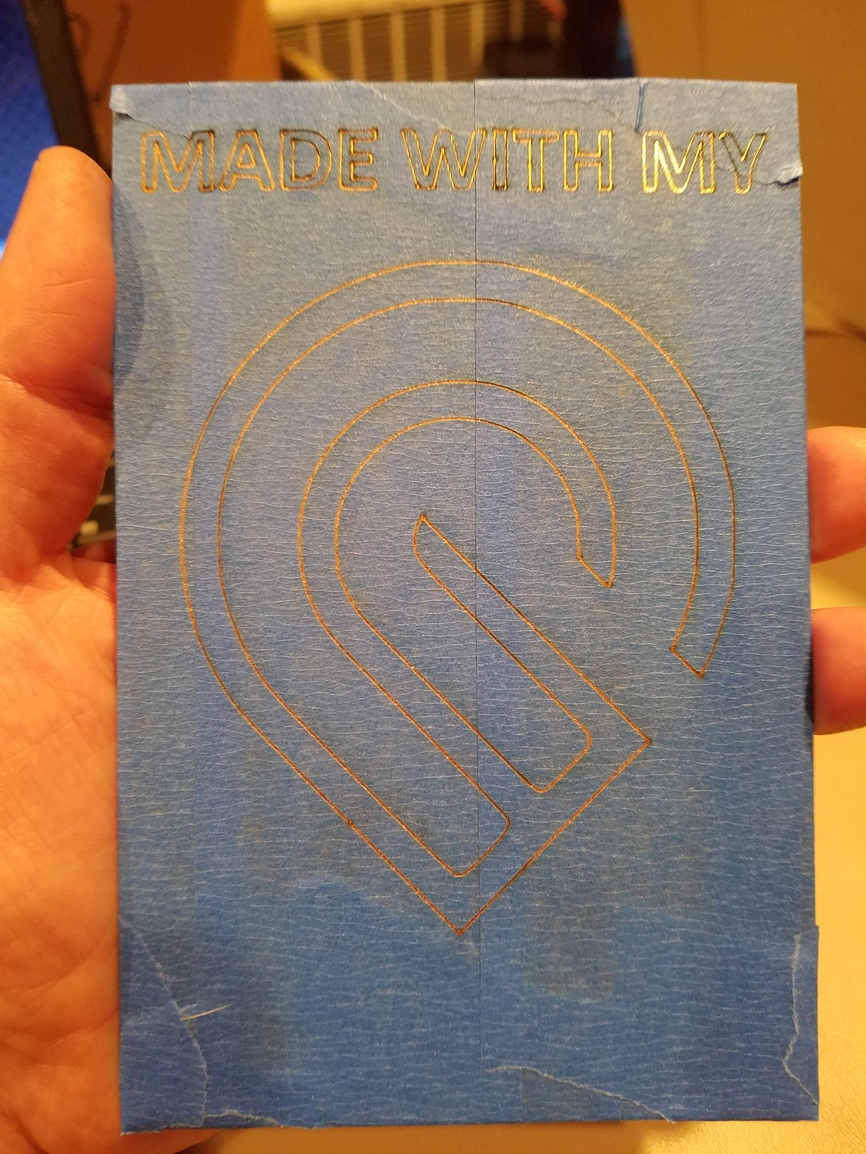
Using the GF, I was able to cut the stencil right onto the material, using blue tape (any masking tape will do), and that is sooooooo much easier. Paint creep is always a problem I have, but I will be more diligent in the future & press the tape down harder!

OK, here’s the step by step:

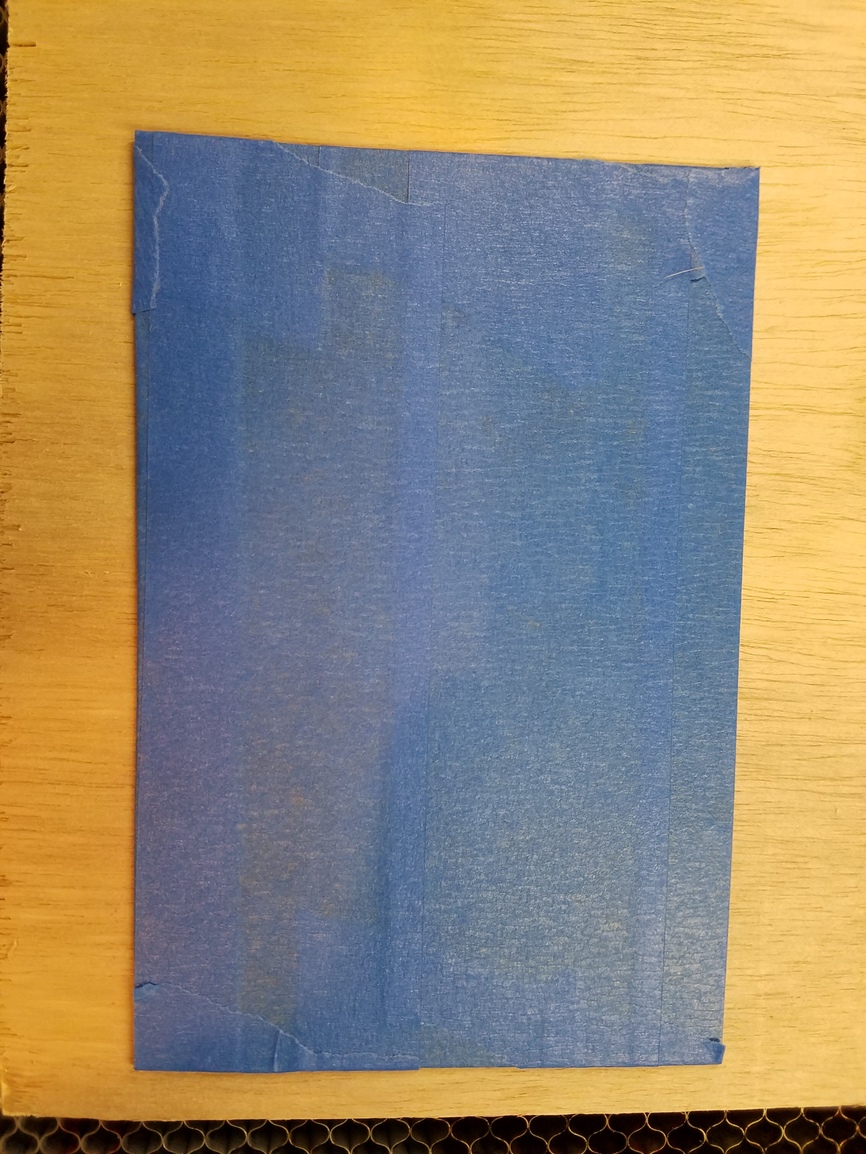
Covered the plate with tape:
Cut the design; settings were 10% power, 100 speed:
Started using a sharpie, but it was old & crappy…so I got lazy and switched to spray paint:
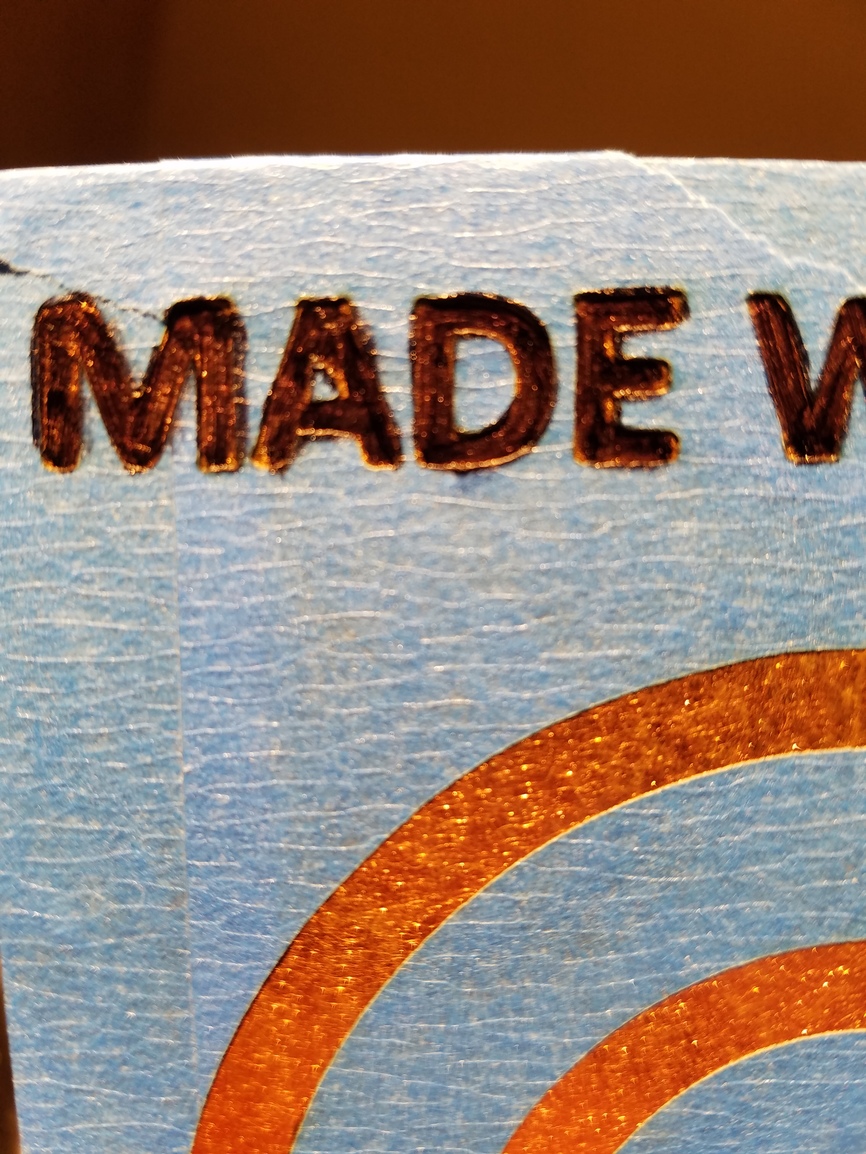
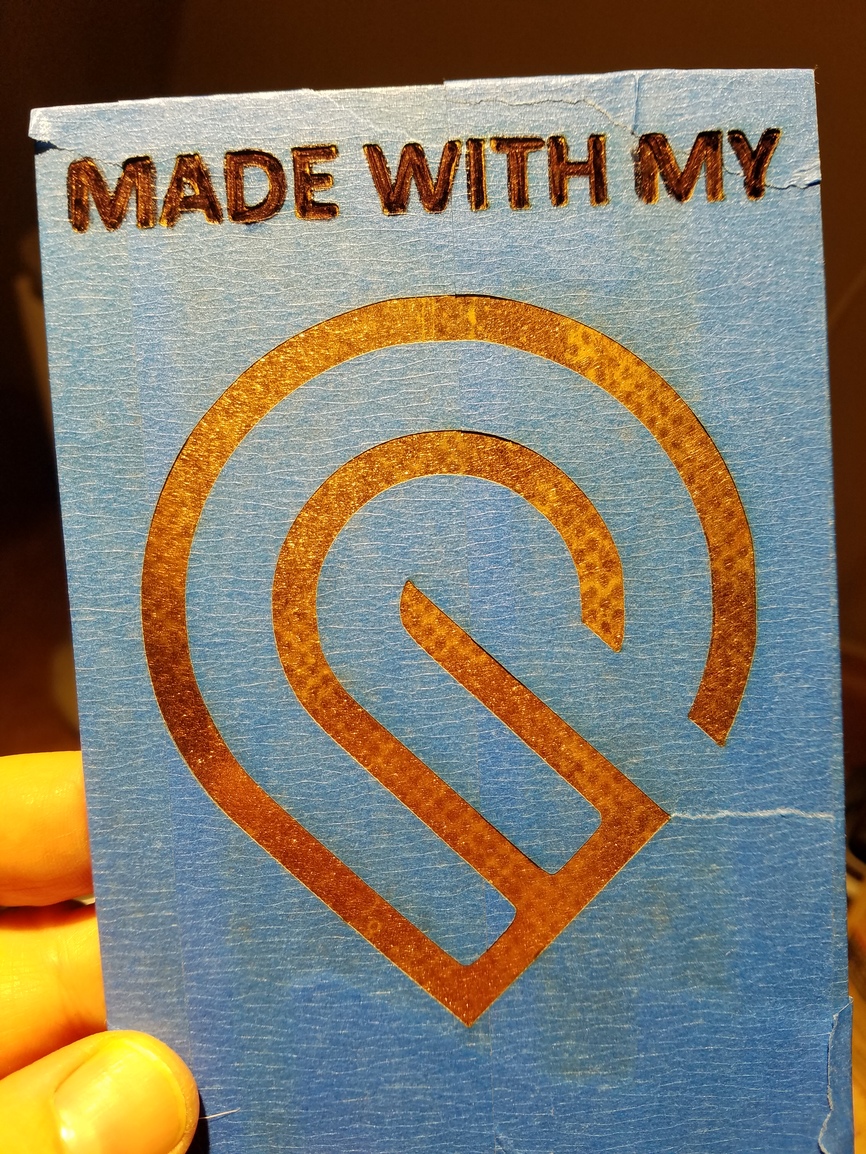
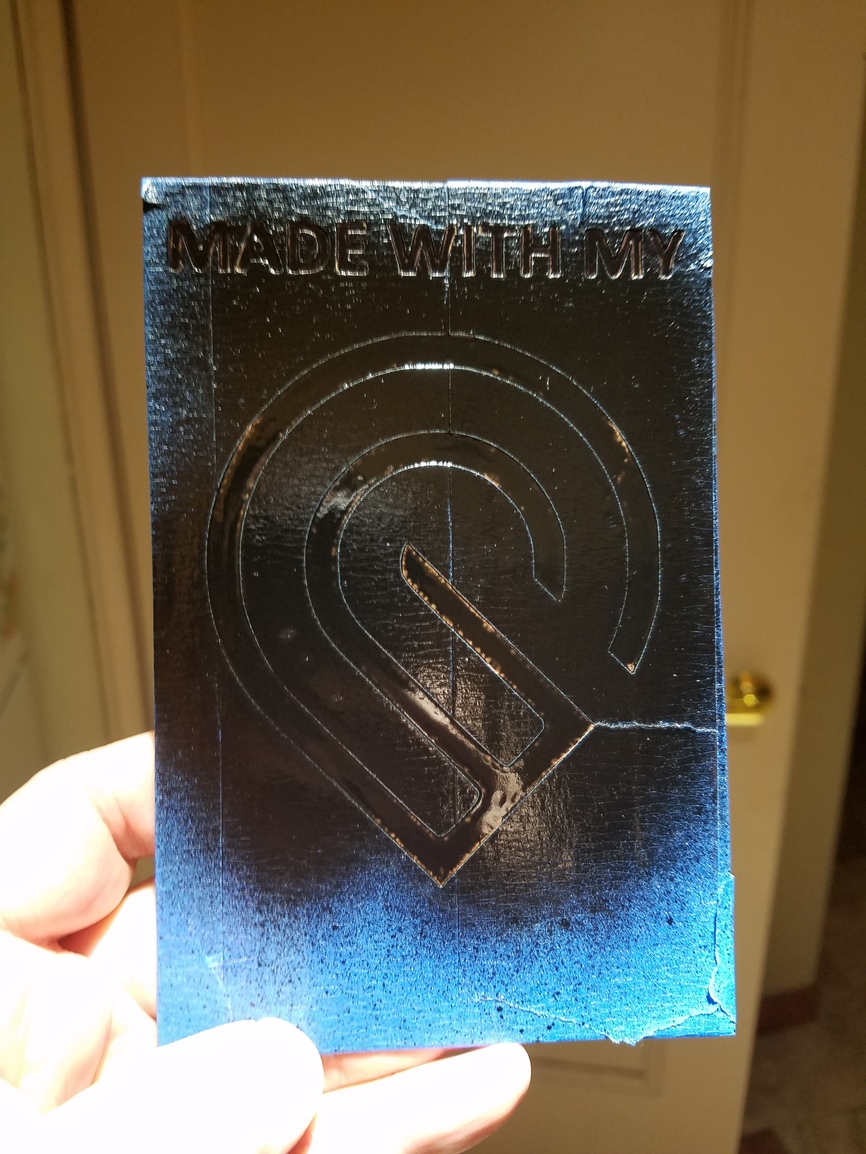
Which worked pretty well, except for 4 things to keep in mind:

  1. Took waaayyy too long to dry; sharpie is instant, paint took overnight
  2. It bled under the tape in a few spots
  3. Stuck to the tape in a few spots and peeled away with it, requiring a couple of touch-ups with the sharpie
  4. Requires a much more rigorous removal effort with steel wool, compared to a sharpie

You can see the spots that I had to manually clean off where it bled, as well as touch up because it peeled off. These steps would not have been necessary if I had just gone and used a new marker, lol:

Added a border with a new (brown) sharpie:
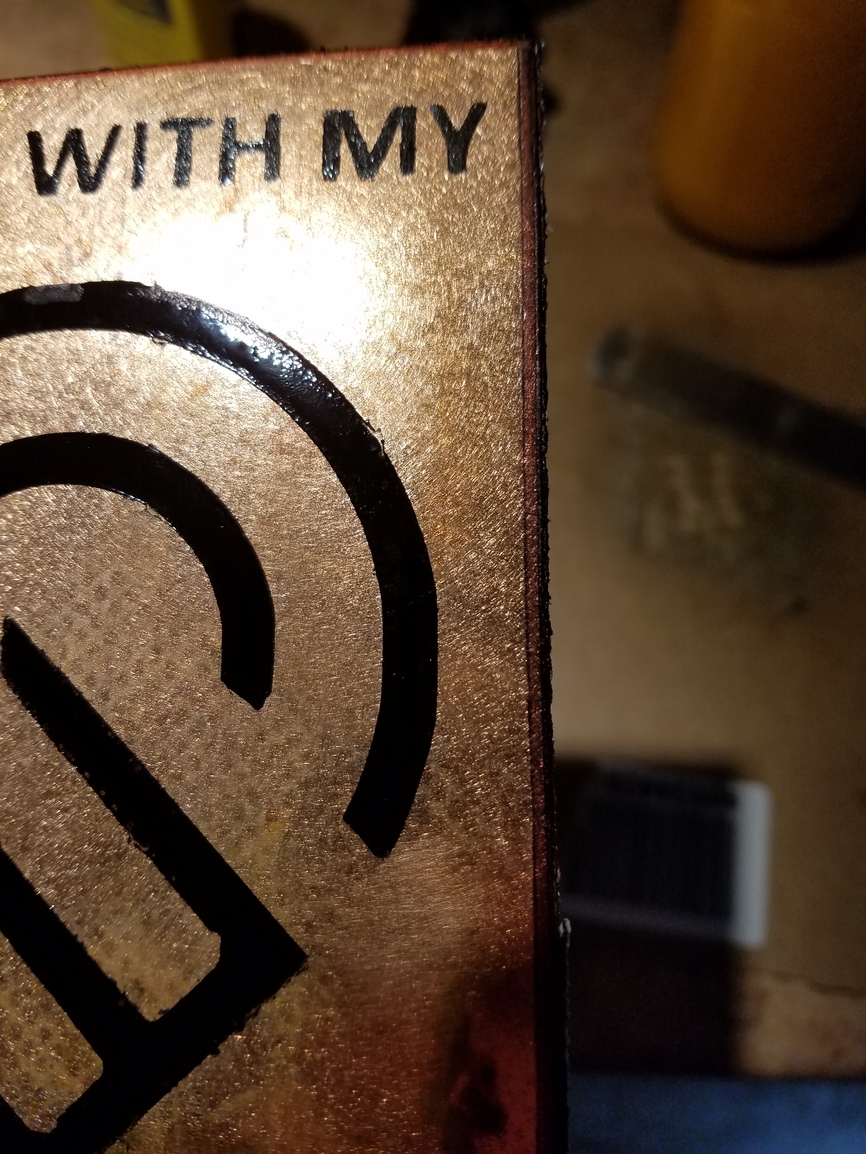
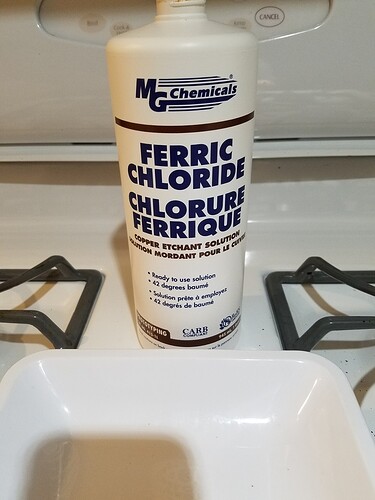
The acid:

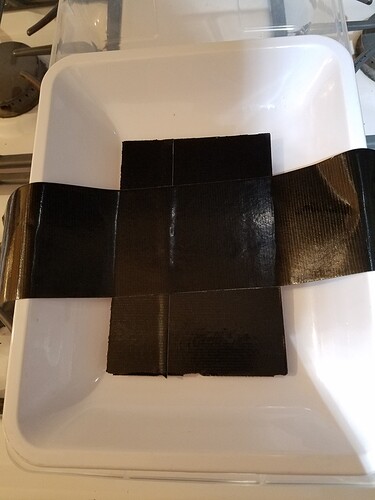
Taped the back fully, and had drawn on all the edges with a sharpie, to keep those areas protected:

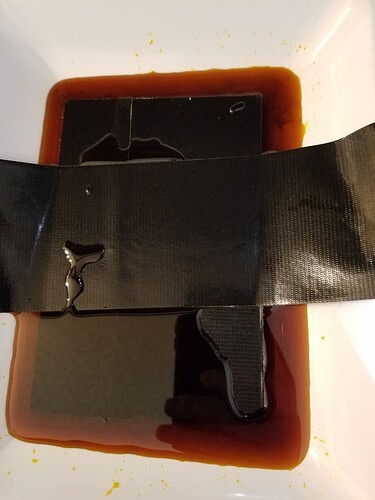
Let’s take a 3 hour bath, shall we?! :slight_smile:

This is what it looks like when it first comes out of the bath (and baking soda for neutralizing) :scream:

But after some tender loving care with a steel wool pad, we get this:
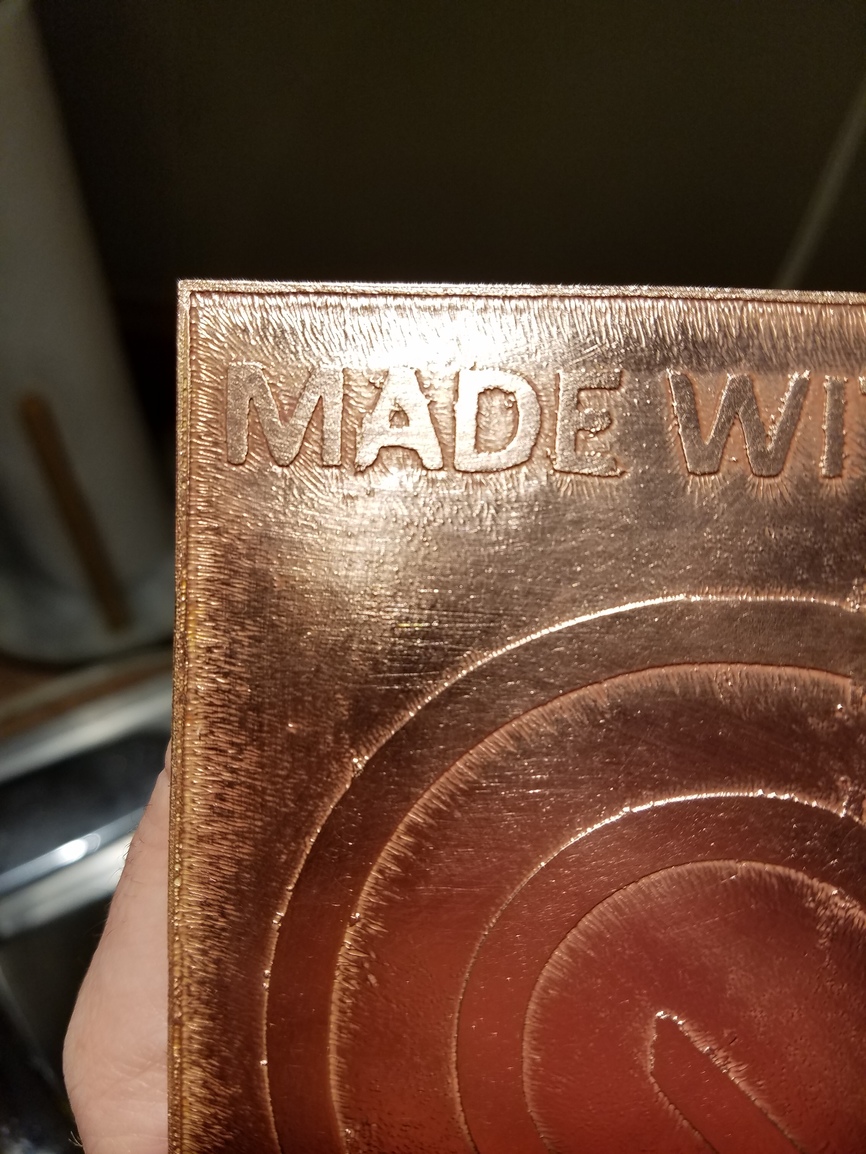

Hope you guys like it! This is my biggest thank you to the community (especially all who have helped me in so many other areas), the staff at GF, and all the other customers…

75 Likes