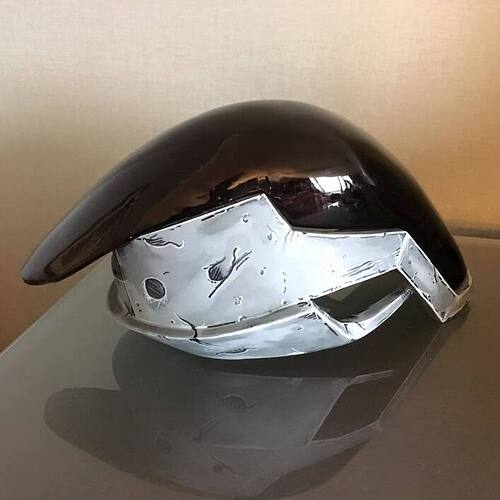
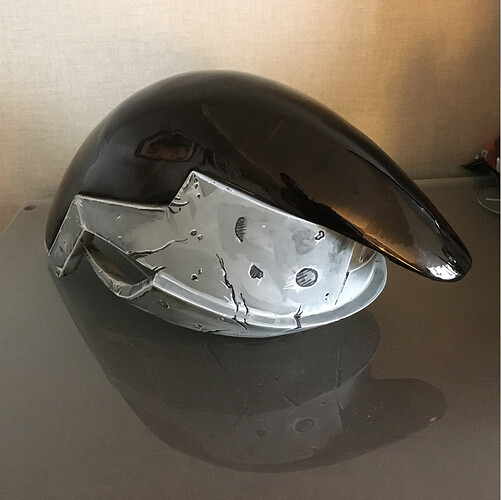
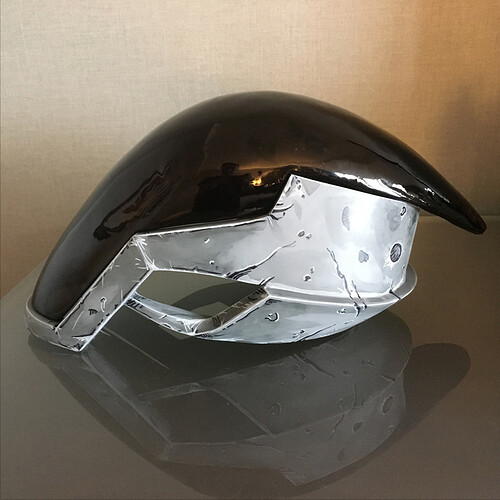
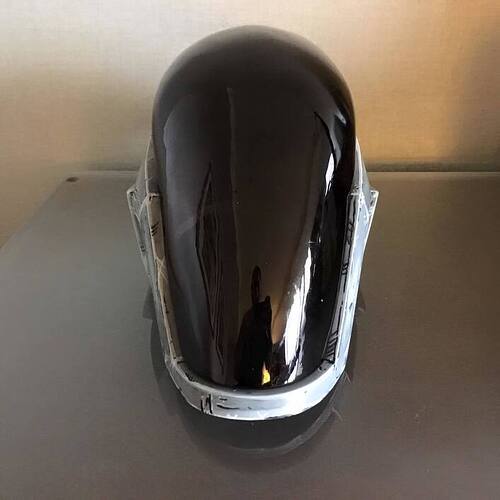
I decided I wanted to make a borderlands costume, and as zer0 was my favorite character, I went with him. The two most complicated pieces of the costume are the helmet and the sword. There are a few places that you can buy helmets, but some of them look a bit off, so I committed to making one myself. Below is the process I used, so buckle up, its gonna be a long post!
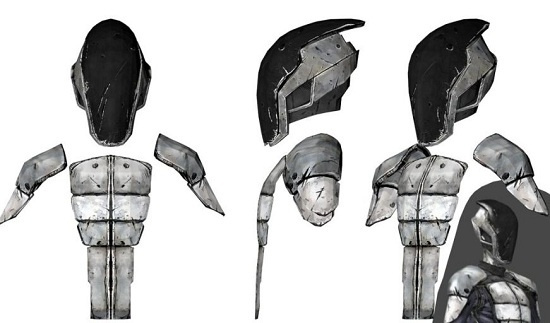
This is what the helmet looks like from the game, and what I will be modeling everything after.
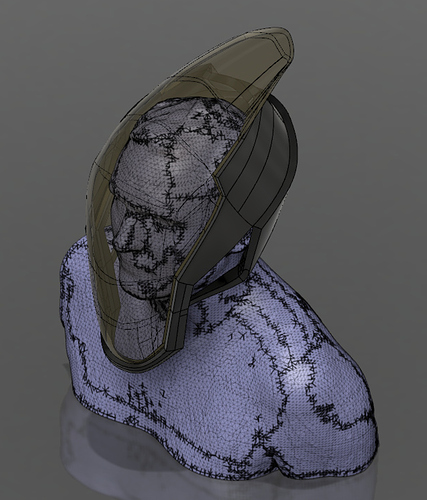
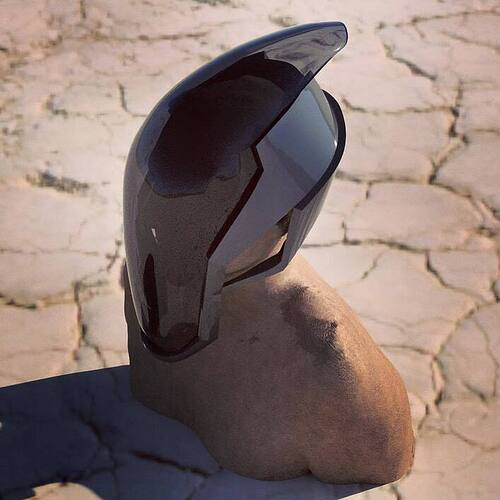
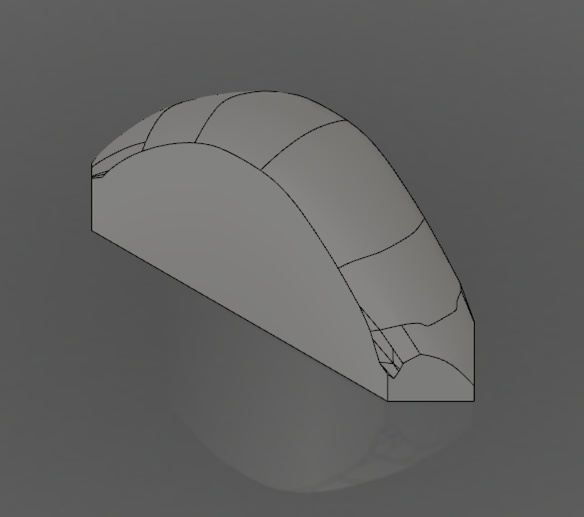
The first step was to build a 3d model of the helmet so I 3d scanned my bust and modeled the helmet around it:
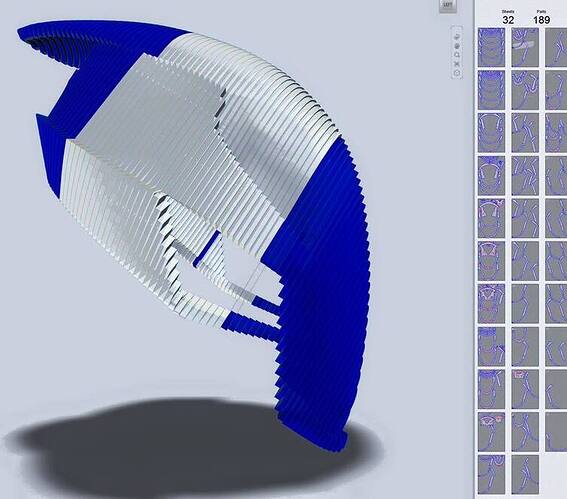
I exported the visor and headshell as once piece and pulled it into 123d make to break it into layers.
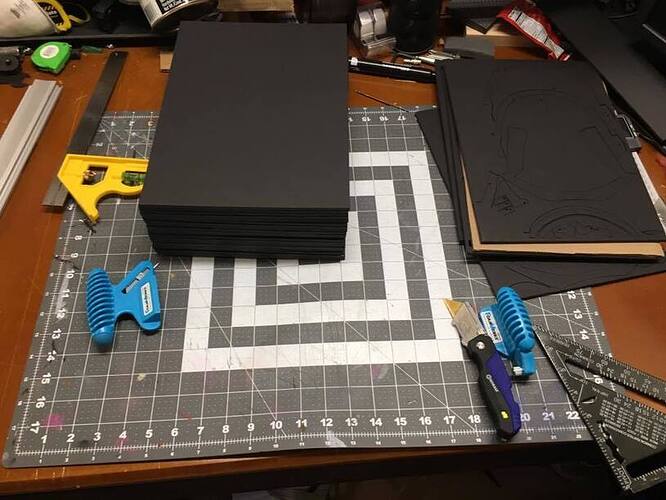
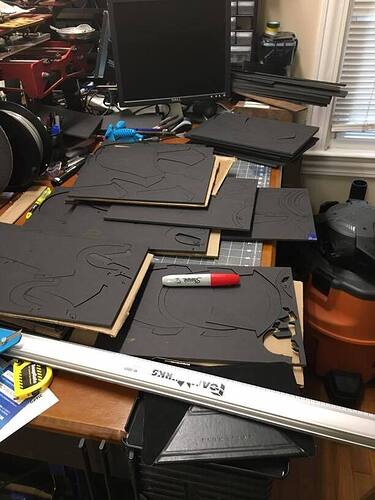
…about 145 layers on 32 sheets of 9x12" foamcore to be exact. I chose black foamcore which really sucked to try to write on. its very important to be able to see how each piece is numbered, especially when there are hundreds of pieces. Youll be able to see later on why black foamcore was a better choice in the end however.
I also picked up some fairly thick metal wire for keying. Bend it straight and use it as rods to make sure everything is aligned.
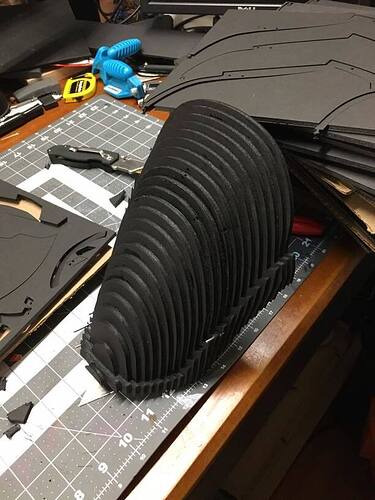
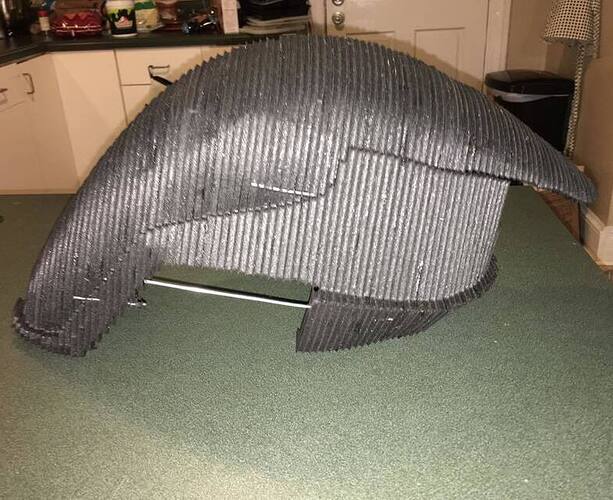
The next step was just putting them all together. I used rubber cement and thick metal wiring to get everything in place. Rubber cement holds well enough, and is also easy to pull apart should you get your alignment off. I knew that I was going to be covering this in bondo which would ultimately keep it together, even if the bondo failed.
This is the fully glued up helmet. I decided not to do the lower small piece with foam because they only had 1 rod and were just spinning, not really holding any shape.
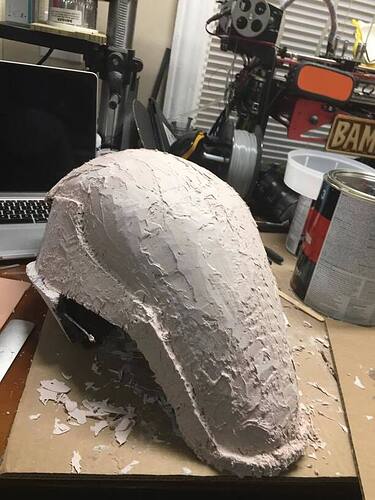
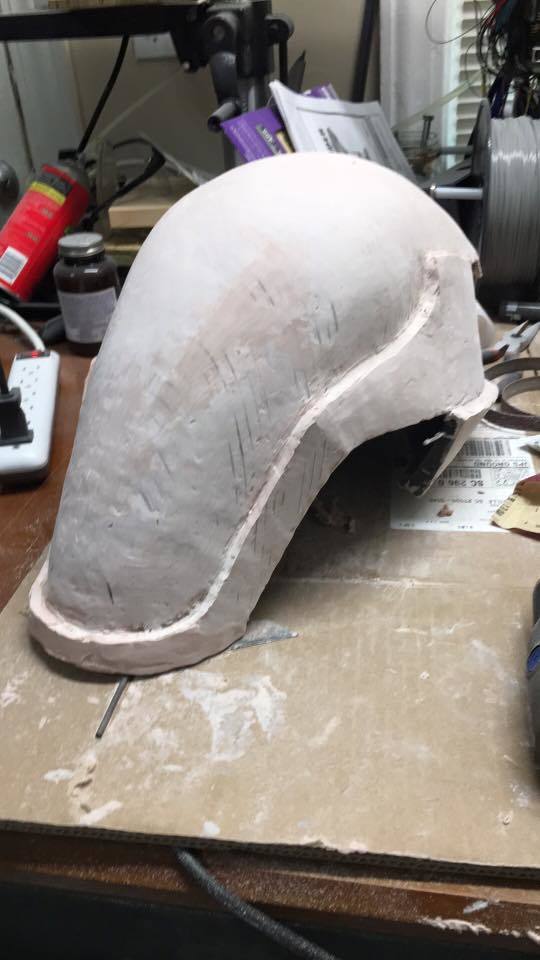
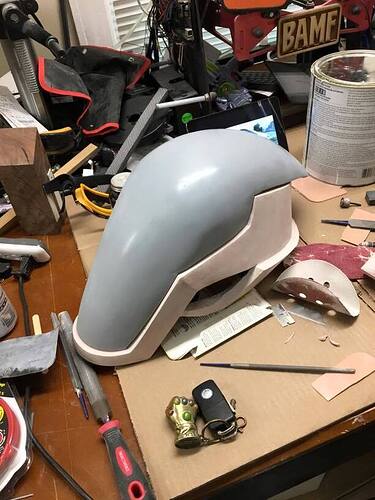
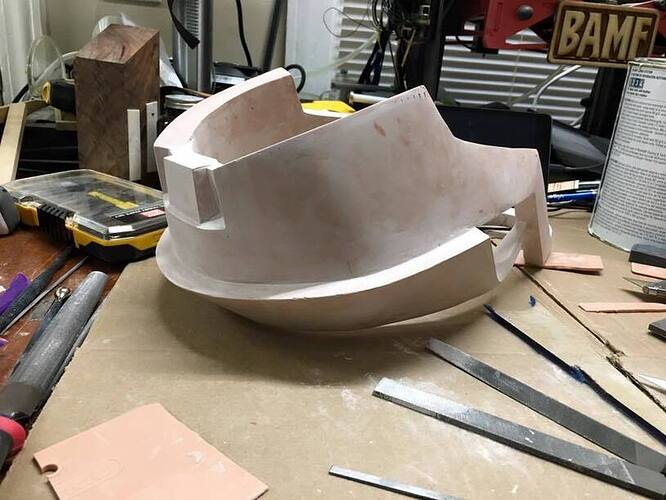
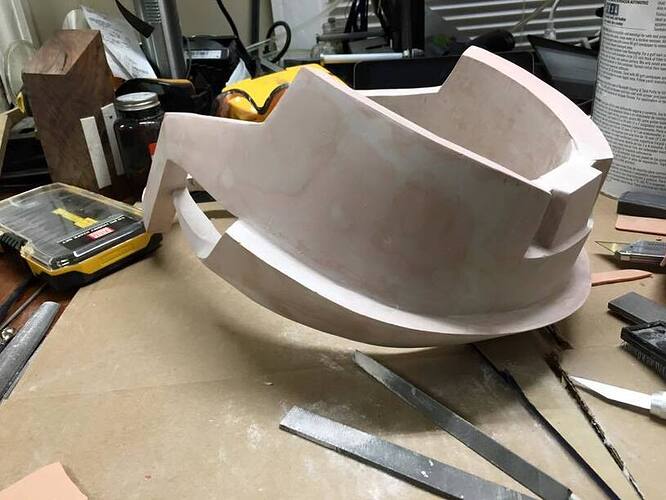
Time for bondo! coat it. work it into the corners. sand down smooth. very long and dusty process.
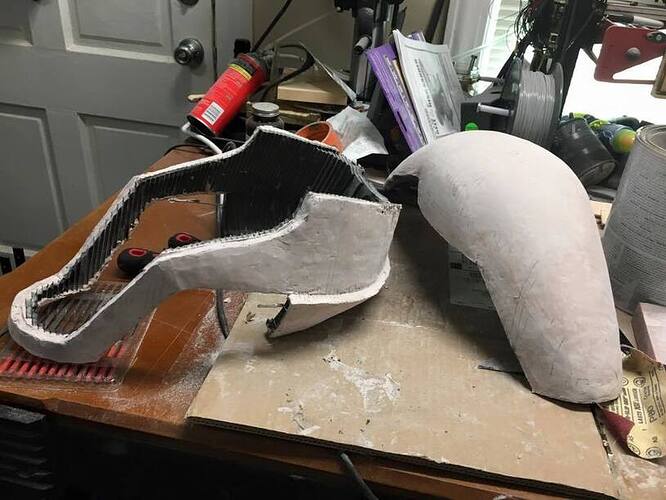
Its starting to take shape. Here is where you can see why it was a good idea to use black foamcore. When you start sanding down too far you have a very visible notifier that you need to stop sanding there. This will keep you as true as possible to the original design. Very helpful.
Once the visor had been coated significantly to hold its own shape without the rest of the skeleton, I cut it off and began to cover the rest in bondo and get the visor ready for vacuforming.
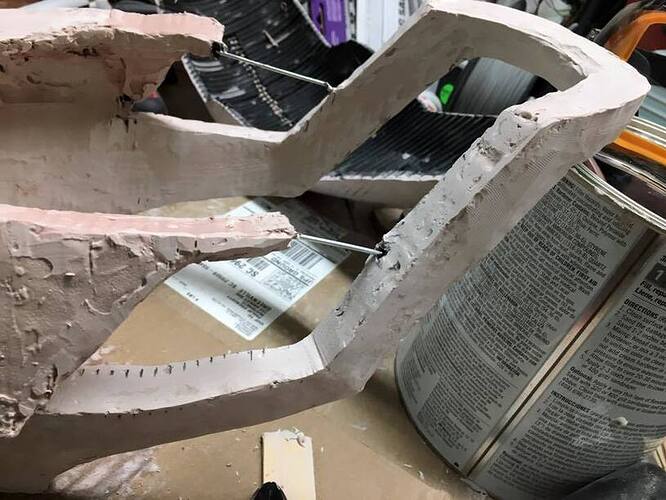
Here are the solder joints for the jawline pieces. So much better to sculpt without the foam in the way.
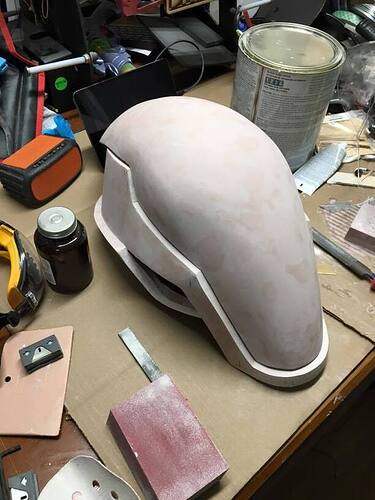
The visor is smooth enough for vacuforming, and ready to be primed. For .080 PETG, smoothing to 320 grit will be more than adequate.
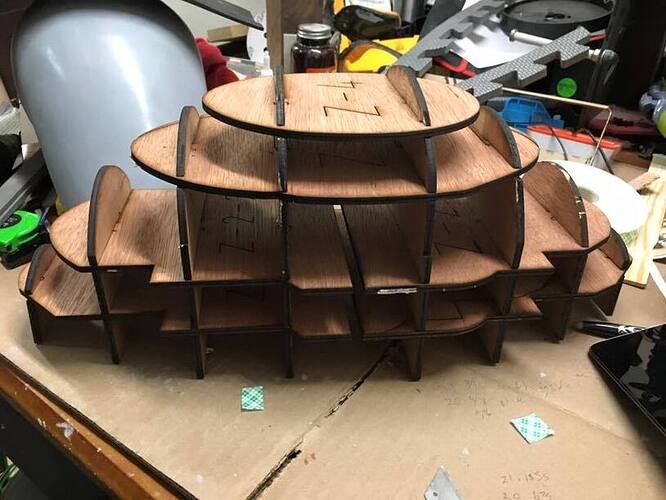
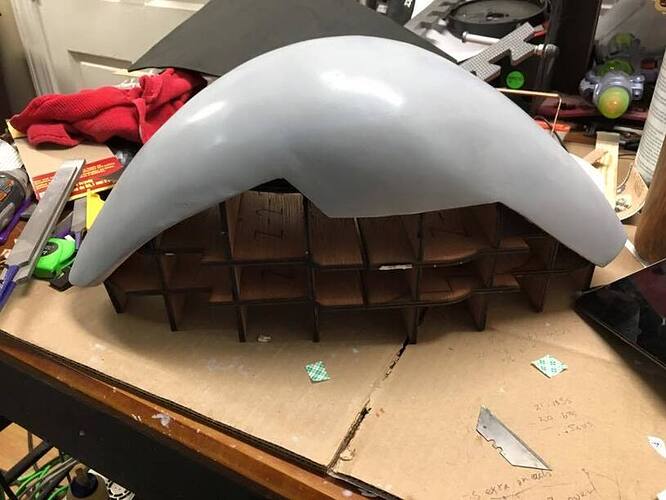
I had to make a scaffold to support the visor during vacuforming, so I subtracted the mask from a solid shape to get a perfectly fitting profile buck
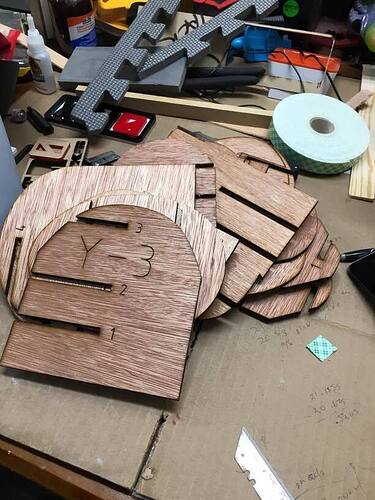
I pulled this into 123d make as well, and used the cross support layout to create the pieces which were laser cut out of 10 pieces of 5mm ply which I will most definitely be using in the future. I love working with this stuff on the laser. I took the extra step of just engraving the pieces with their numbers before cutting. This took a bit more work and double the steps which I think could be done way more quickly on the glowforge. However having them numbered made things move much more quickly in construction.
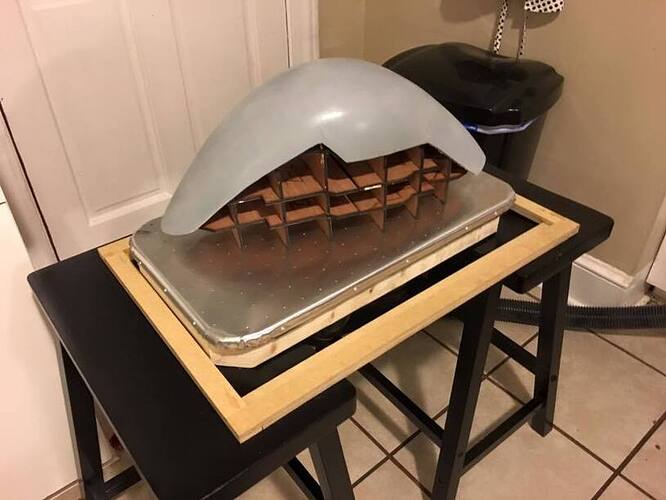
I then had to get a vacuforming plate ready, which was a whole other build process in itself. I did however use the laser to cut out templates of the corner cuts I had to make on the aluminum sheets for consistency. There were 3 different corner cuts for the pieces of plates. I used leftover foamcore, and then traced around them. Then I did the rest of the plate construction. Ready for vacuforming!
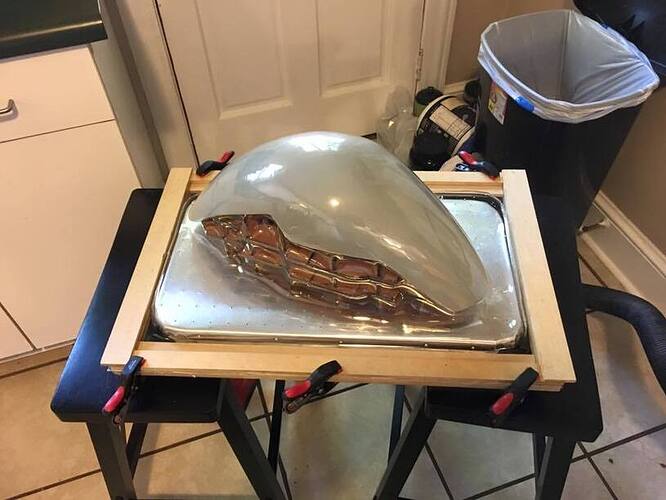
Testing the fit of everything and practicing pulling the plastic out of the oven and placing it over the buck. This part was a bit nerve racking as I only had 3 pieces to get it right.
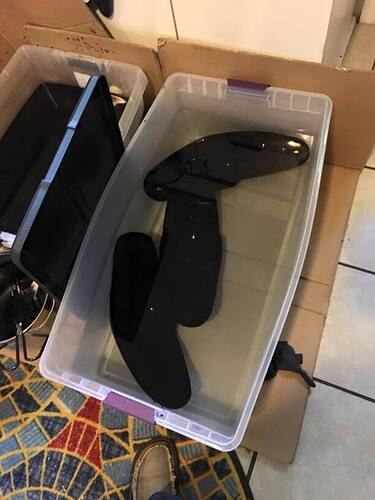
SUCCESS!!! now to cut and pry this off the buck. What a pain! Once the pieces were cut off and cleaned up its time for dying.
After that I had to finish a few more details on the headshell and sand smooth. (there was a bit more cleanup after this, but this was fairly close to the end product minus some edge sharpening, and pits being filled in).
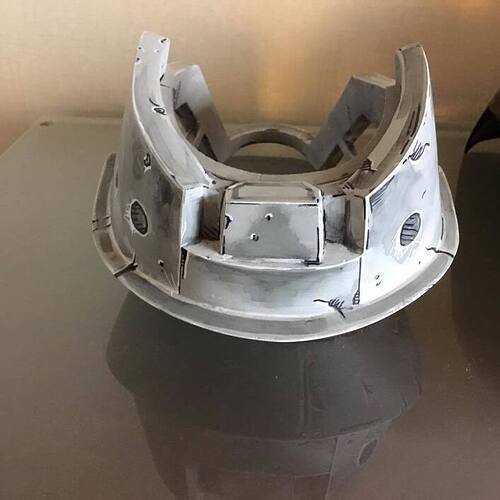
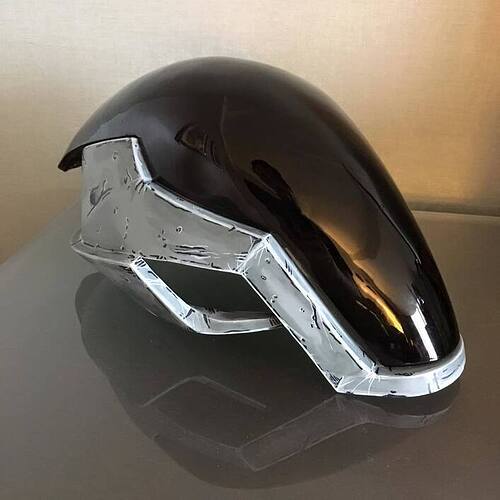
Now its time for primer and cel shading to match the original helmet. I used filler primer, watercolor markers, sharpies, and paint pens to get the final finish. I secured the visor with neodymium magnets to make it removable so I could drink/converse/cool off easily, and covered the ear holes with fabric so that I could hear out of them and get some airflow.
A piece of leftover EVA foam on the back of the inside was all that I needed to keep it sitting properly and comfortably as I modeled it around my actual head.
The Final Product:
It turned out great and I got to wear it all weekend. Visibility was the same as a pair of sunglasses. Hope you enjoyed this post, let me know if you have any questions!
