Ceramic Tile + Calligraphy Ink

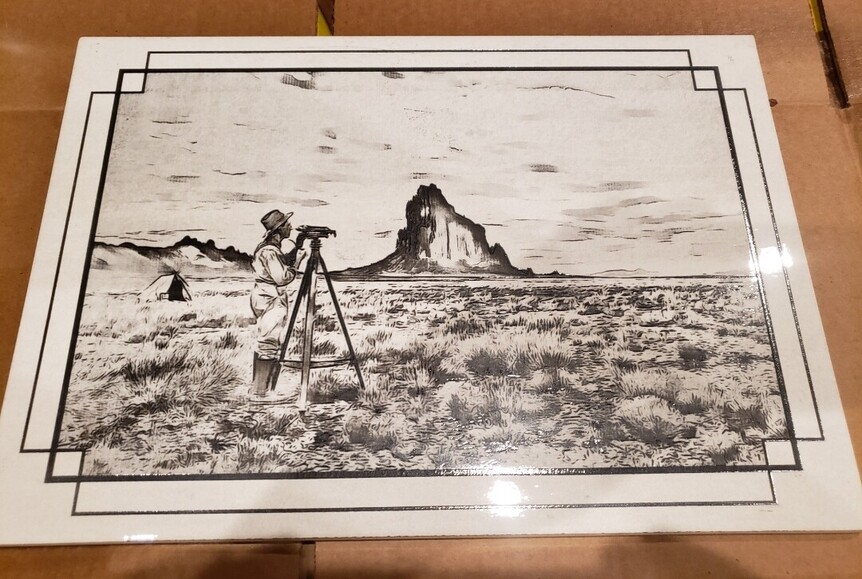
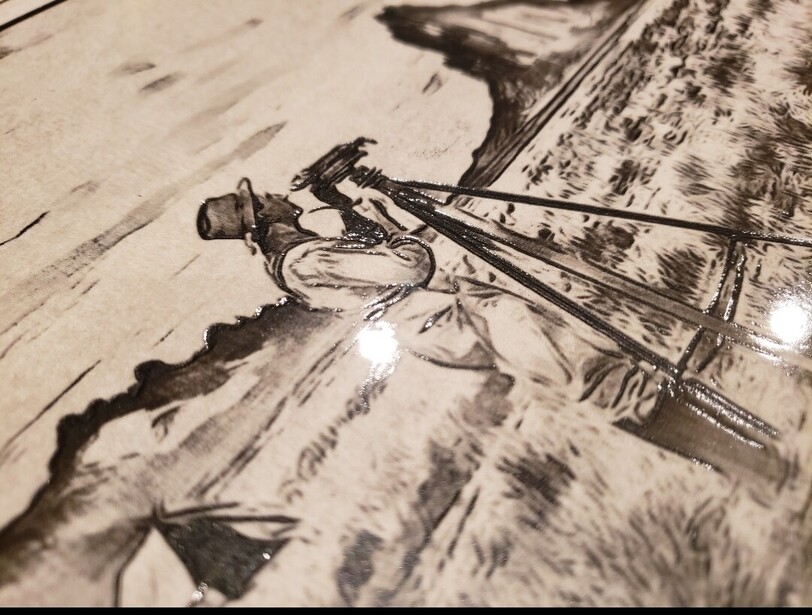
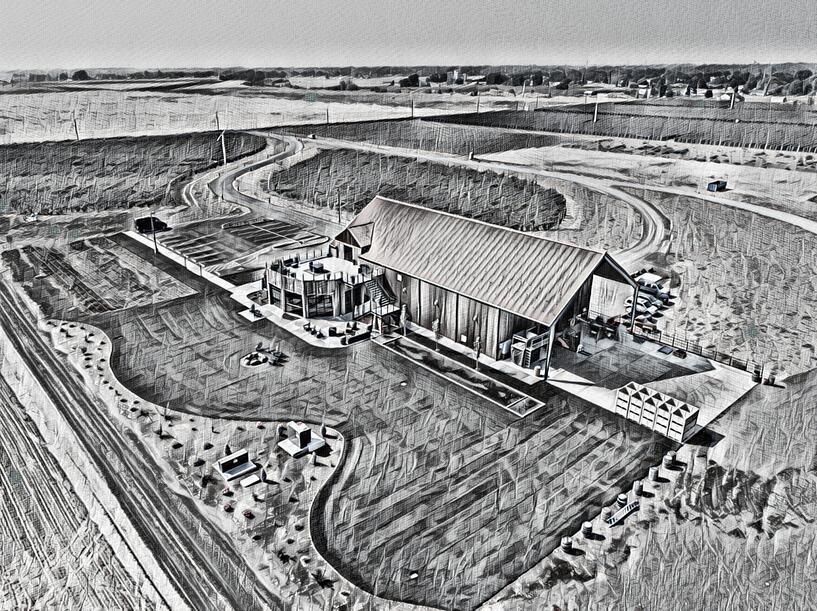
I know there have been a lot of posts here about engraving on tile, but I wanted to add my own "ah HA!"s and a couple of examples as well. Short & Sweet…

Material - 4.25x4.25 and 10x14 ceramic “alabaster” tiles from Home depot.

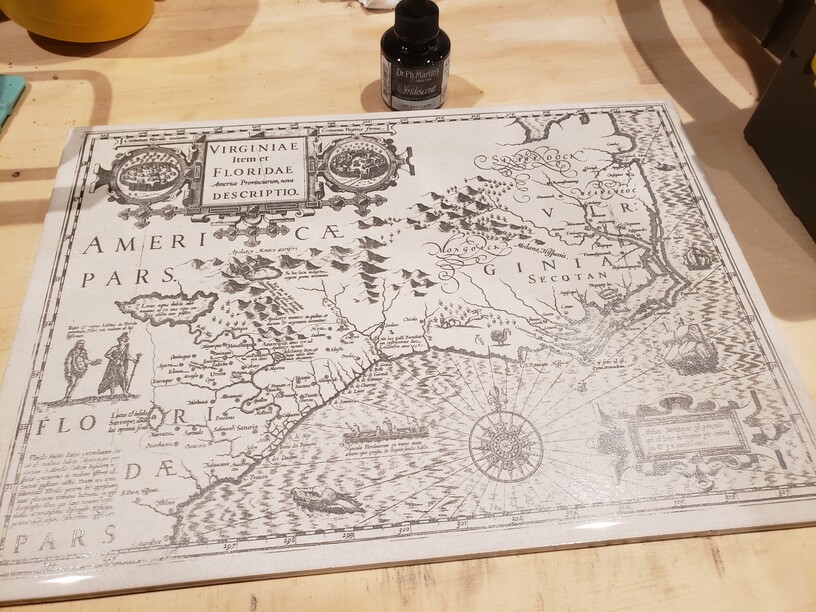
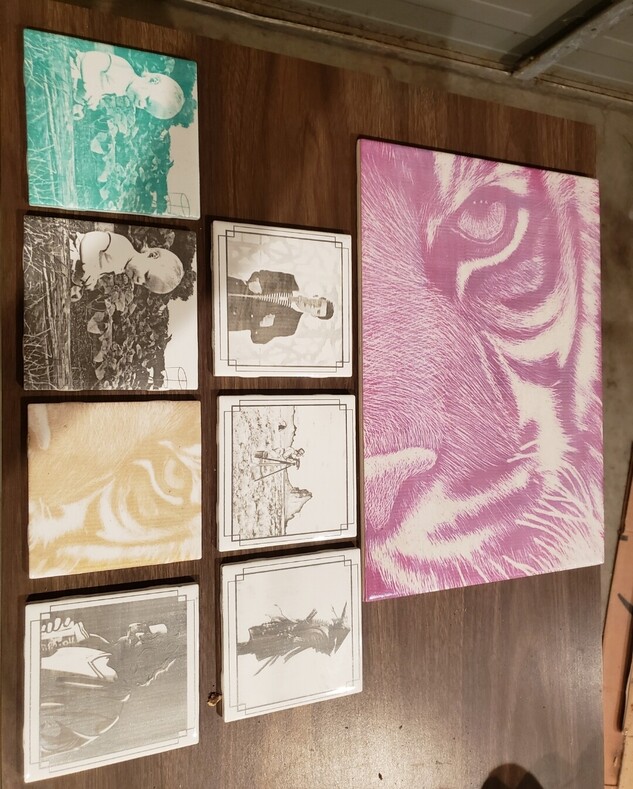
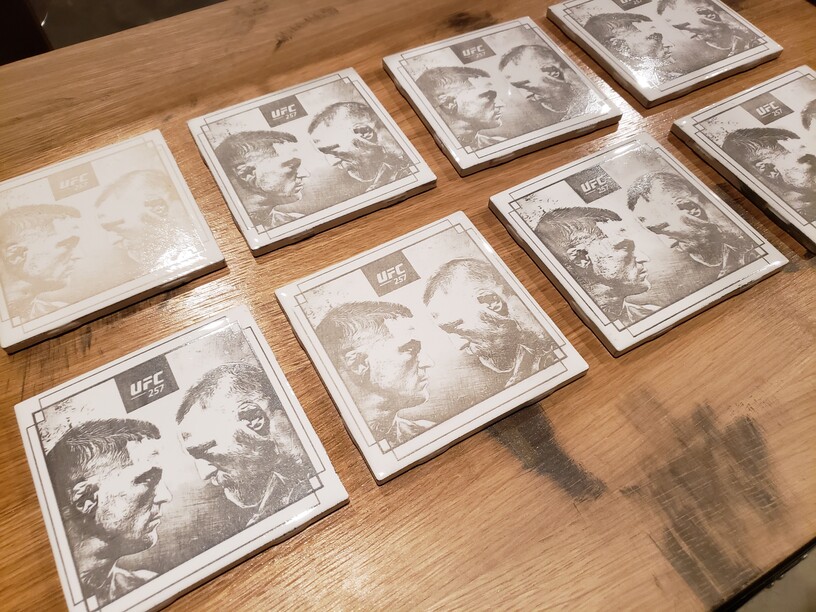
Color - “Dr. Ph. Martin’s Iridescent calligraphy colors” (available at Hobby Lobby)

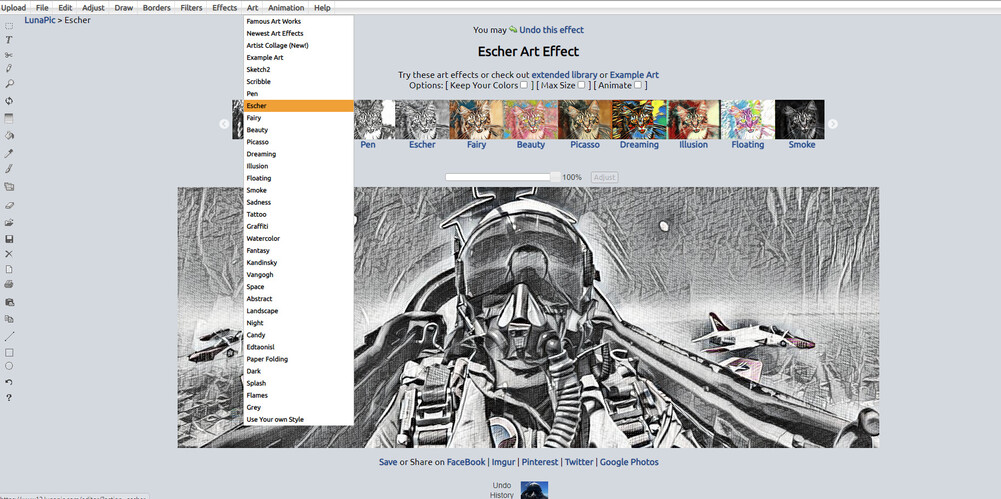
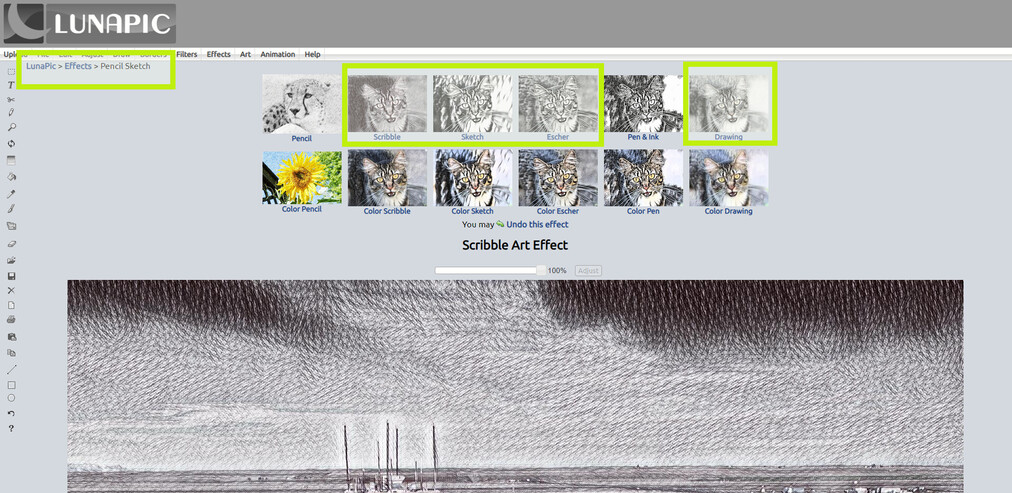
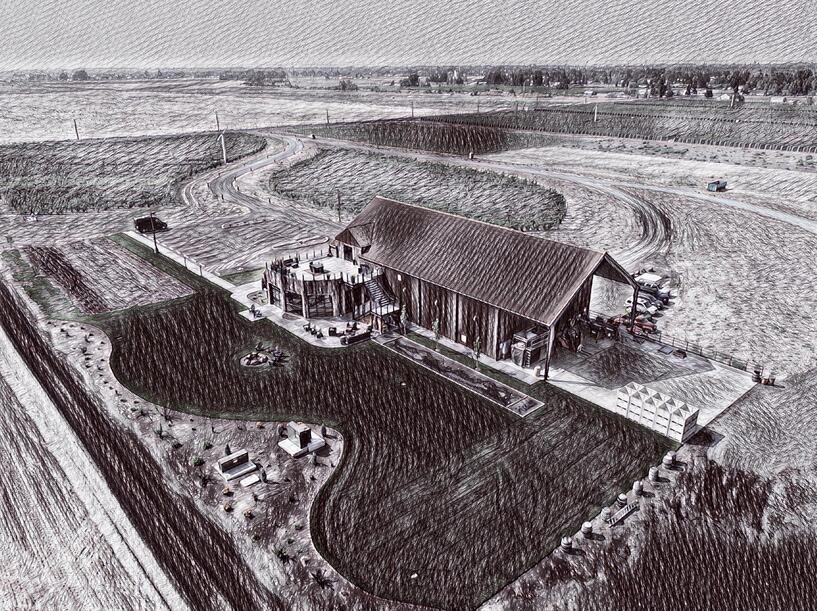
Photo & file prep - “Lunapic.com” (free) or BeFunky.com (paid, but better results) to apply a sketch filter that works better for engraving, then on to Inkscape to prep the svg.

Engrave settings:
Lighest/Fastest - 1000 speed, full power, 340LPI Vary power

Darker engraves / better results - 800 speed, full power, 640LPI Vary Power

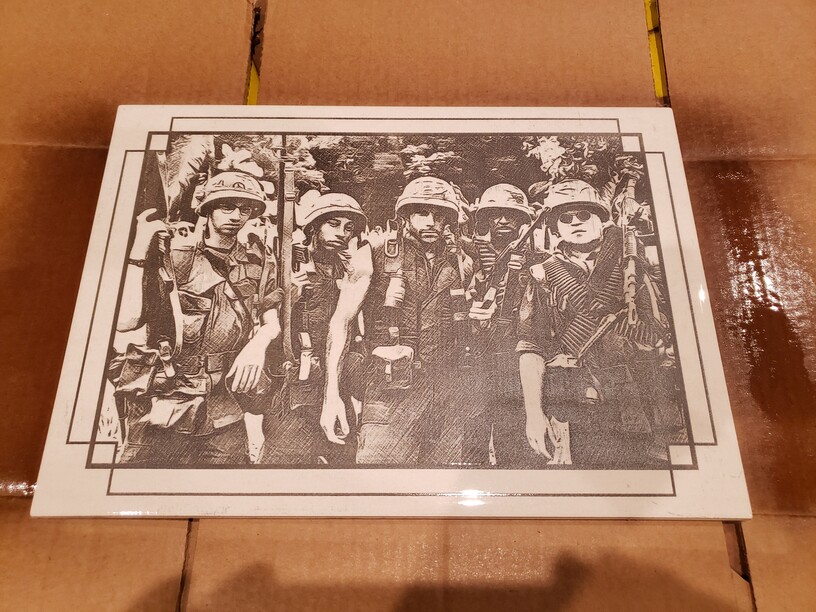
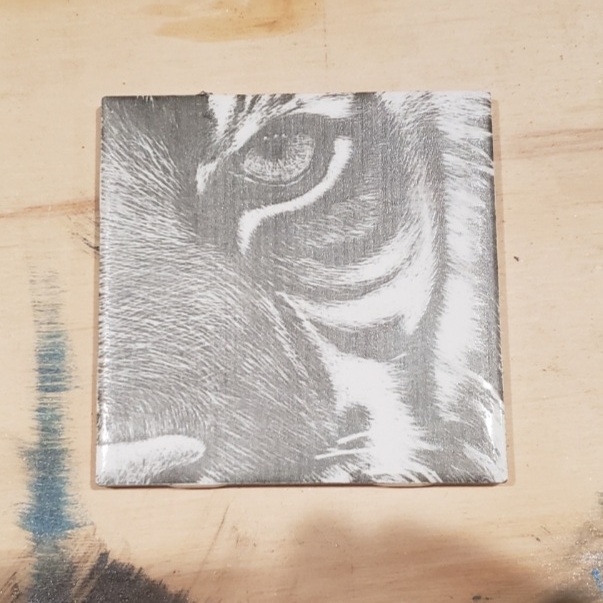
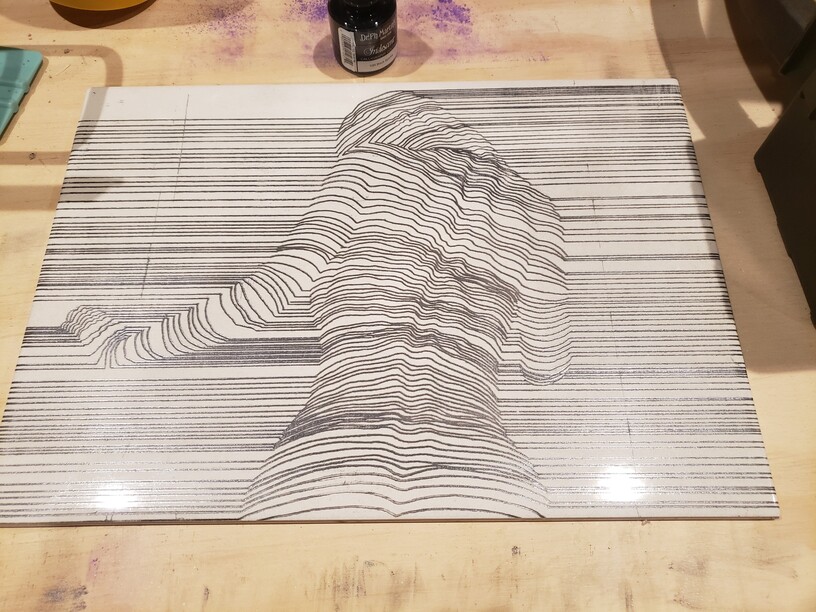
Best contrast / best results (but no pictures yet) - 850 speed, 75 power, 1355LPI Vary Power (and a whopping 12 hours to engrave a 10x14)
(edit: The file I engraved was saved as 800/90/1355, so I’m not sure if I did one of the settings or the other. I have a file engraving right now with the settings that were saved so I’ll edit this post once I figure out which is which. Example of this engrave is a few posts below)
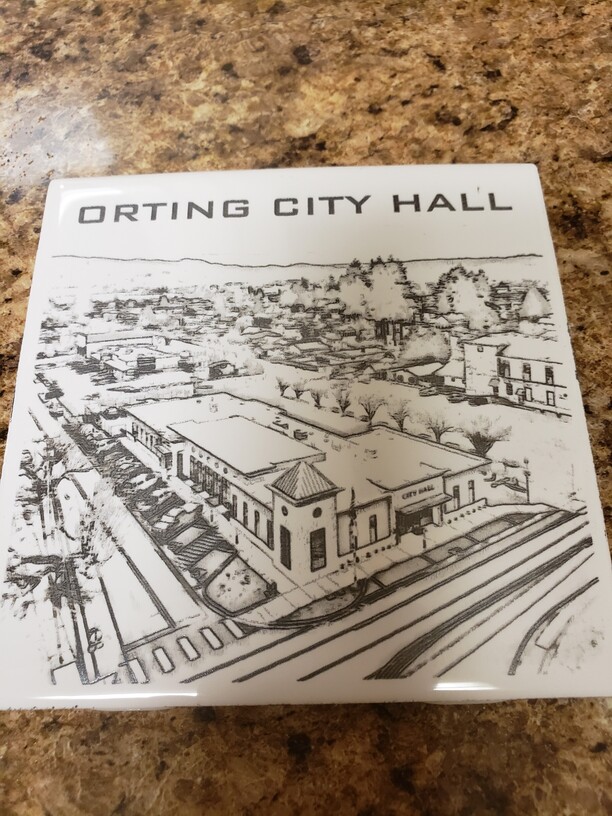
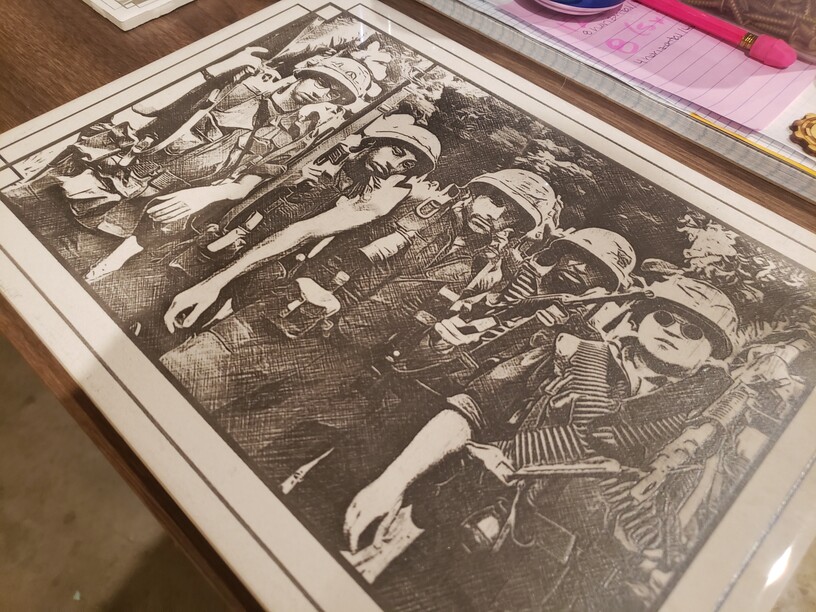
edit: The engrave settings I settled on are 1000speed/Full power/Vary Power/675LPI. This will engrave well when using the black calligraphy ink, which actually looks great with your run-of-the-mill greyscale photos as well. The other colors always come out too light to be acceptable. Sharpie looks good though.

Process:
edit: Before engraving, make sure you clean your new tiles off thoroughly to remove the residue that (I assume) is put there to cushion stacked tiles and reduce breakage. Alcohol and a coarse rag work fine with a mild-moderate amount of scrubbing, but I’m lazy and have a drill with an attachment that worked well and only took about 10 seconds to clean off with a spray of alcohol.

After engraving, I do a quick wipe with alcohol and then drop 3 to 8 drops of calligraphy ink on the tile and spread it around with a foam brush. On some of the lighter examples, I immediately wiped the excess ink off with a dry shop towel. On the darker engraves, I let the ink sit for about 10 minutes before wiping it off with a very small amount of windex. I’m currently playing around with different sealing options, but the process of adding color using this calligraphy ink is the easiest one I’ve found yet and really only takes a couple of minutes.
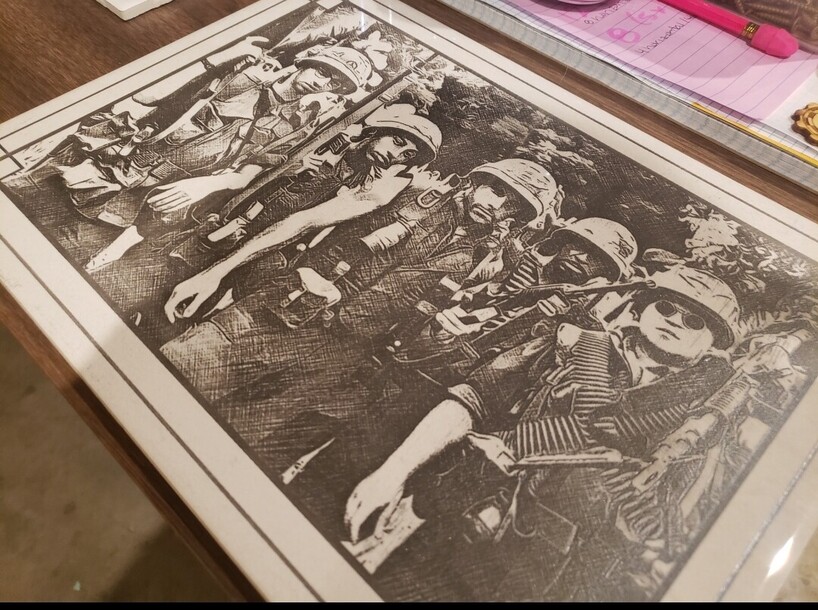
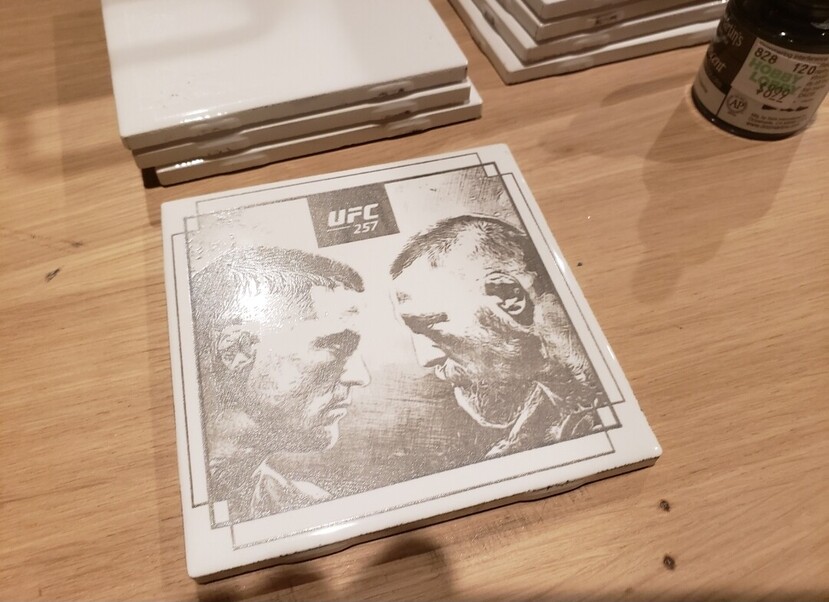
Results:


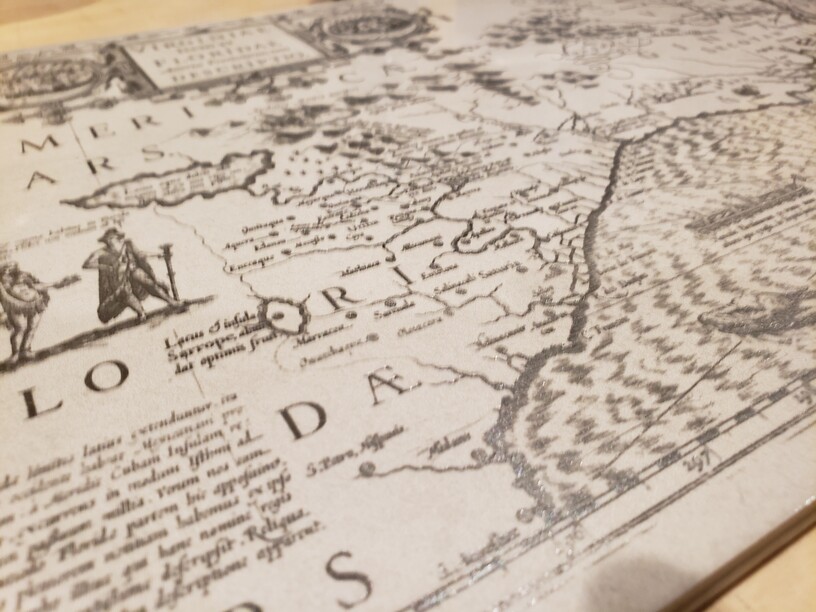
edit: Note the 2x top-bottom lines below, from not cleaning the residue off of the tiles before engraving.

And the sites I use for prepping photos:
Lunapic (Free):

BeFunky (Paid, but better results for engraving images)(Crosshatch DLX and Inkwash DLX yield the best results):

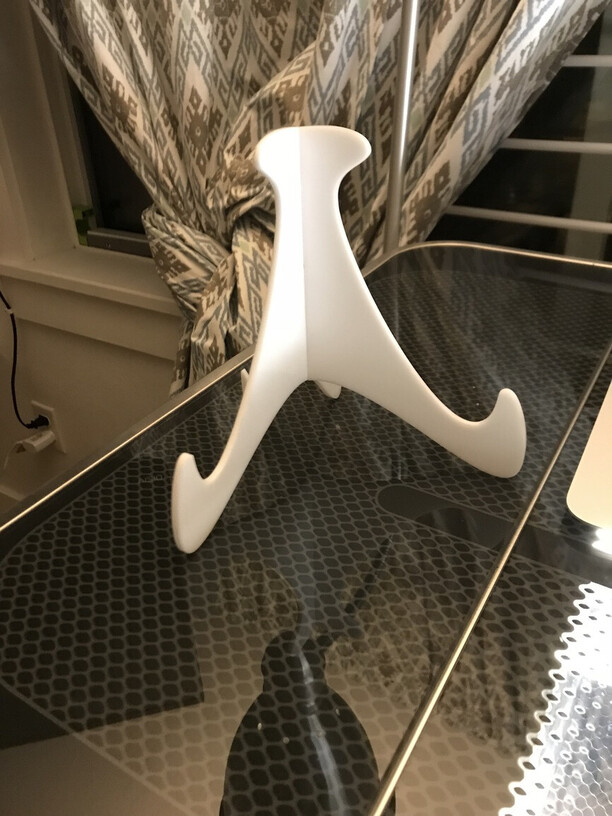
edit: And thank you to @Janerlea for her post for a great display option (and example picture below: Free Art / Book Stand - Personal Use

50 Likes

I :two_hearts: Dr. Martin’s inks.

1 Like

Those are gorgeous! I haven’t tried calligraphy ink, but I’ve got some so hmmmmm :stuck_out_tongue:

I think I’ve got a crosshatching filter on the app on my phone. I’ll have to give that a shot too!

BTW, non-PG settings can only be posted in the Beyond the Manual area (lawyers). You can edit and move your entire post, or just create a 2nd post in BtM with the settings you used and link that back here.

1 Like

Thanks @deirdrebeth ! I just moved it over.

The calligraphy ink application is definitely much easier to do than the sharpie one, although that’s pretty damn simple too. It seems like colors are more consistent with the calligraphy ink, and the iridescent line is gorgeous. These photos really don’t do that ink any justice.

I’ve had a lot of luck with different sketch filters, especially on wood. I spent quite a while trying to do some edits in photoshop and make those work, but never had as much luck as I did with the different filters on lunapic and befunky. Some photos look better with different filters, but these are the main ones I use on Lunapic:

doubleback_escher|668x500

!

6 Likes

I am entranced by this drawing. Is it your original art?

8 Likes

Your tiles are really nice. Thanks for sharing your technique.

1 Like

Very nice results. I have used alcohol ink on a few occasions, but I’m not familiar with calligraphy ink. Do you know if they are similar?

2 Likes

Nope. I make maps, so I just searched Google for a contour line image to use as a test and I liked this one. Search for “body contour art”

3 Likes

No idea at all. This is my first time using this ink.

Here’s a picture of the 12 hour engrave that I mentioned in the first post. Would love to find settings to get this result with <6 hours.

16 Likes

That is exceptional!!! Now I’m off to explore a new rabbit hole :stuck_out_tongue_winking_eye:

3 Likes

Calligraphy inks are (generally) archival, they are designed to darken with age as the pigment settles out of whatever the medium is that causes them to be liquid, and the percentage of pigment is very high.
Some inks are suspended in alcohol, so this may be one of those A = B, and B = C, but A ≠ C times.

3 Likes

When I first bought the alcohol ink at Hobby Lobby, they told me I really wanted the calligraphy ink. I usually assume that most box store clerks know little if anything about the products they sell so I said no. Now I may have to go back and eat some crow.

3 Likes

TBF the alcohol inks will deposit their pigment faster…but yeah, they may have been recommending that because with the ones they sell the calligraphy ones have greater pigment.

4 Likes

Love the body contour map. I am going to add calligraphy ink to the shopping list.

1 Like

I love the old map. Things like that fascinate me. The inks give a very nice contrast. Kudos.

2 Likes

I have this one going right now. Love these old maps.

7 Likes

How has no one commented on the Tropic Thunder pic :joy:

12 hours is up there, I haven’t heard of anyone going that long, but I’m sure there are some. The longest I pushed mine was over 6 hours, which I don’t plan on ever doing again! That map is fascinating with all of the details there, great work.

4 Likes

Totes didn’t look that closely :stuck_out_tongue: Just figured it was a family member in there somewhere!

2 Likes

Great work! 12 hours? But can you really tell the difference between a 600lpi and 1355 lpi engrave? Seems like there is a point where it would be difficult to see any benefit. Plus, running the laser 12 hours - wow. That is a huge commitment.

2 Likes

These are amazing…adding it to my list :crazy_face:

1 Like