Ok, here’s my attempt at Fancy Plywood 2.0!
For this experiment, I decided to do more wavy strips of veneer, and make the strips more narrow.
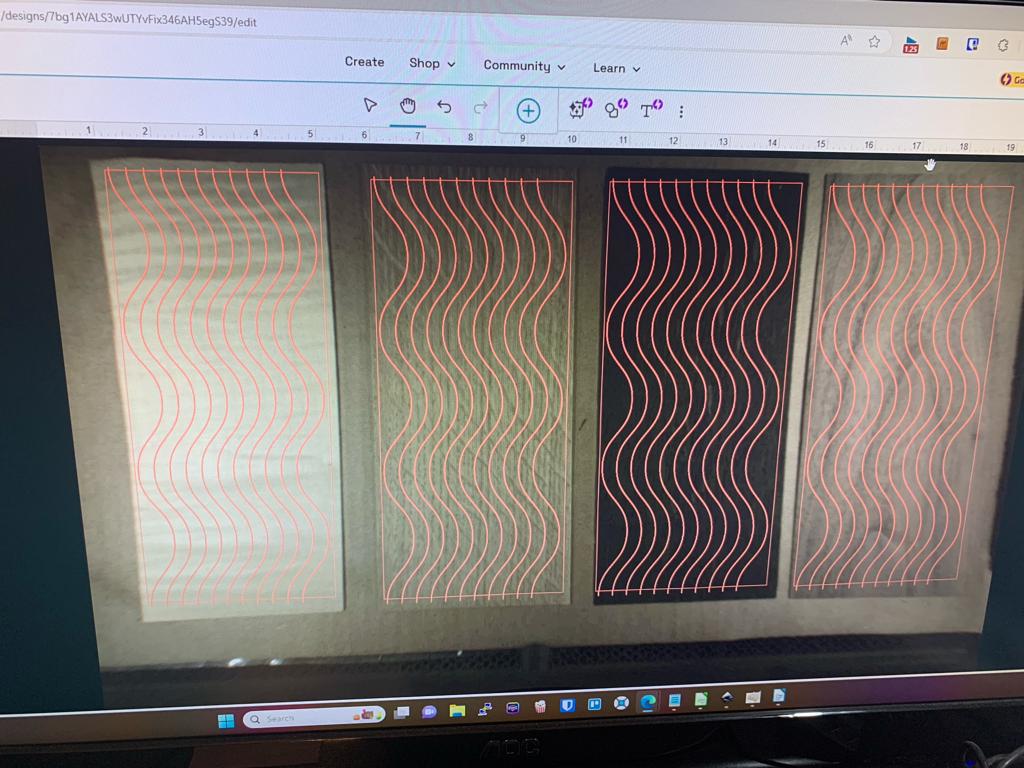
To cut the strips, I decided not to stack multiple pieces of the veneer during cutting like I did in 1.0 since the material is SO thin that it tends to move under the laser assist fan while cutting.
Instead, I took a piece of scrap cardboard and sprayed it with Easy-Tack. This is light adhesive that holds things in place enough that they don’t move while cutting, but also does not permanently stick to the material being cut. It’s similar to a slightly stronger “sticky note” adhesive. This is awesome to use while paper-cutting in the Glowforge, so I figured I’d give it a try for this.
The cardboard with Easy-Tack held the veneer nicely for all the cuts. No fire hazard here folks!
Through a bit of testing, I found that 450/Full Power cut through the veneer without cutting through the cardboard. Your results may vary.
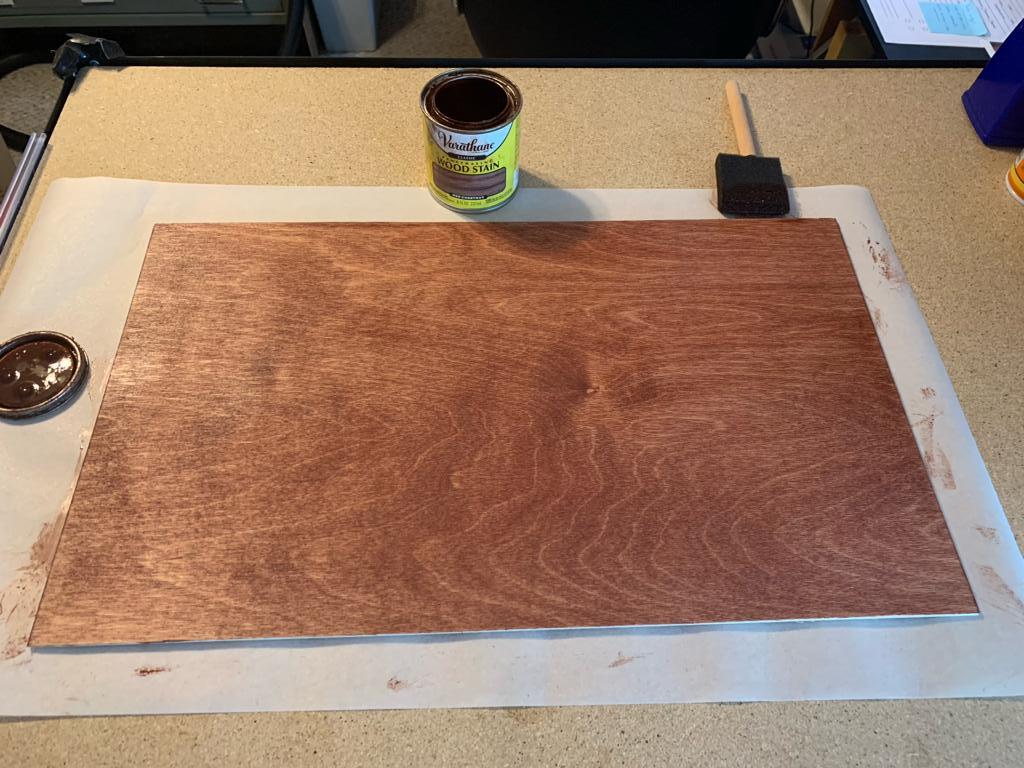
For this 2.0 experiment, I also pre-stained the back side of the plywood base to give it a more “finished” look (and because I’m too lazy to stain finished items individually!)
Note: I just had an additional thought. If the cost/availability of multi-colored wood veneer is difficult for folks, you could also just buy a single light-colored veneer, then stain different parts of it different colors, then laser cut strips from that!
Anyway, back to 2.0. I just cut all the waves out of multiple color veneers, as I already had them.
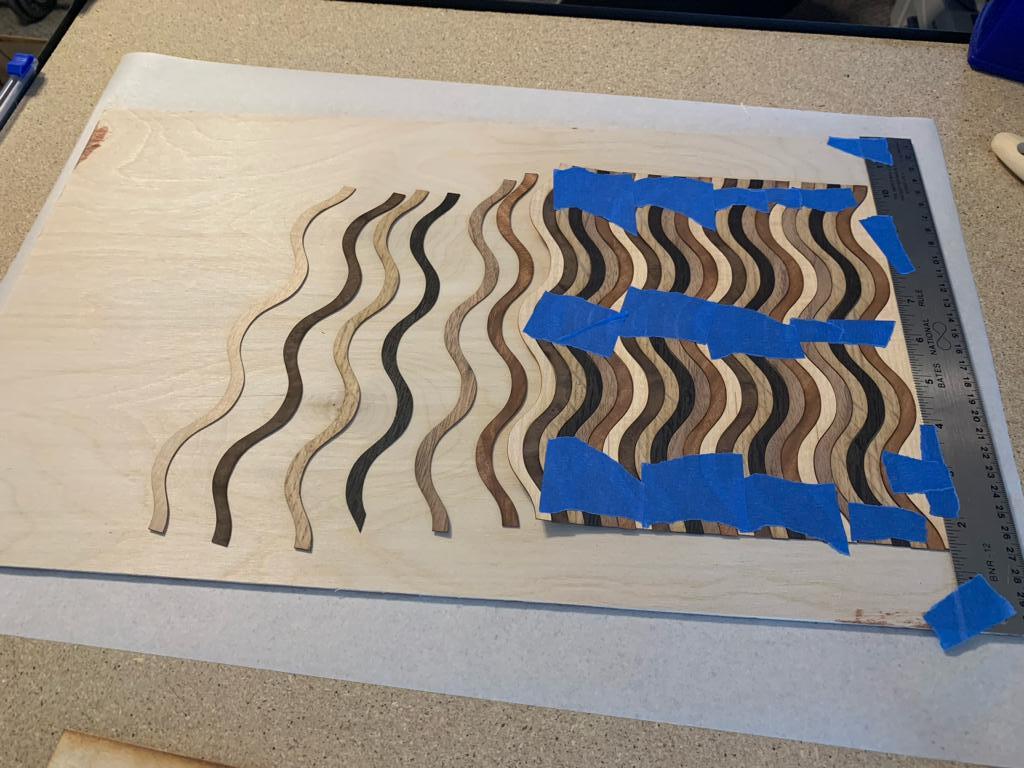
To glue them to the base, I decided to try a different approach than I did in 1.0 above. Instead of gluing each strip to the base individually, I decided to first fully assemble the wavy pieces without glue, using painters tape to keep them together. I took this approach since the waves were (purposely) cut thinner than 1.0 which resulted in them being more fragile. And yes, some broke while cutting and some broke while assembling. No worries. I strongly suspect that more would have broken if I attempted to individually place them on a pre-glued board as I did in version 1.0.
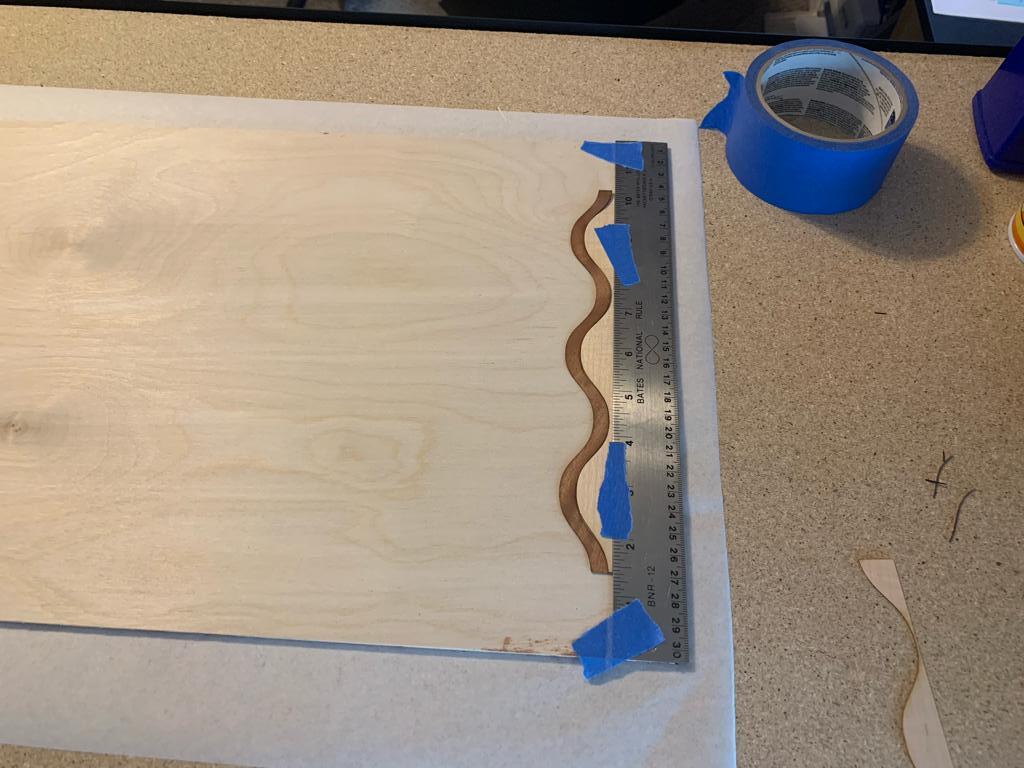
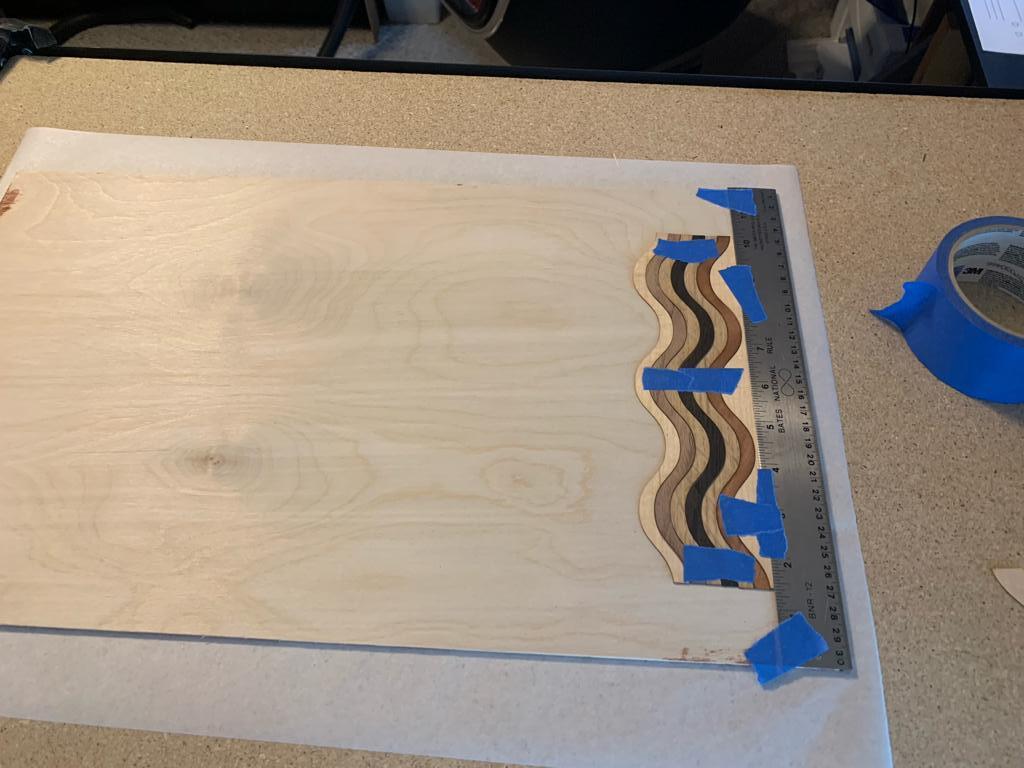
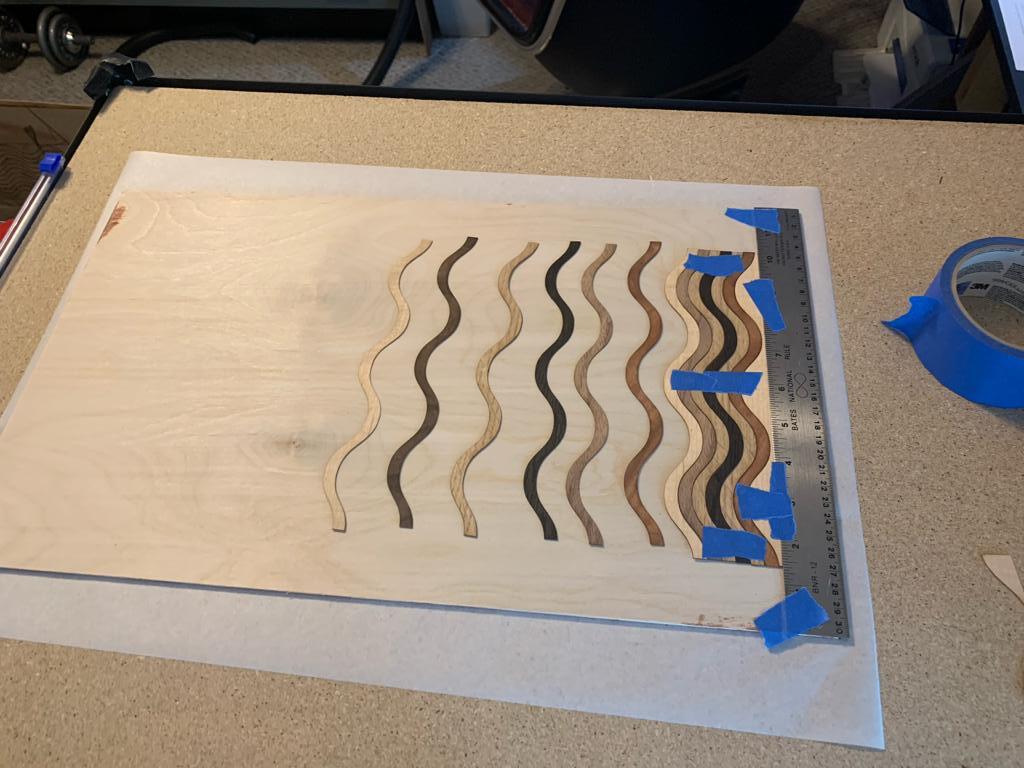
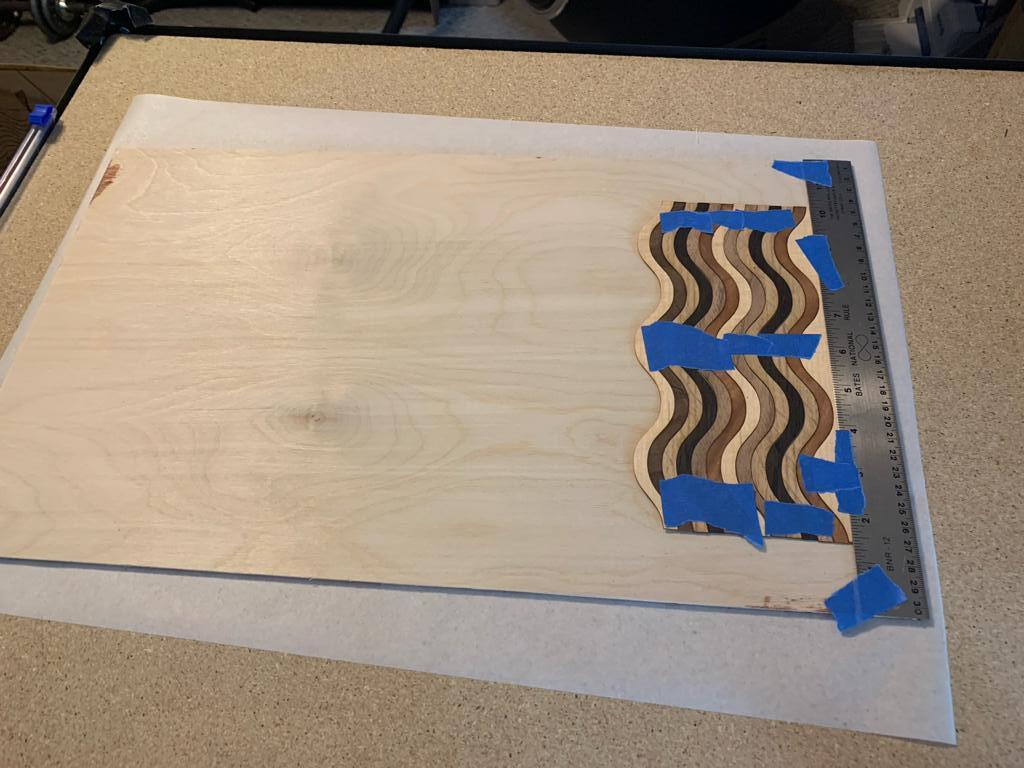
Anyway… I started assembly using a ruler to give me a straight edge, and just started laying, sliding, and taping the wavy strips in place.
Was this a bit tedious? Yup. Did it work? Also yup.  So on I went!
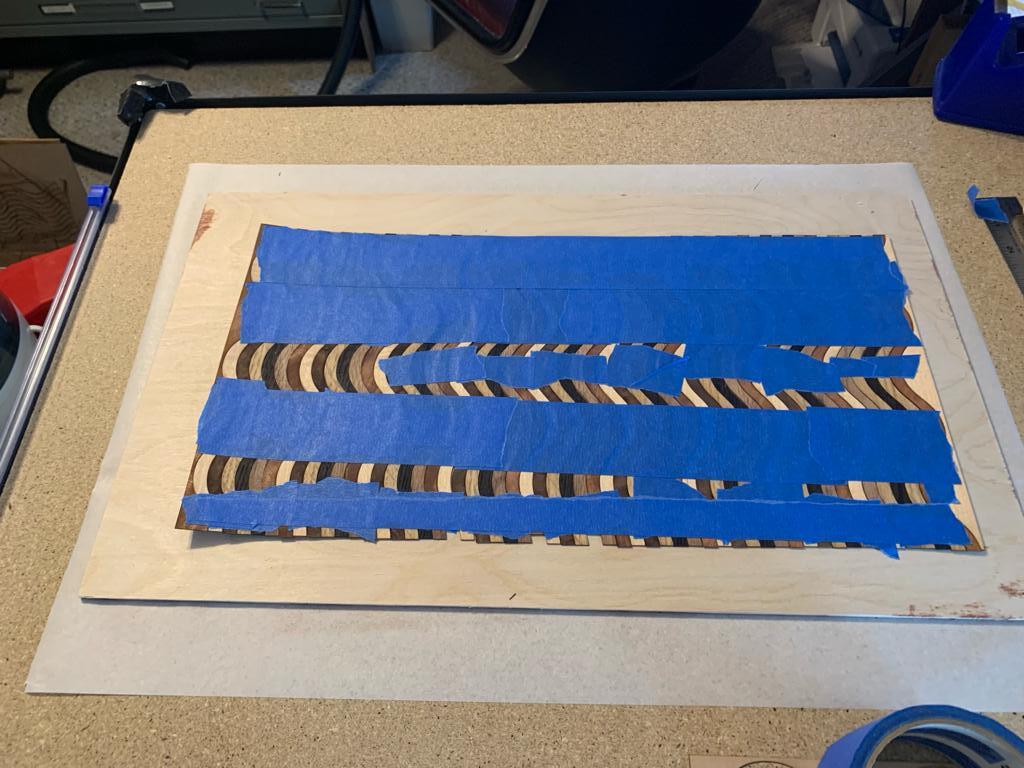
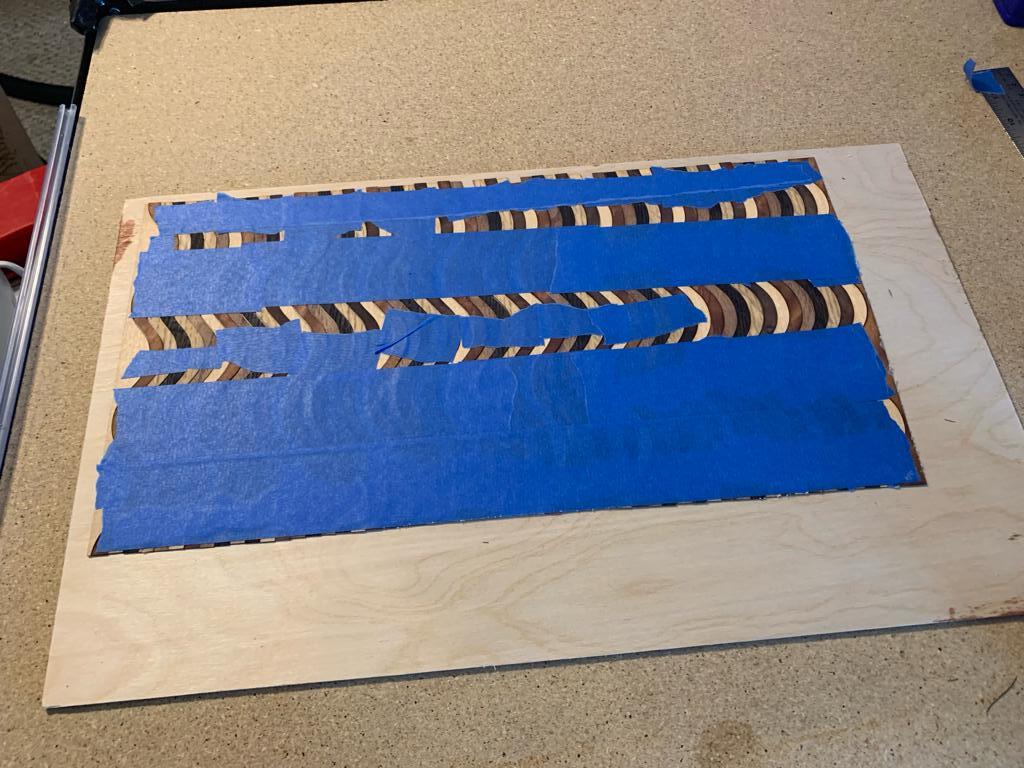
I also ended up fully taping across the surface of the strips, as everything started to want to bend and twist a bit as I progressed. As a reminder, these strips are NOT glued down yet. They are just taped to each other.
When I was done placing all the strips (well, all the strips that didn’t break at least!) I flipped the whole thing over and sprayed it with Gorilla Glue spray.
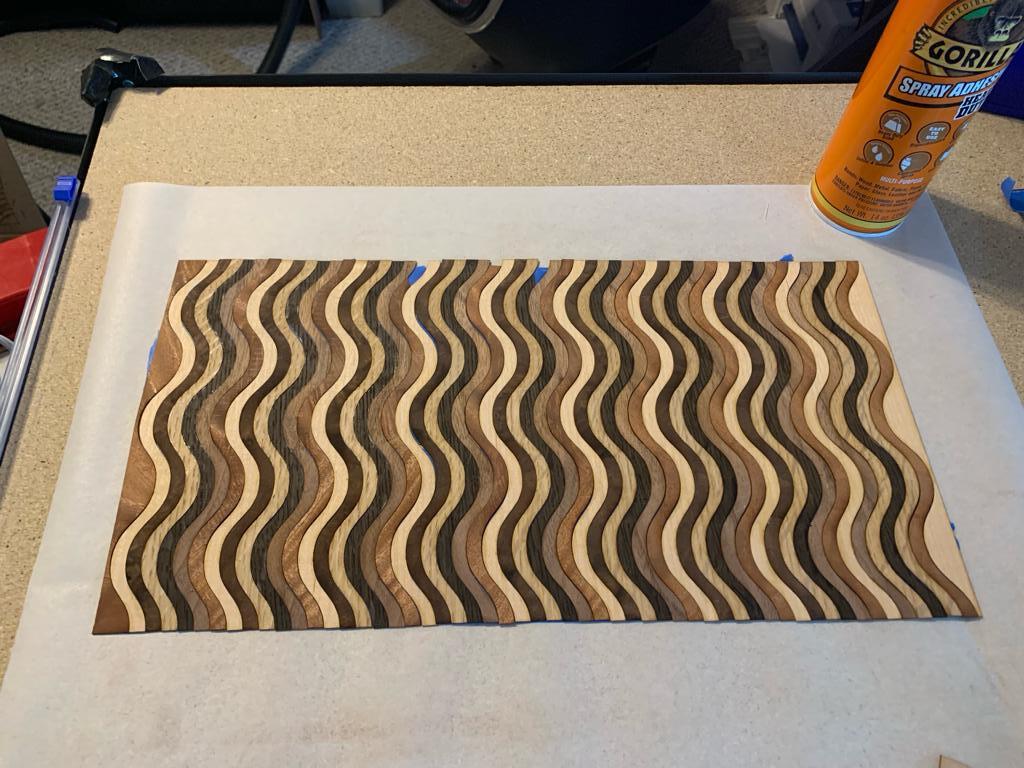
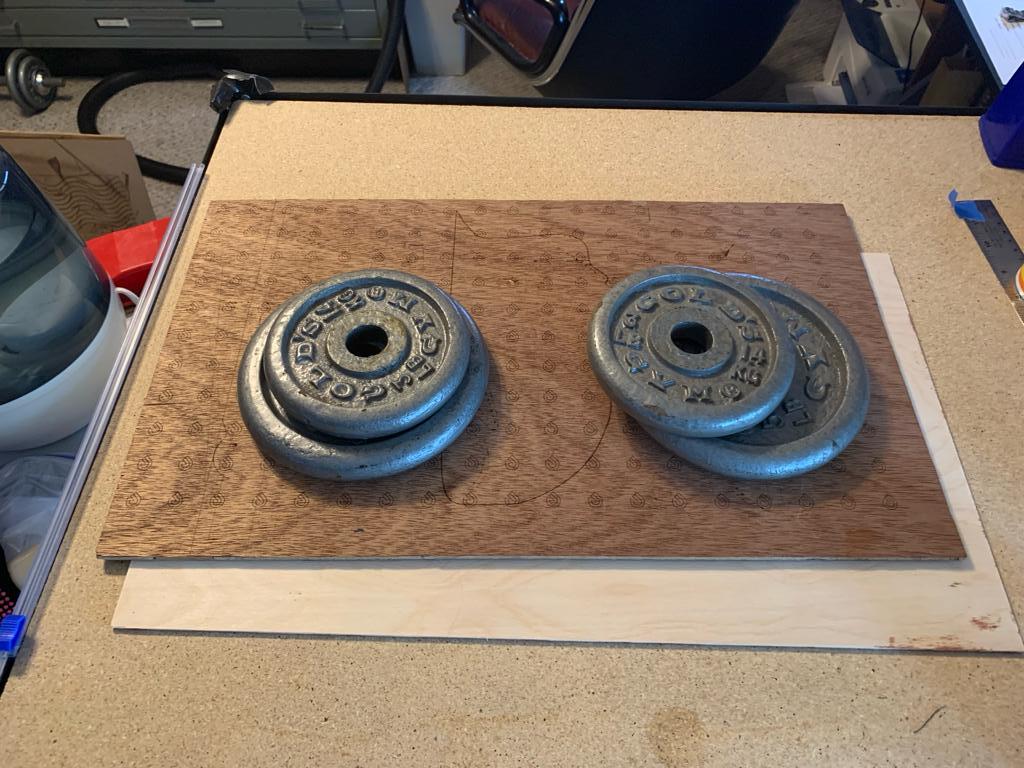
I then flipped it AGAIN and placed it down on my base layer of plywood to adhere it.
And just like in version 1.0, I placed weight across it with a second piece of scrap plywood on top, and let it dry.
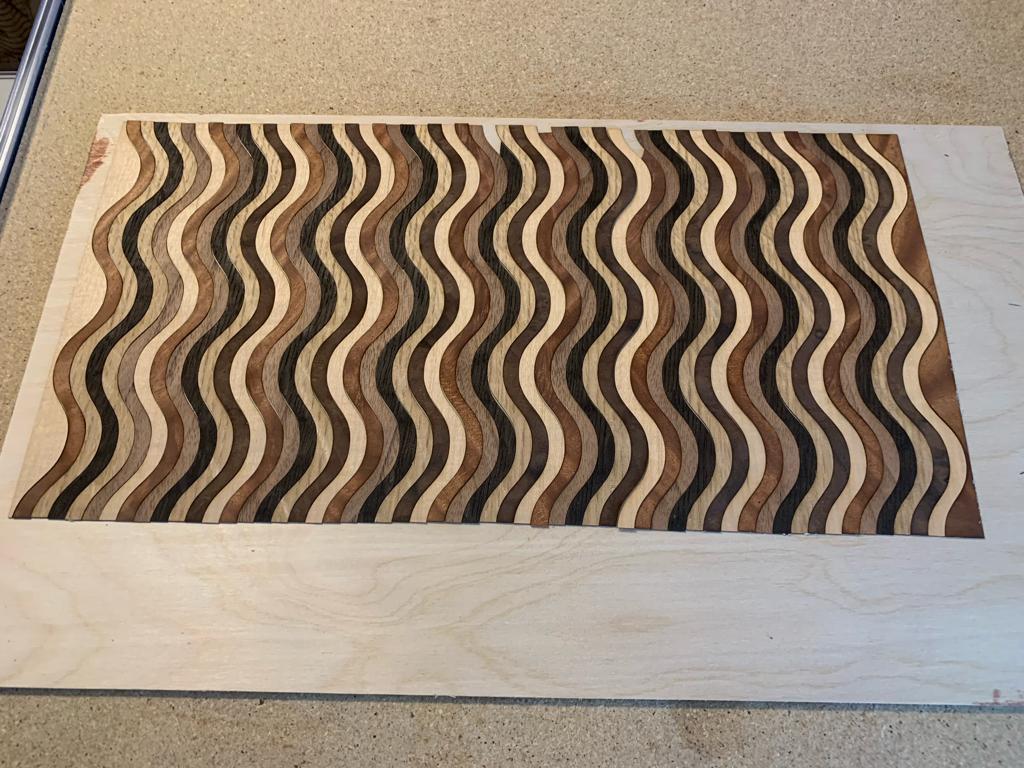
Here it is fully dried, and with the painter’s tape peeled off.
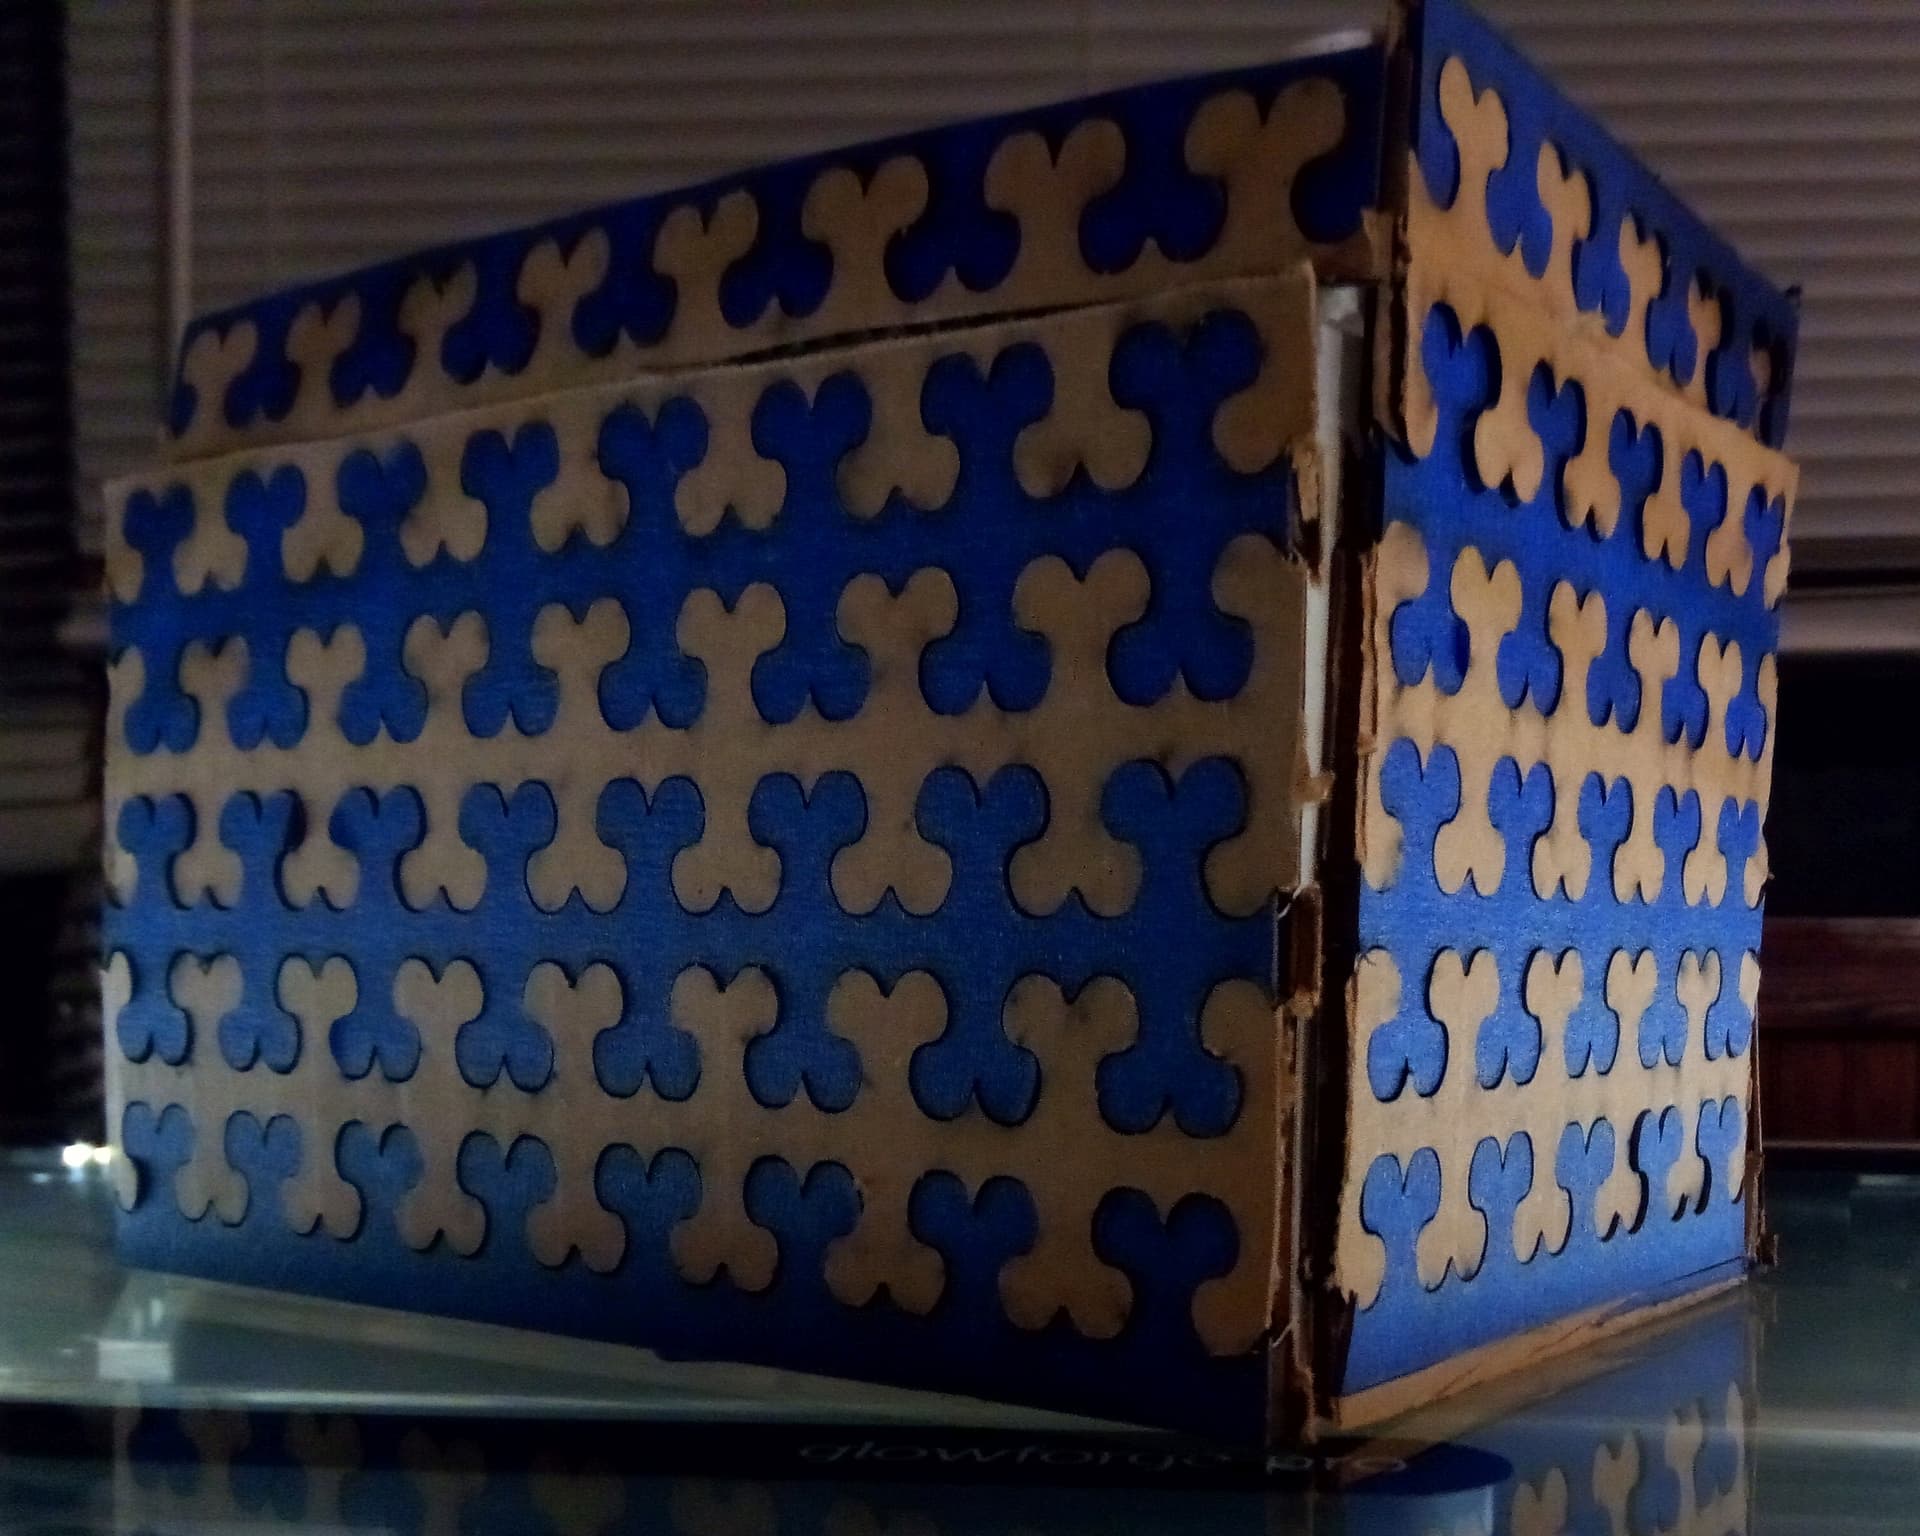
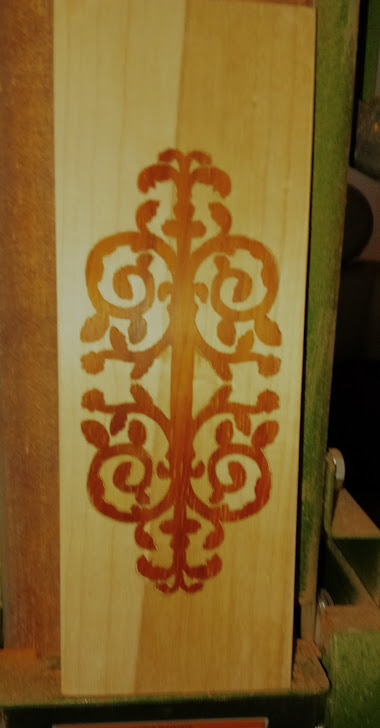
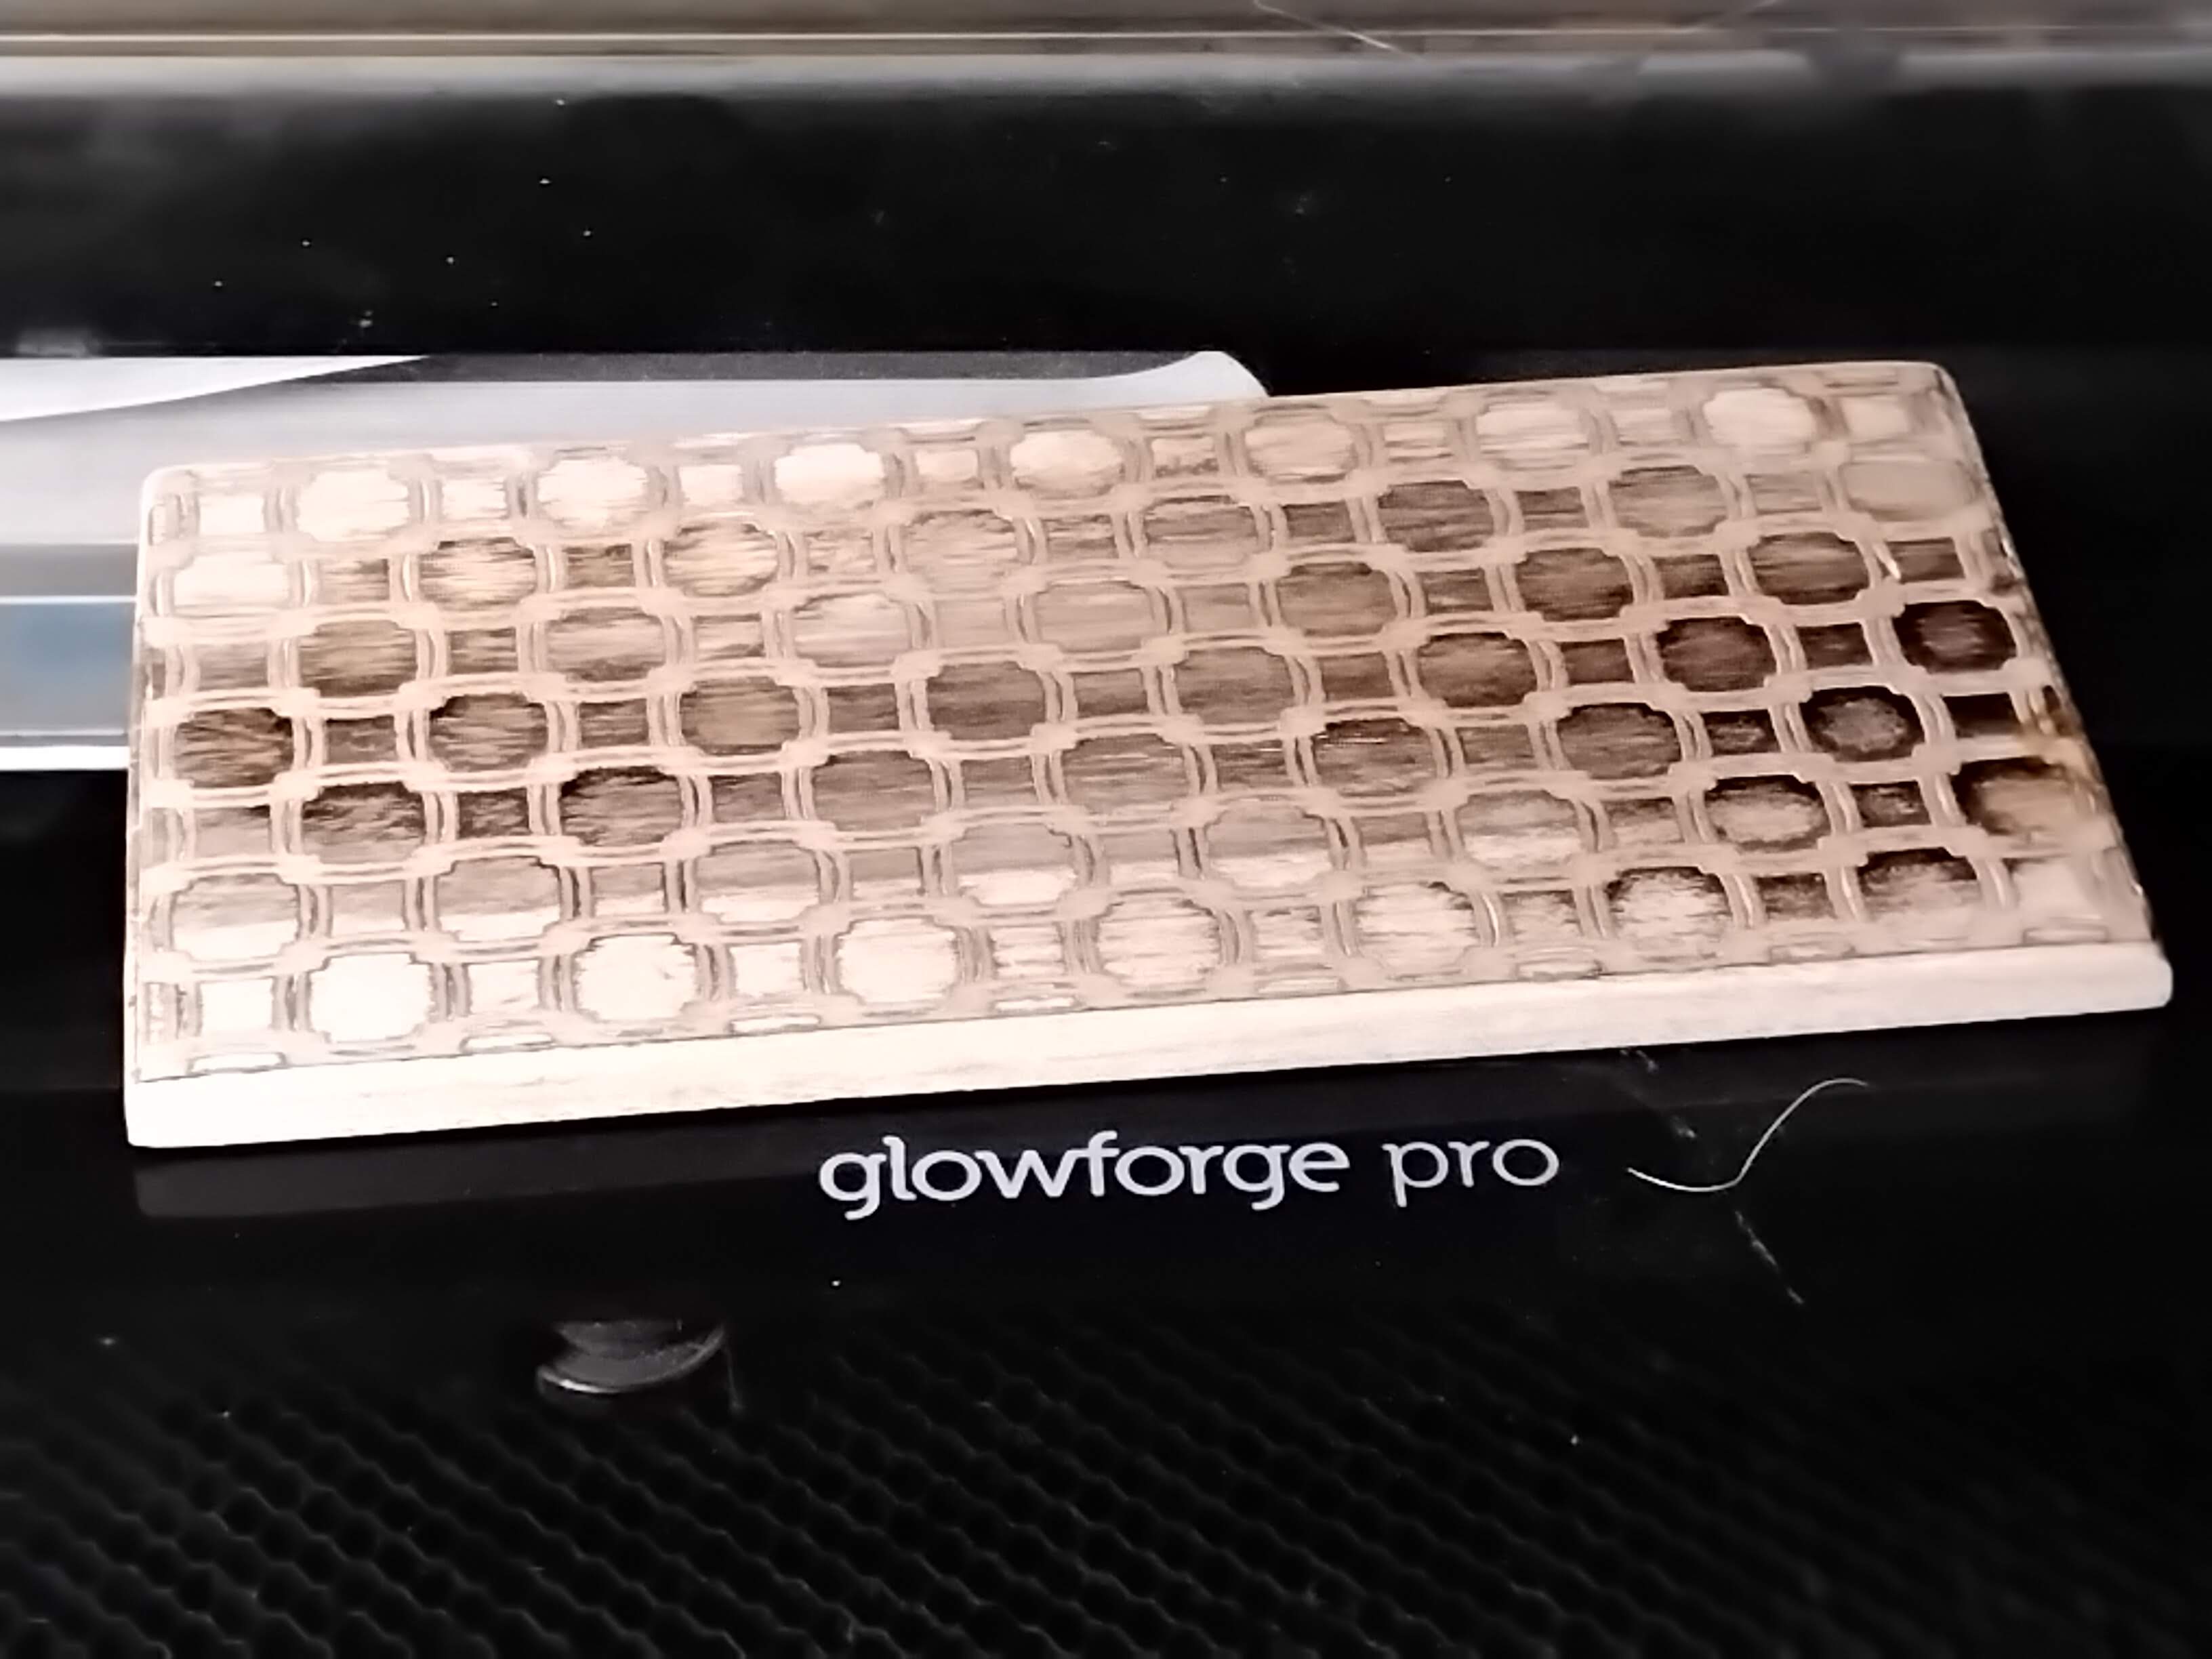
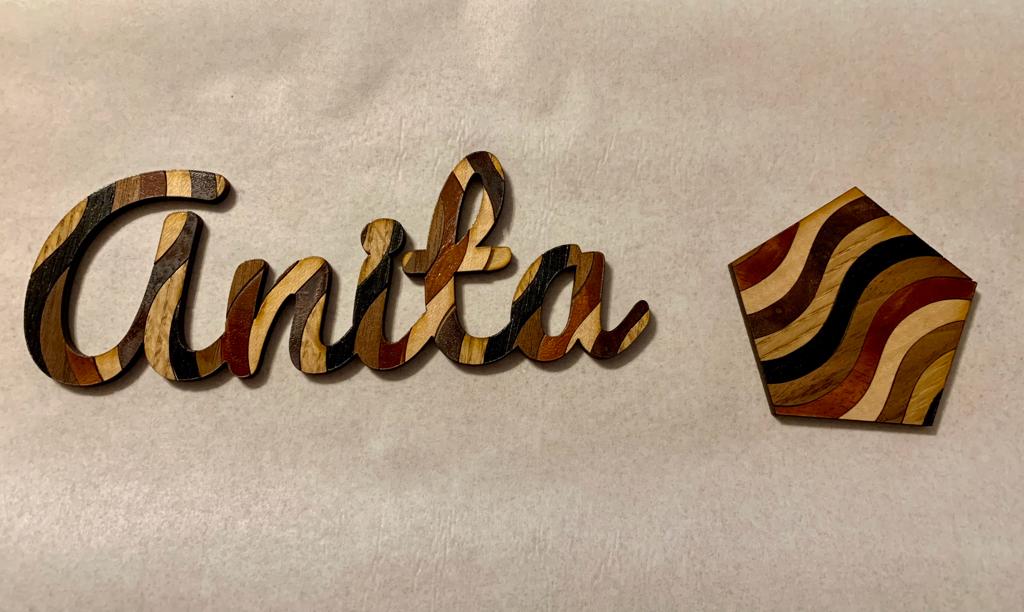
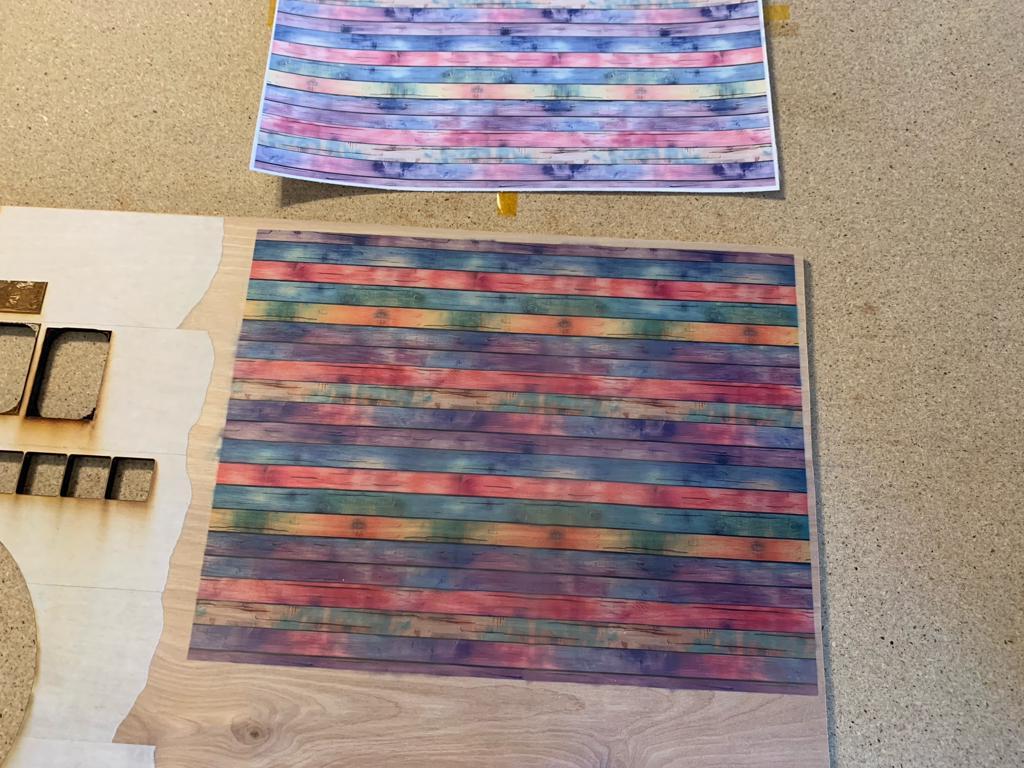
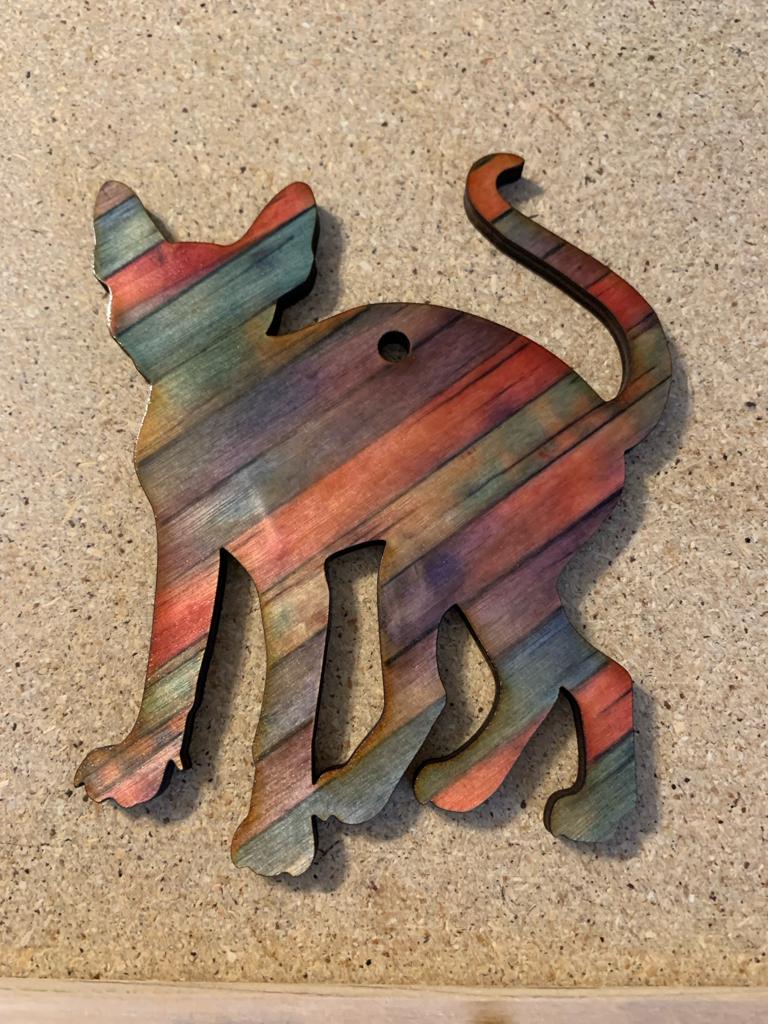
Now let’s use some Fancy Wood 2.0! And here’s the end result of a couple simple tests (with a clear coat spray applied to make the colors “pop”):
Under “Lessons Learned” I would put: Use a LOT more glue spray next time. On some of the Fancy Wood 2.0 I had veneer coming off the base, even though I thought I glued it sufficiently the first time. Maybe I should have sprayed glue on the veneer and the base. Oh well.