So a complete disclaimer here. I am a total laser newbie.
Although I have used a laser on the rare project in the past my first time using a laser unsupervised and in any large scale project was only about two weeks ago. I may be doing things completely wrong so feel free to correct my technique (we are all trying to learn here).
My second disclaimer is that I can’t take pictures of a lot of the things I do because of NDA agreements but I have asked permission to use some and the rest I have pulled from google but I will give credit to those places as I go ![]()
So here we go…Starting with powder coat!
Powder Coat
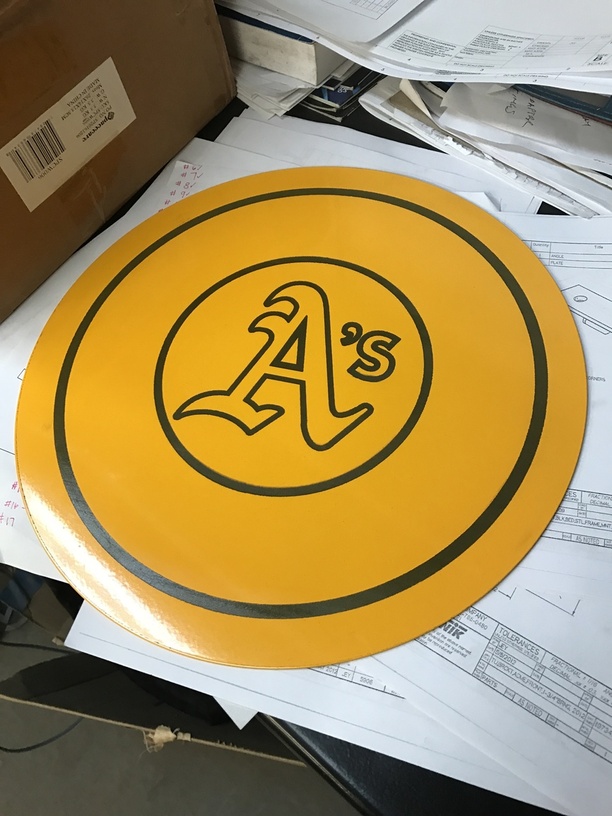
Etching powder coat can give you some awesome contrasting for logo’s, signs, and other such things. And all things considered its very straight forward. You just raster over the top of a powder coated piece of metal and it burns the plastic away. There are a few things I learned though…
-
Each powder is different, even the thickness of coating applied can make a big difference. My suggestion would be to see if the people doing your powder coating could powder a few test scraps so you can dial in your settings first. Most will probably be fine with that.
-
Your power and speed settings do different things. When first trying to etch some powder I was getting small lines in the engrave where all the power wasn’t being removed. I figured out by upping your power a little bit those lines go away. Just don’t go to high or else you run the risk of doing some heat damage on tight corners.
-
The speed setting can be adjusted to change the color of your engrave. This doesn’t make a lot of sense to me but the faster I ran my raster the lighter the color I would get. If I slowed the raster down it would get much darker. You can see in the picture above that the engrave color is a very dark grey rather then the normal lighter grey that steel normally is.
-
Etching powder coat is really smokey and I found that I had to clean my optics every few hours of etching.
-
Keep some alcohol wipes handy, You get some residue after etching that you can just wipe off. I have been using lysol wipes at work because that is just what was laying around but they work brilliantly.
-
Make sure you are aligned well on your workpiece. Once you begin an engrave there is no going back, You can’t really patch the powder coat back up or sand it down to make the marks go away. With our current laser system this involves printing templates, jigs, running tons of test prints trying to make sure it is all lined up right. This is one of the things that makes me really excited about using the cameras on the Glowforge to line up the workpiece.
-
Also something I am excited about the Glowforge is that as far as I understand everything I won’t have to make sure all my line thicknesses are right. Its super frustrating when something is supposed to be a raster and all of a sudden it outlines everything as a vector cut instead.

-
If you do etch a powder coat make sure that you do a clear coat over the top or else the exposed metal can rust and ruin the effect.
That is what I have for powder coat now onto using Cermark (or a similar product) to mark stainless.
Cermark
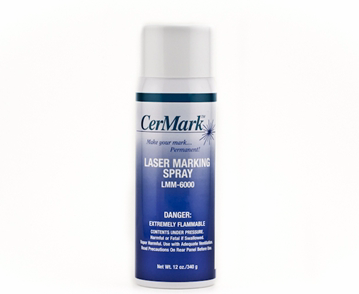
For those who don’t know Cermark is similar to a spray paint that you spray over a metal and when you hit it with a laser it turns black and permanently marks the metal. We use it a lot in making tags for government labs and construction projects.
(Picture courtesy of Adafruit)
This is what it turns out to look like…
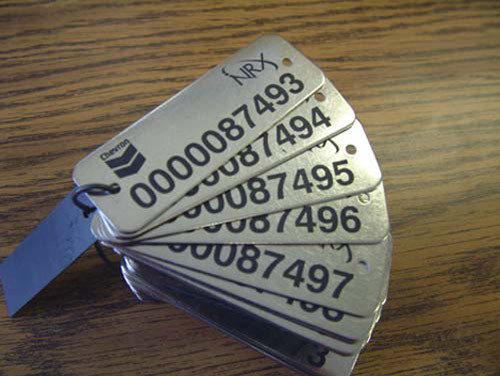
(Picture courtesy of engravestuff.ca)
-
Wipe down your workpiece with alcohol before you spray it, this gets rid of the oils from your fingers and any other junk before you spray.
-
While spraying, less is more. If you go too thick on the metal you end up not marking the metal and any mark you have made is just rubbed off. The spray looks like this for those who are curious…

(Photo courtesy of picclickimg)
-
Once sprayed the coating is super fragile and rubs off VERY easily. Brushing it with your thumb or fingernail will take it right off and then you have to respray. The spray is expensive so the best advice I can give is to “Handle with Care”.
-
Just like most things you can change the color you get by adjusting the speed of your engrave and the power. For Cermark they suggest using 100% power and then changing the speed to give you different colors.
-
When you are done you can just wash the rest of the spray off or wipe it down with a alcohol wipe and it looks amazing.
So thats what I have learned so far and I’ll share more as I learn. I am hoping to get some projects that include anodized aluminum ( I know there have been some examples here but I want to try it for myself).
Thanks everyone! I love reading through this forum and reading the huge amount of advice and knowledge shared here.


 ”
”