Well, it’s that time again where I get a new piece of tech and use my laser to spice it up. As some of you may remember, I used some veneer many years back to make my Surface Book look slick, and this time I decided to tackle my new iPad.
Surprisingly, or maybe not so surprising, I could not find anybody who had done all the exact measurements on one of these, and especially not a free model of the dimensions. Anyway, my compulsive perfectionism would not let me not nail this. My original measurements weren’t all that bad, but my real problem was using cardboard. It was difficult to assess where my measurements weren’t as precise as I wanted due to the thickness of the cardboard.
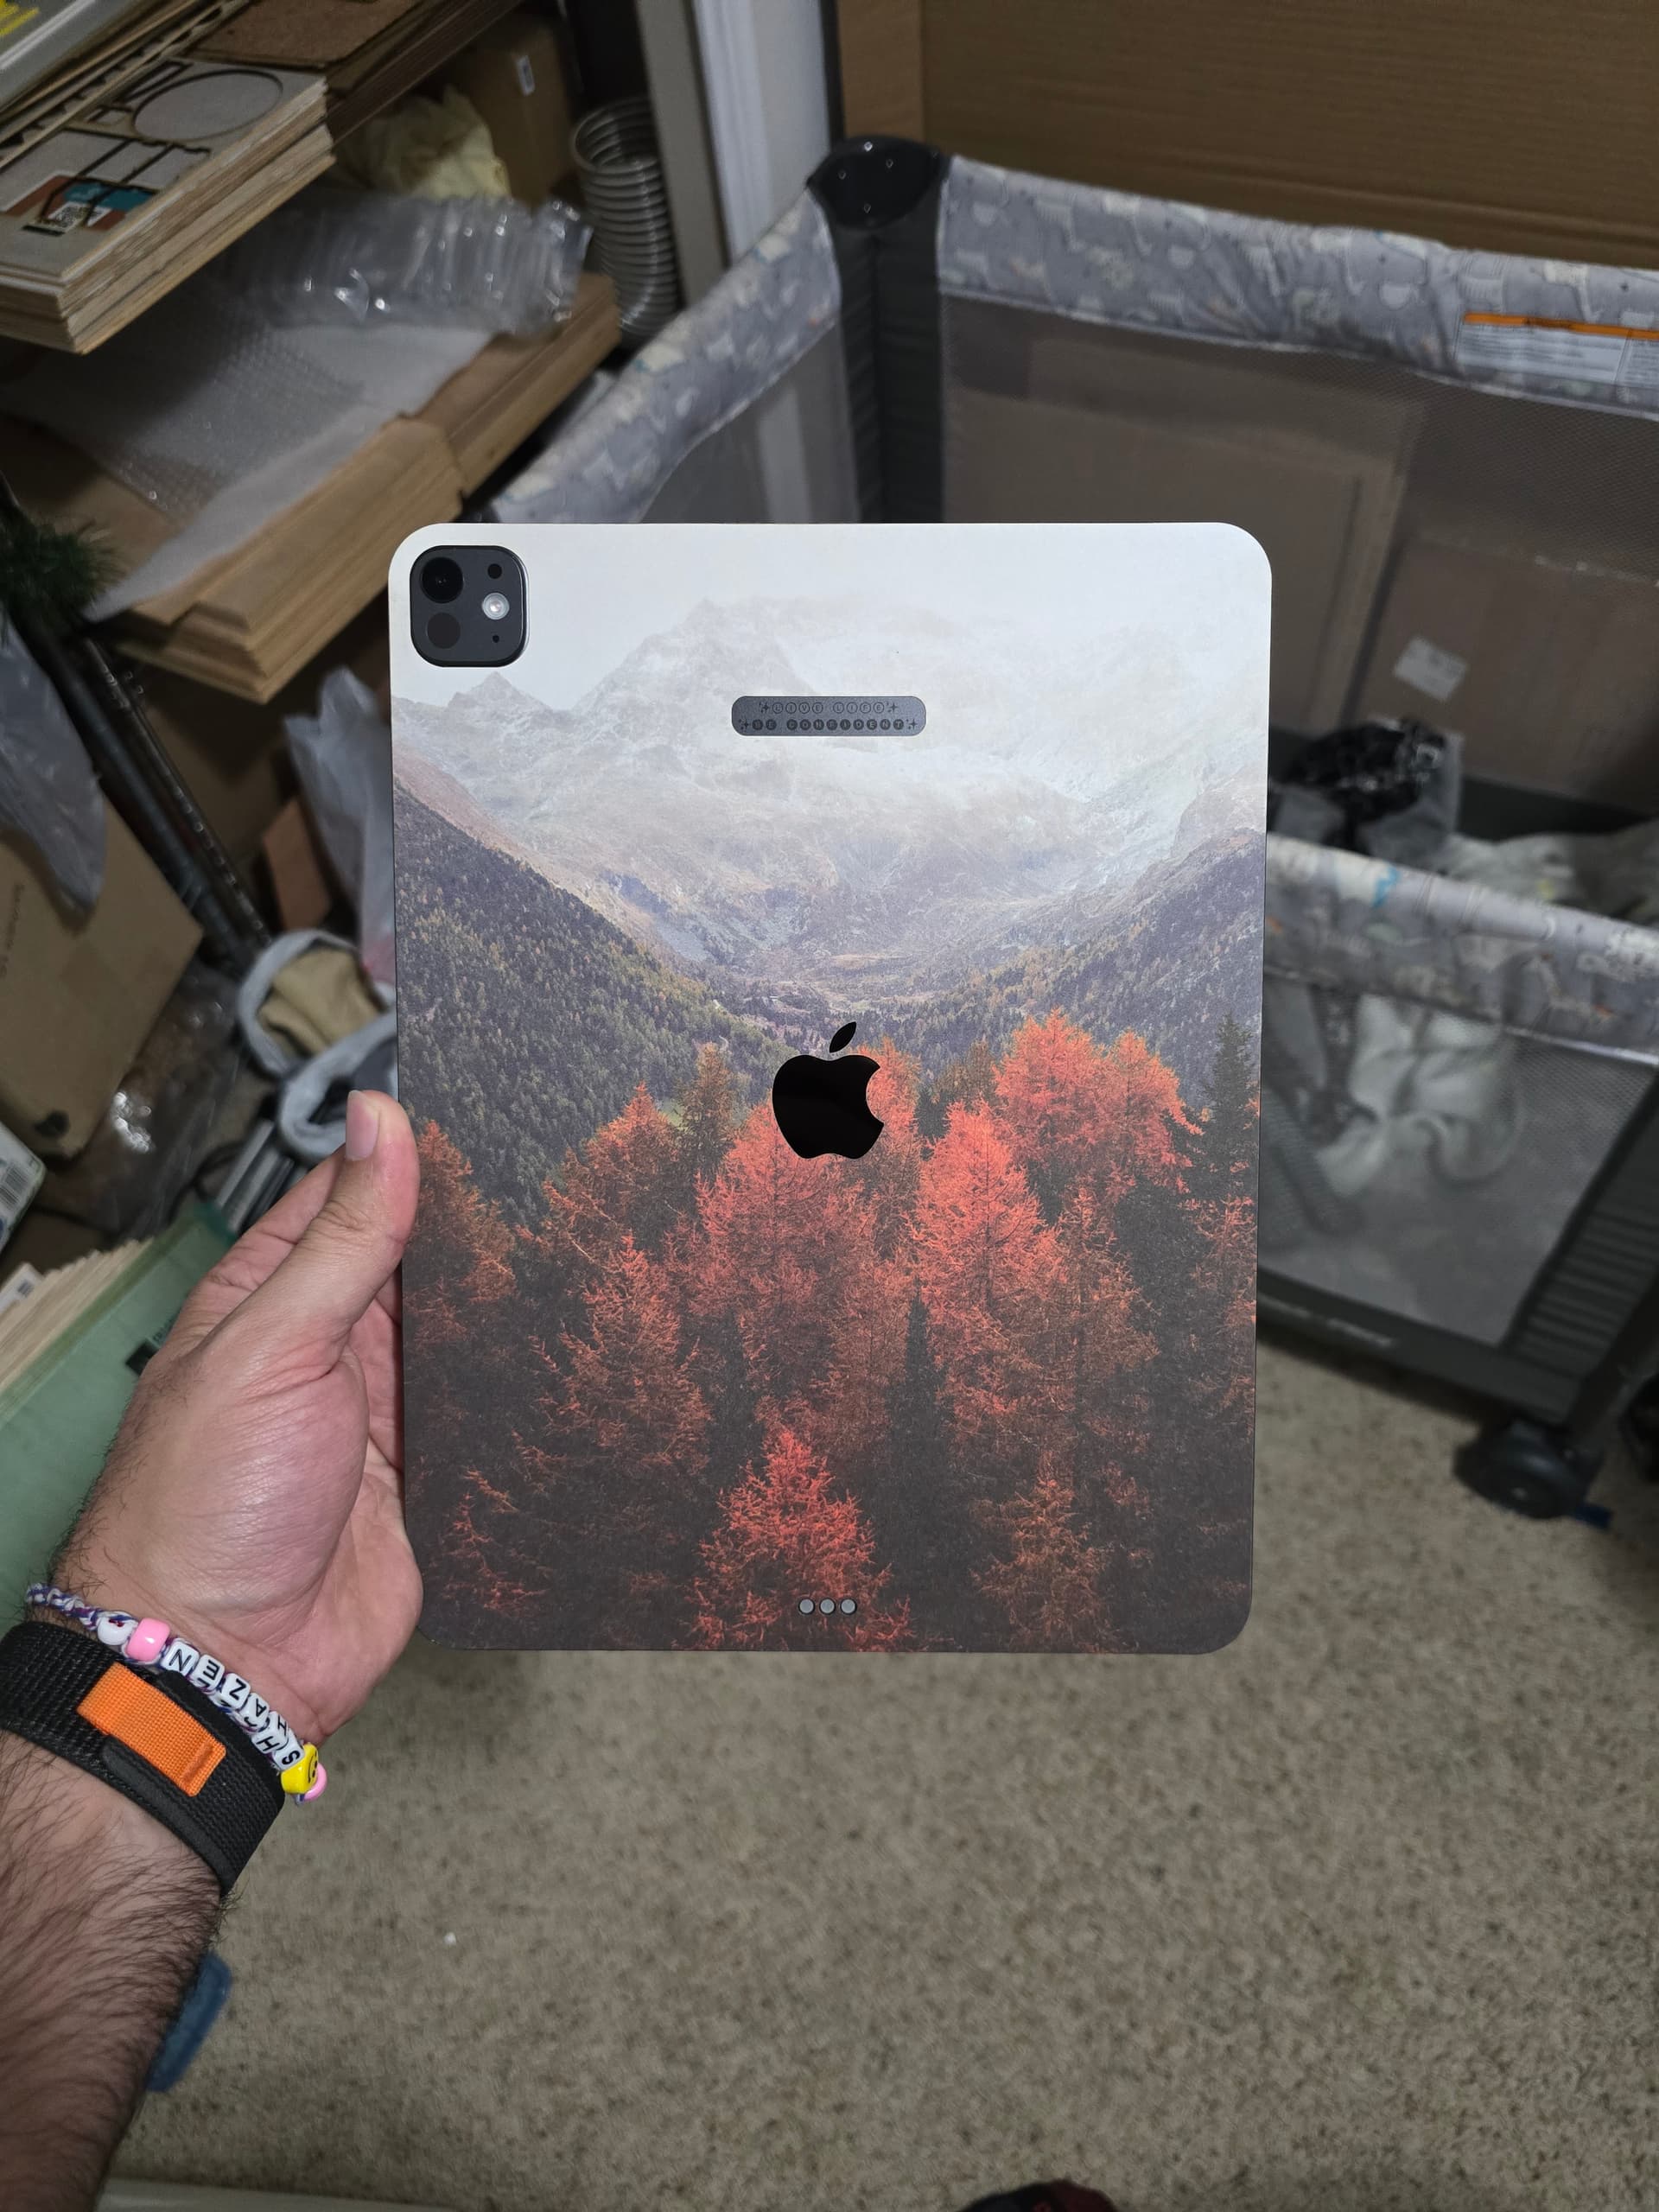
Flash forward to me running to Michael’s to find some cardstock. Initially I went to find the clearance stuff I had seen a few days prior, which turned out to be more expensive than I wanted to deal with, and it was all glitter paper, which was also not something I cared for. As I was walking out, I noticed the holiday clearance happened to have some Fall style paper, and as you can see above, I actually enjoyed it far more than I thought I would.
The design on the iPad is actually the duplicate of the first page I tested the cuts out on. I had every intention of using veneer, possibly even some leather, but I was so hooked on how this one sheet looked, I decided I would finish with it.
I need to Mod Podge it to seal it, really should have done it before I adhered it, but it is what it is. I used spray adhesive to adhere it. I considered my 3m double sided adhesive, but I felt that the adhesive on that was a bit stronger than I wanted in the case this paper cardstock gets ruined. If somebody has a better idea than mod podge I’d be interested to hear it.
Here’s a bonus pic of most of the prototypes:
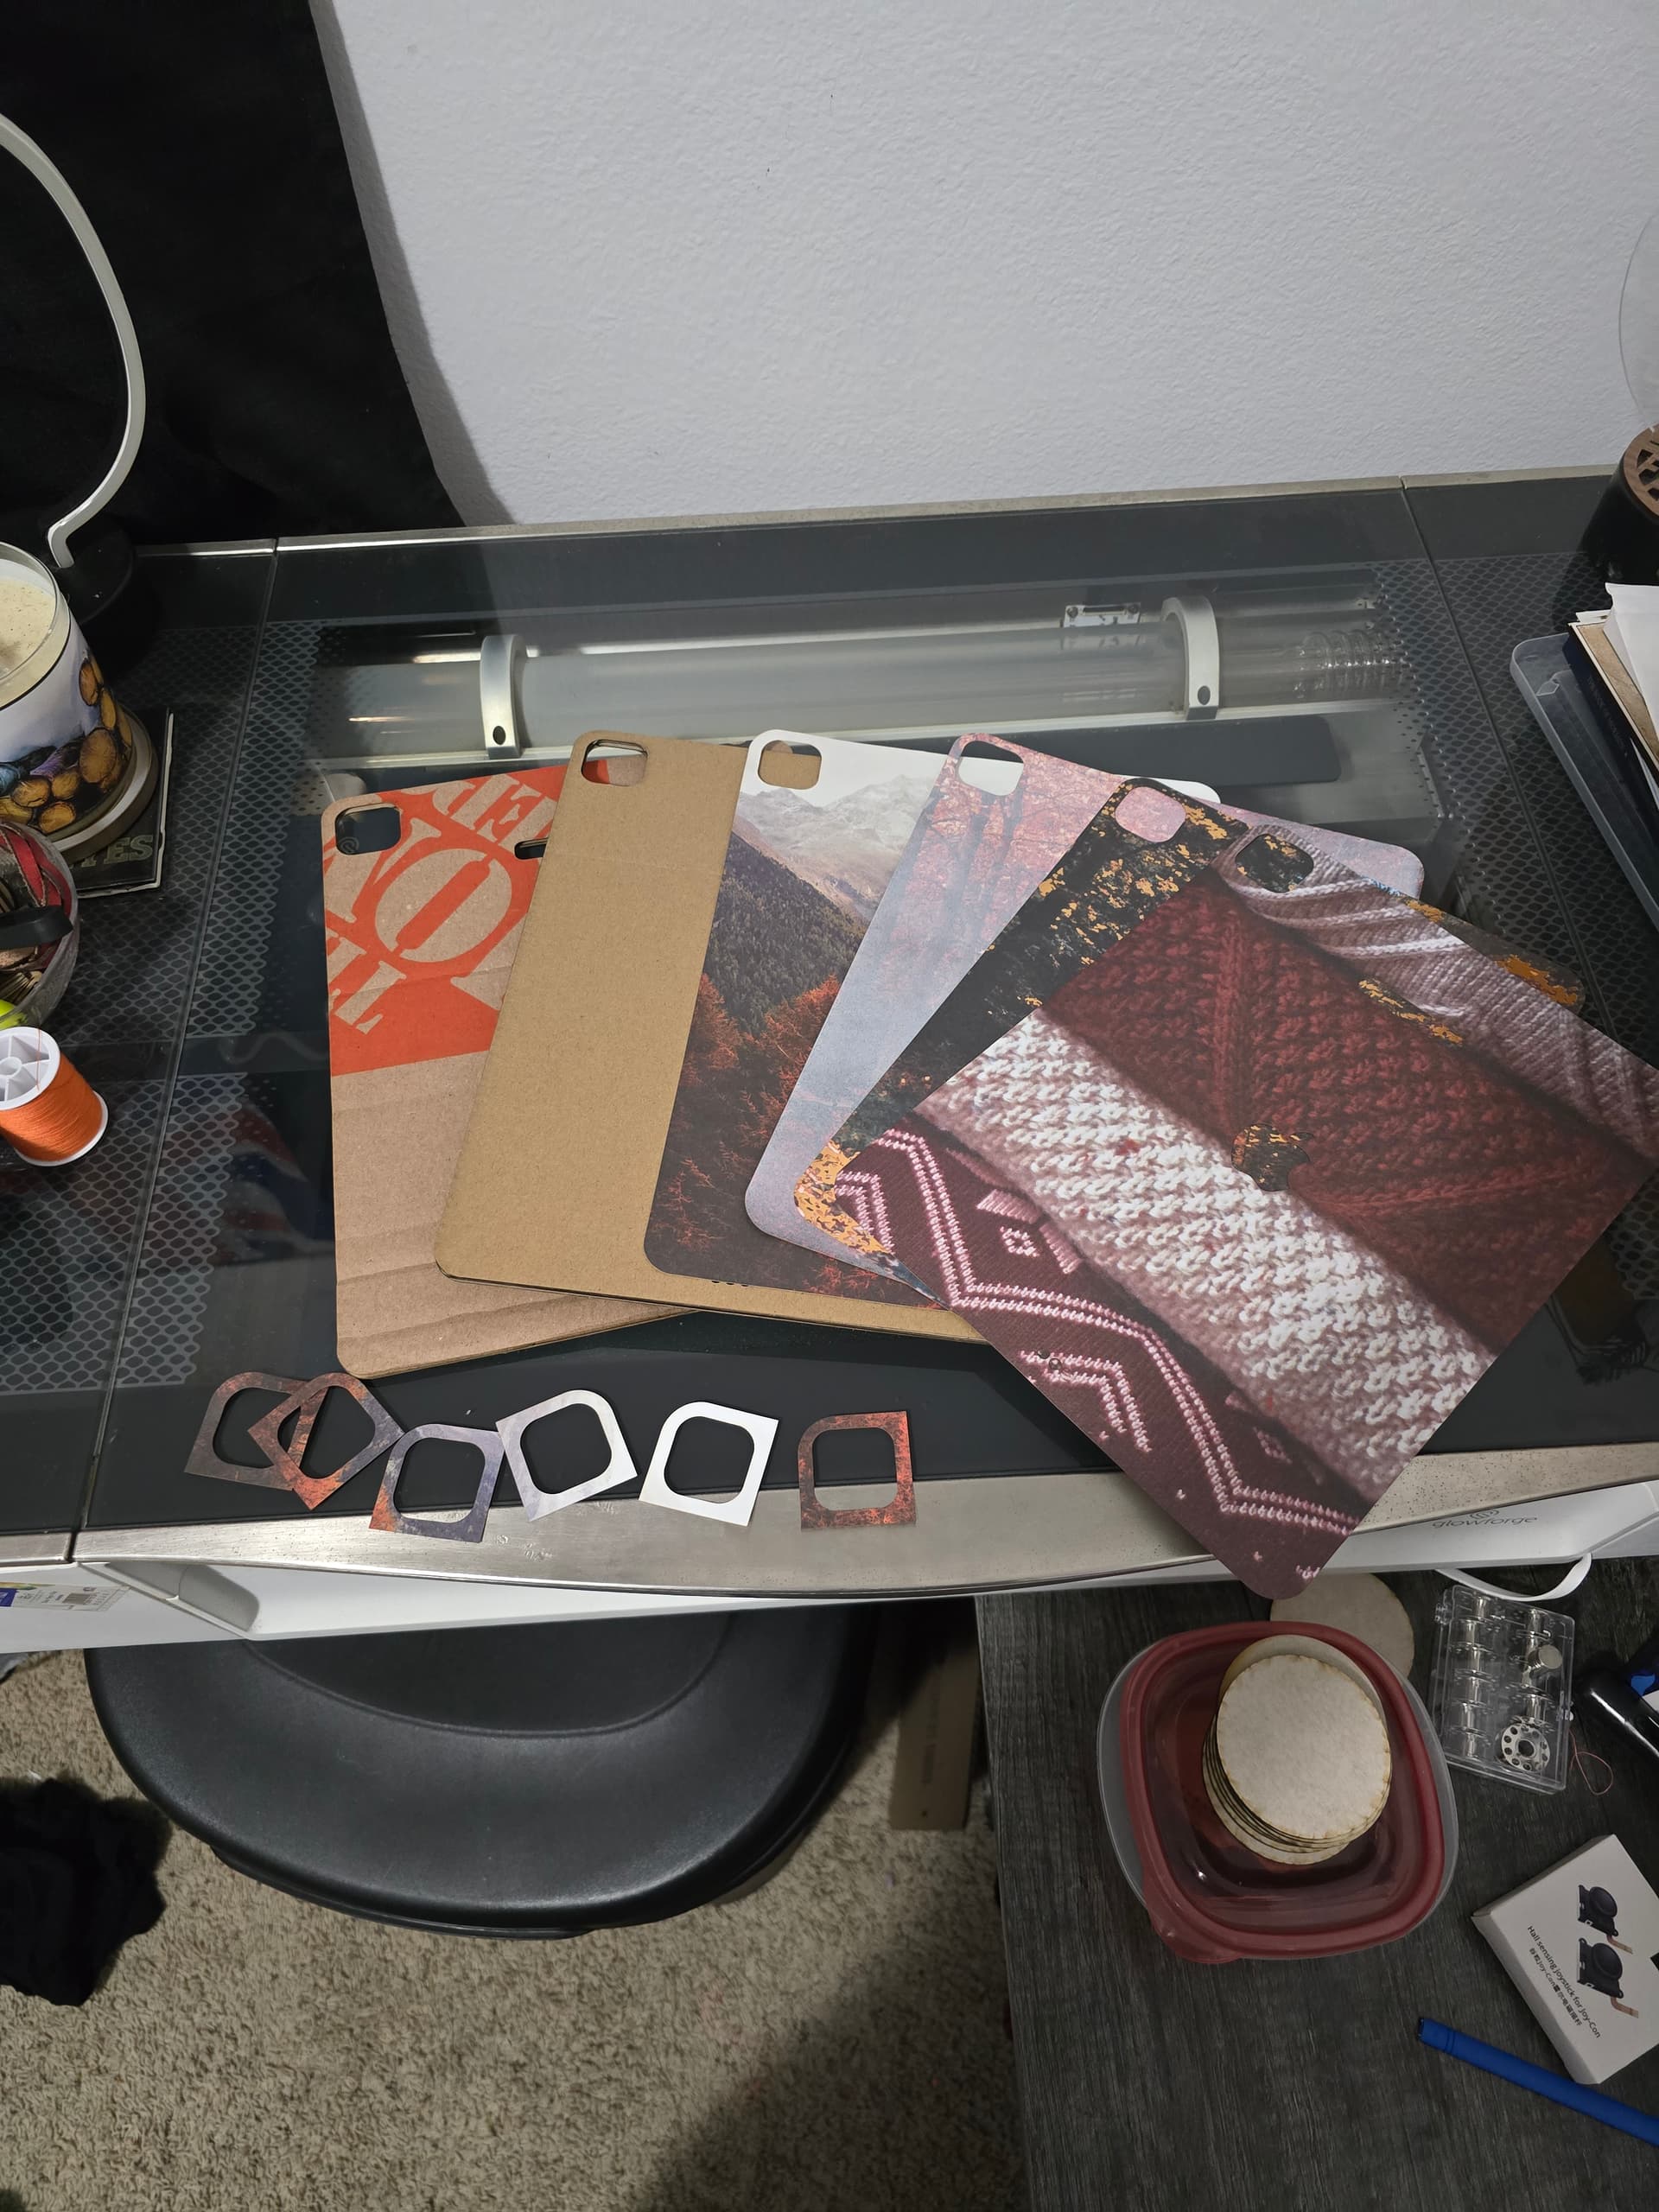
The camera hump gave me a bit of trouble as it is pressed from the aluminum casing with a rounded incline. I thought I would just measure out the plateau of the cameras and have the material form to the incline, but I didn’t like the way it looked, and I would have to nail that absolutely perfectly. I ended up nailing it absolutely perfectly anyway, but only after a lot of testing. As you can see in the prototype pic, I made a lot of tests of only the camera cutout until I was eventually satisfied.
Overall, it was a really fun project, and I’m really pleased with it!