I was encouraged to start my own thread on this. So here you go:
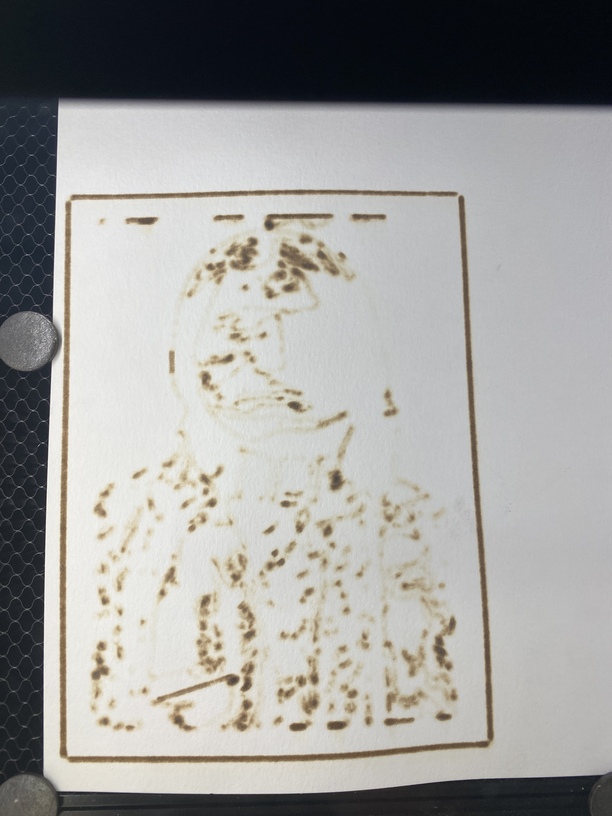
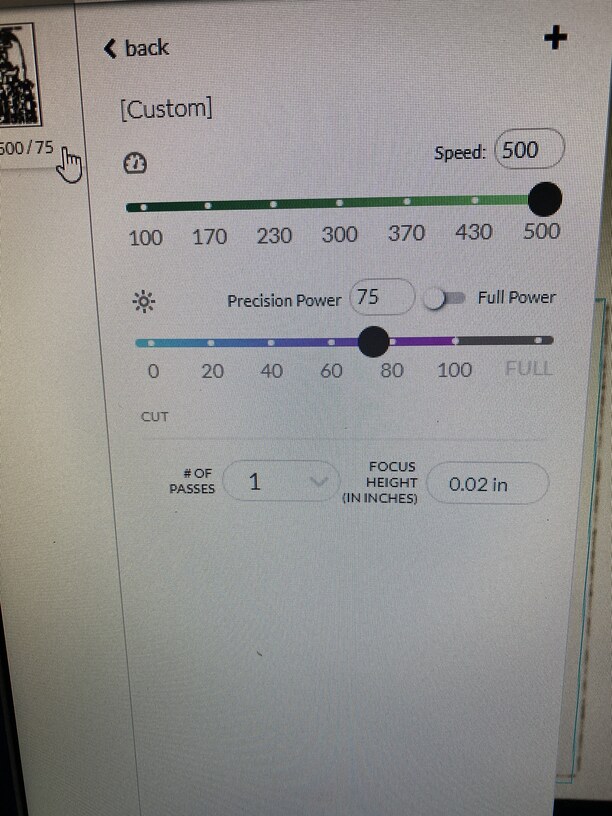
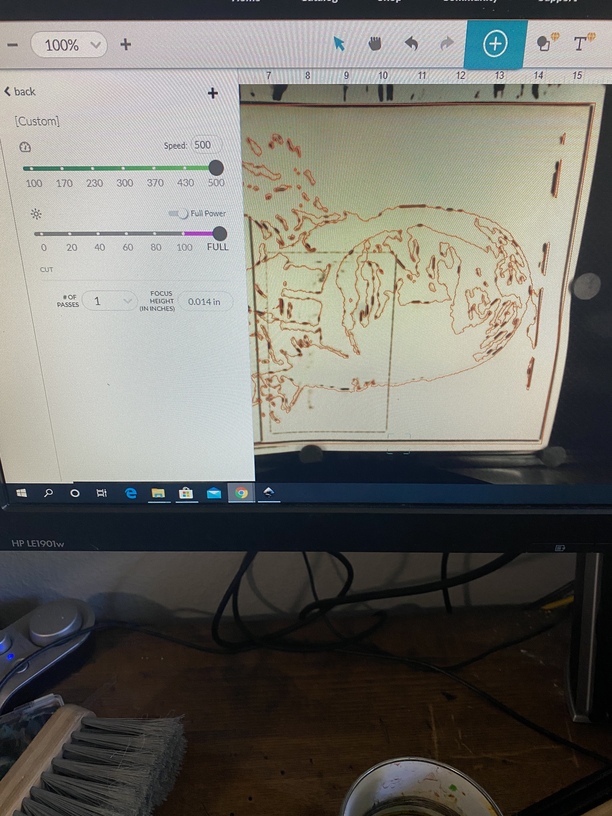
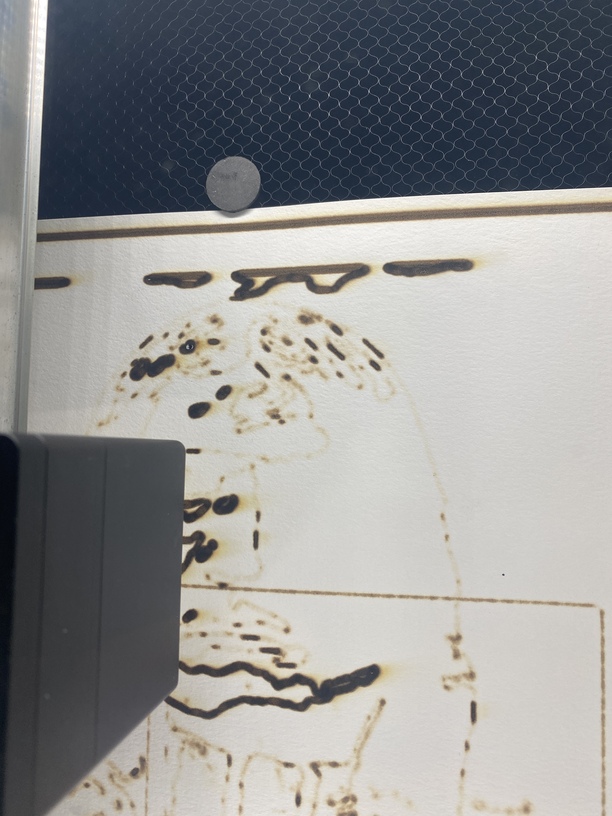
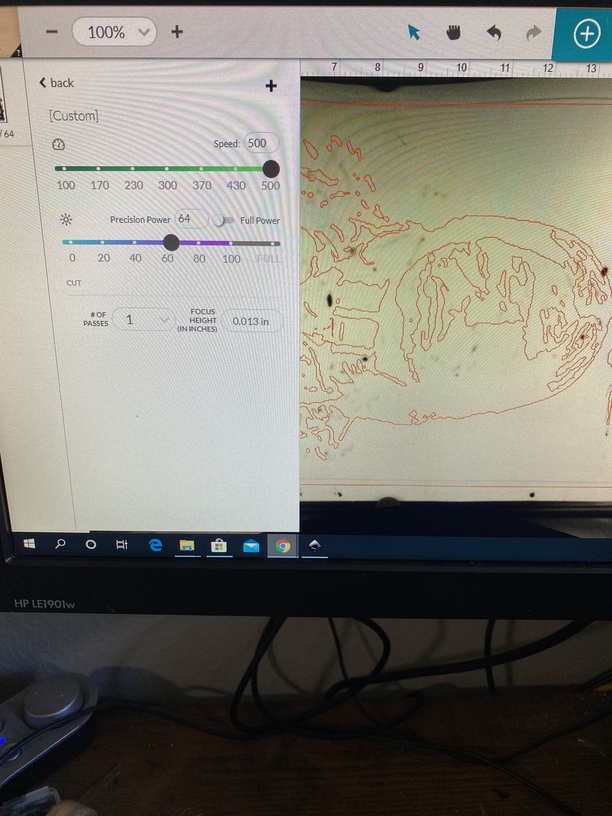
Thank you so much for all your legwork. I am running into a very annoying problem. I created an SVG outline of a PNG that I have and am working at cutting out a stencil on 140 lb paper (I’ve attached my settings). I know this sounds strange, but it seems like the lines the GF is trying to cut are way too thick. Also, I am either burning through the paper without precision or it isn’t cutting at all… I’ve tried various settings from the beginning of this thread and am still facing the same issues… any ideas?
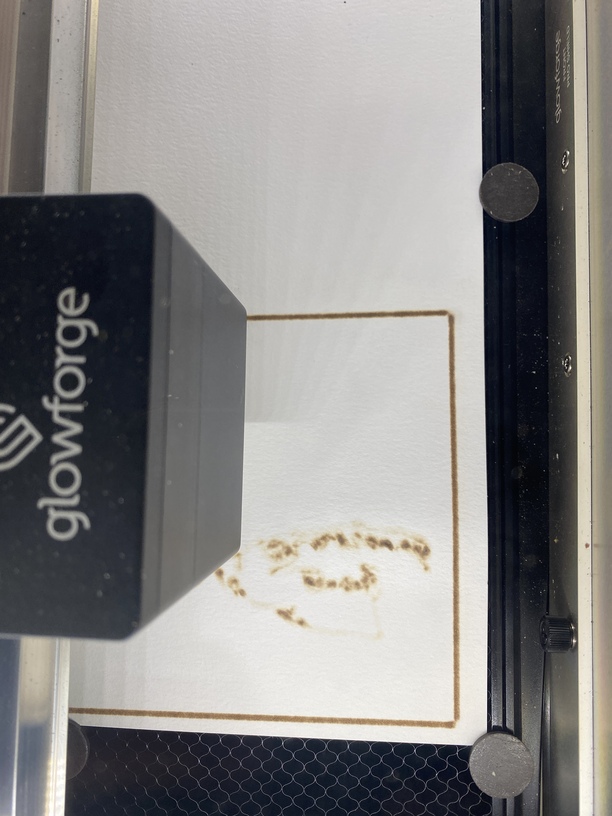
I’m using 140lb paper on top of the honeycomb tray. I choose “set focus” which is why for us height reads “auto”. I’m not certain this is accurate and I’ve played around with settings from .01 to .13. And I’ve played around with power from 65 to full. At max speed I either get total burn outs where the lines are unrecognizable or blotchy marks that are not burning through the paper.
No I didn’t clean my lens. This is maybe the 10th project I’ve tried on this new machine that I just got. I’m choosing set focus to let the machine determine the best focus. What would you suggest?
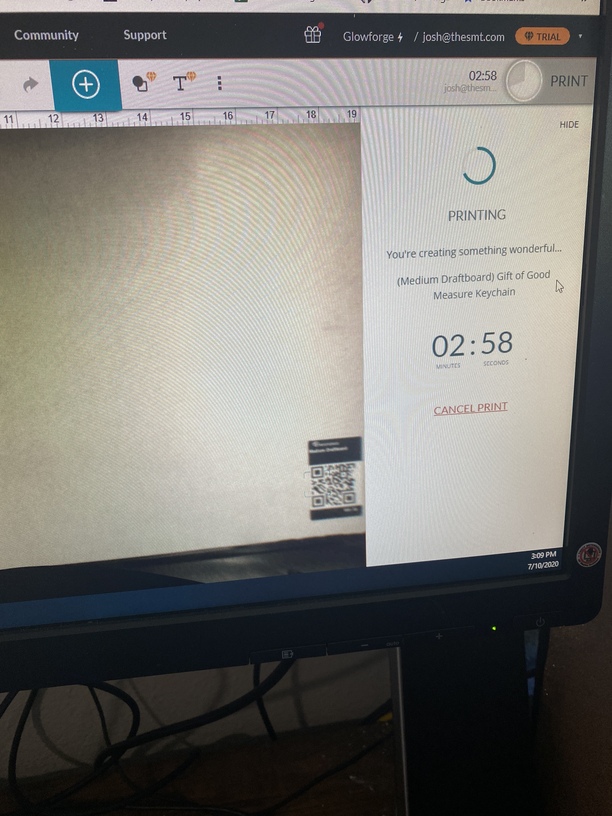
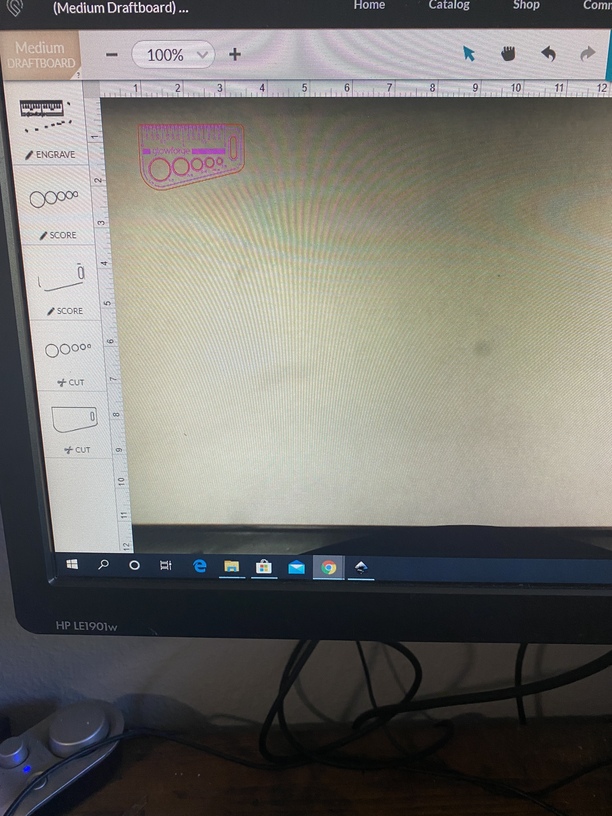
As a troubleshooting step, I suggest printing the Gift of Good Measure on the spare medium draftboard provided with the machine. That will eliminate any issues with the focus and power.
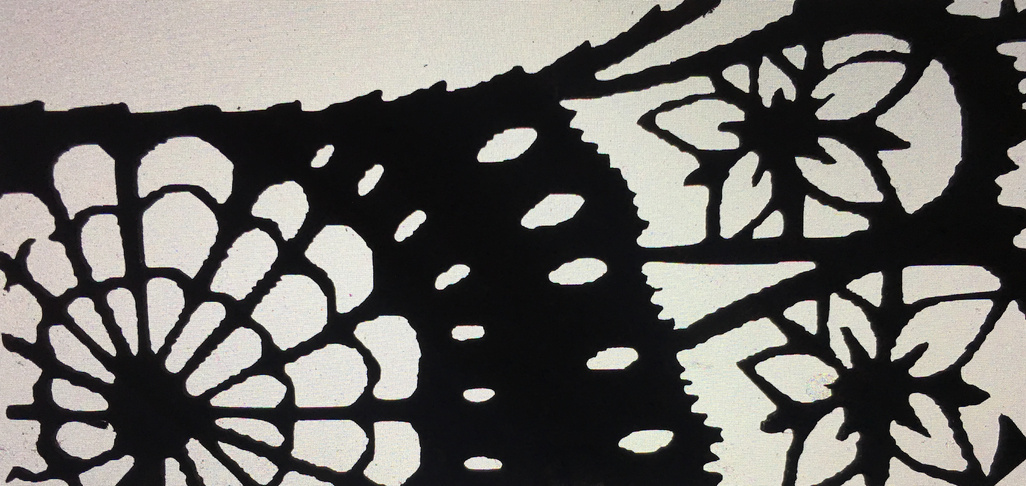
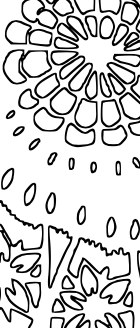
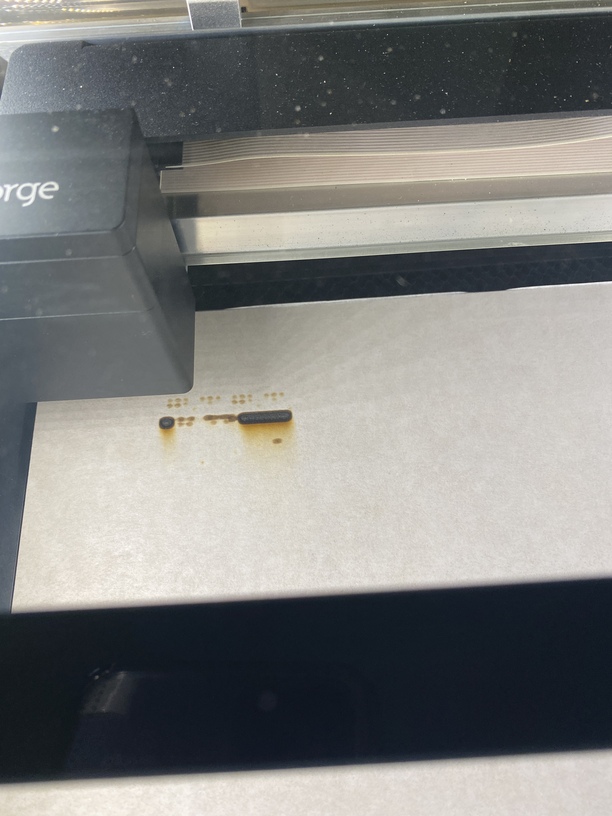
Just by way of example, here’s an example of a similar cut, except this is on much heavier stock (chipboard) - the top image is a sample about 1" in length. The cuts are clean and precise. (Back-lit as it’s cut from black stock.)
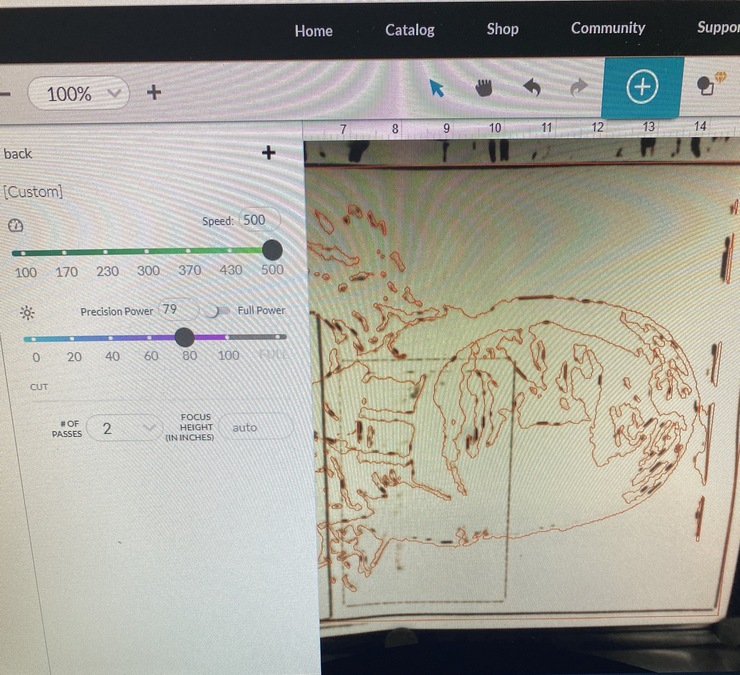
To override the autofocus, you need to set the material height to one value and the focus height to another.
For example, .015 material thickness, and .014” focus height. The values have to be different to override autofocus, or it will use the autofocus measurement.
I’ll try to find the Gift of Good measure stuff. I don’t remember seeing it. Offsetting the material and focus height gives me this awesome, unusable gigantic line with burn marks on corners
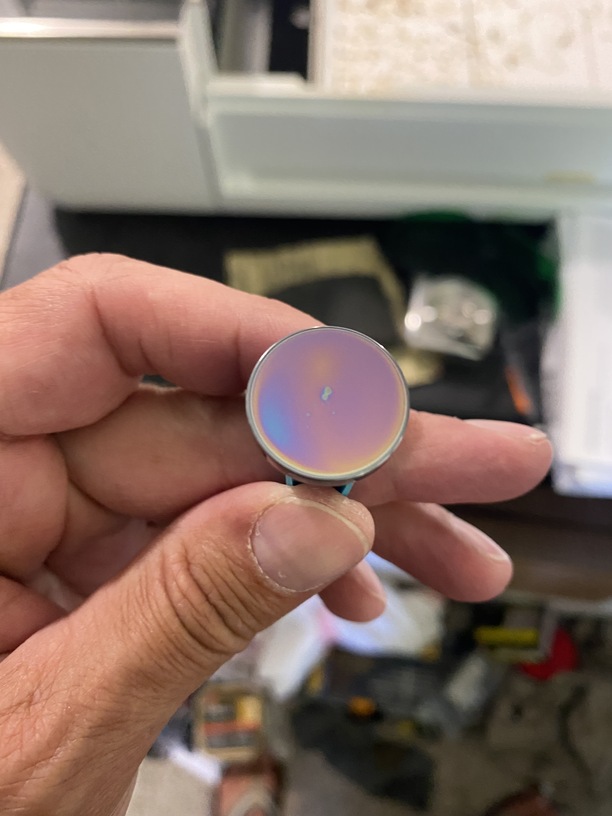
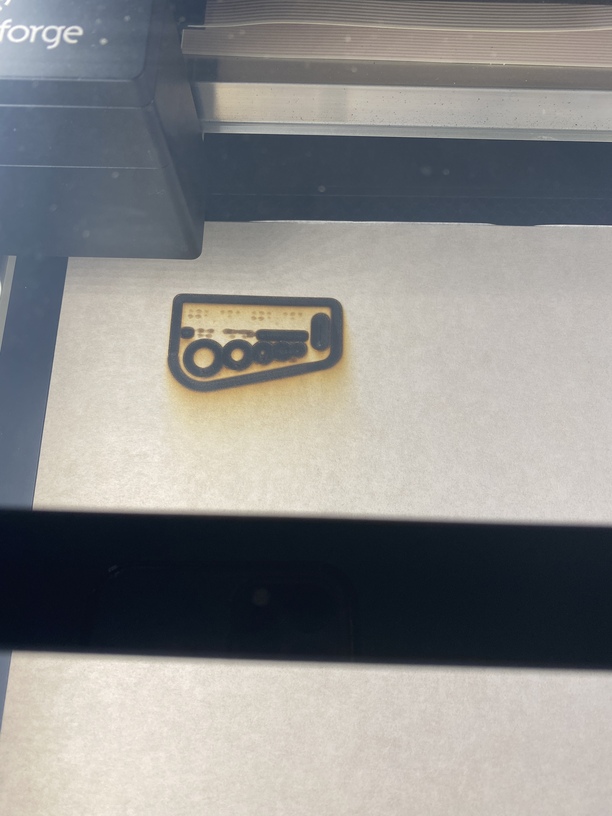
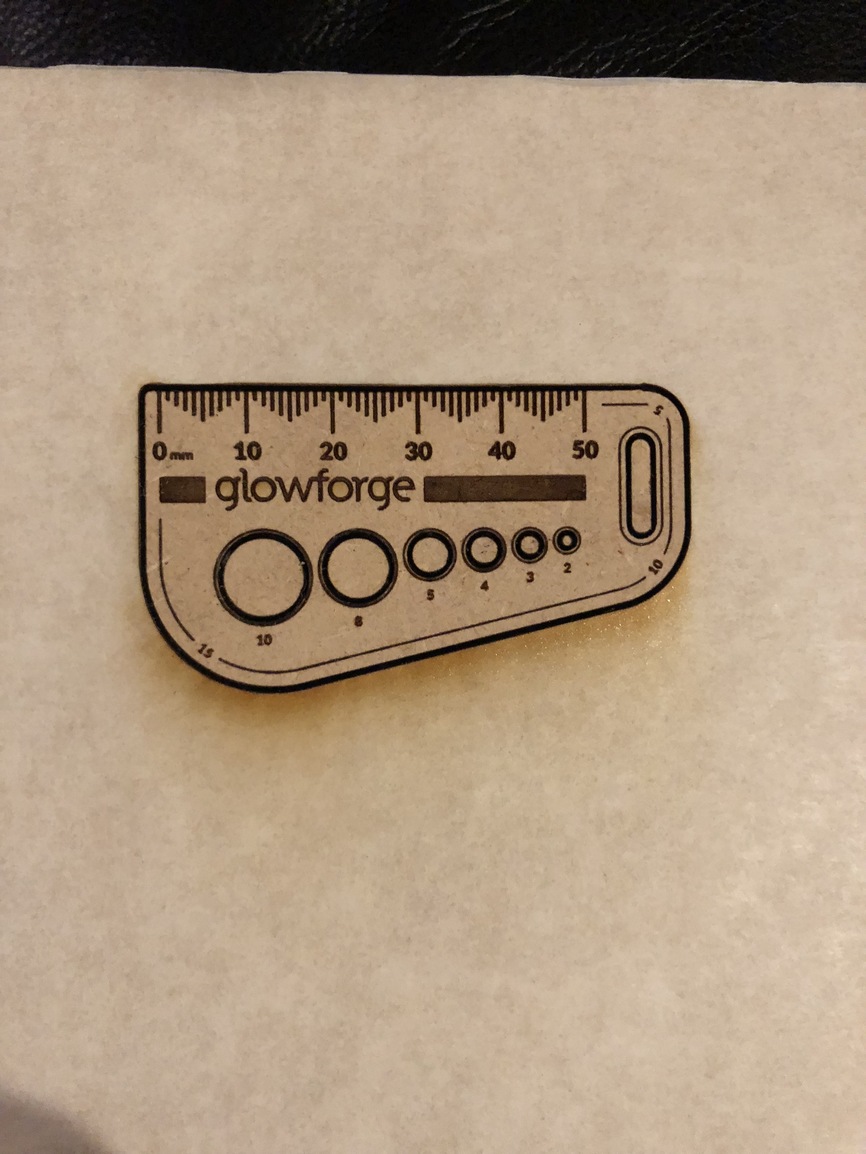
Ahhhh. I think I got it. The mirror and the lens had grime on them. I used the lens cleaner towelette and the little blue lens remover and cleaned everything. It is looking especially crisp now. I’m printing the gift of good measure and it is looking fantastic.
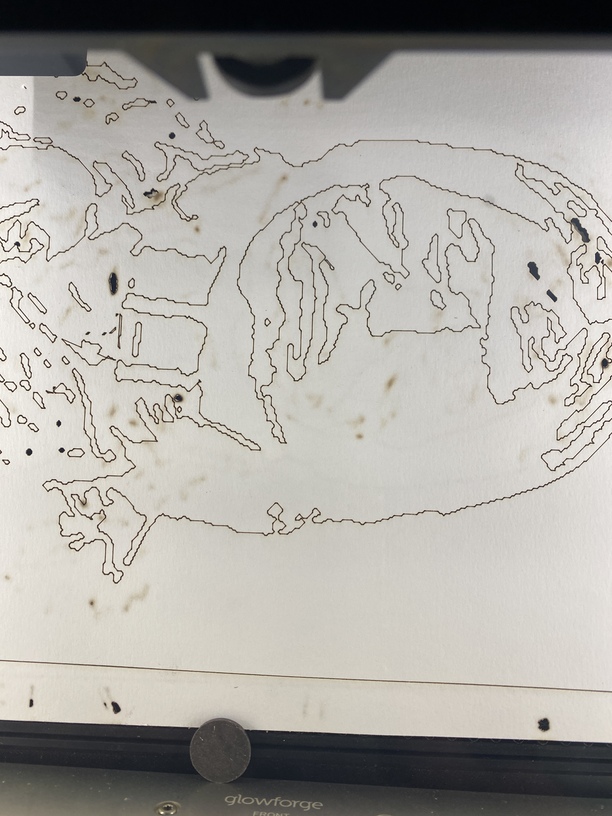
Working on the paper right now. It is pinpoint focused, but not cutting through everywhere. It cut the border completely and most of the rest, but It didn’t cut through in other areas. Also, the lines of my image are extremely jagged… I’m going to have to figure out how to smooth those out…
settings seem a little bit high on power. have you cleaned the optics in the machine recently? or was it just the mirror that was dirty not the main focus lens and 2 windows?
To smooth out your lines you might be able to open the file with a program like inkscape and use the “smooth” option to reduce its complexity.
I disagree, 500 64 seems low for heavy 140lb cardstock, and higher speeds will always have greater acceleration effects. I think a more consistent result can be had in the 300 range.
I’d suggest backing up and using a test to dial in your cut power. I’d personally do a set speed 300 test and back into the power.
Lenses and mirrors can get pretty dirty even after just a few projects. Any time you have issues with not cutting through, the FIRST thing you should do is clean them.
Also I’m thinking you have some duplicate lines in your artwork; they cancel each other out and you’ll get areas that don’t cut as a result. It’s pretty common with traced images.