It’s normal. The onscreen image doesn’t show the parts of the bed that aren’t printable at the top and left sides. 
Edit: I was only speaking to what shows in the image. The focus being off on that side isn’t necessarily normal.
It’s normal. The onscreen image doesn’t show the parts of the bed that aren’t printable at the top and left sides.
Edit: I was only speaking to what shows in the image. The focus being off on that side isn’t necessarily normal.
Recalibrated and it seems to have worked swimmingly! Thanks for this feature.
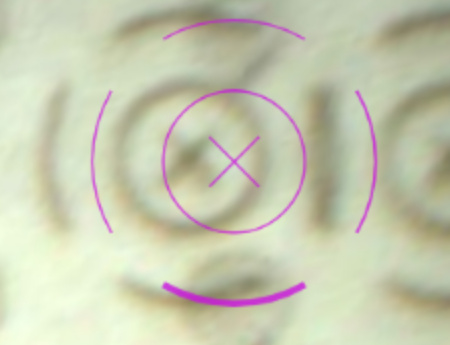
Calibration + Set Focus was easy but in my case, I can’t really tell a difference from before. This is at the extreme lower right and it’s the same kind of error as I have become accustomed to.

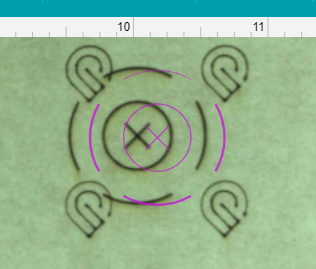
This is the middle of the material and again, it is about what I had before.
Edit to add:
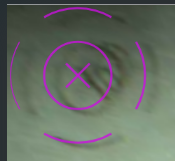
I’m actually worse off than before in the upper right. Is there a way to self-revert calibration settings? I wonder how I might fare with Set Focus only and no recalibration data in the loop.
(This was on a new sheet of Medium Draftboard.)
Great results here. I was good at fudging my placements to account for the previous calibration being off about 3/16" horizontally and 1/16" vertically. It’s pretty much dead on, now.
Center:
Upper Left:
Lower Left:
Lower Right:
Upper Right:
The Upper Right corner is the furthest off. shrug I’ll just avoid doing any precise placement out there.
I did a quick test using this to connect a single path that was split into two cuts. Between runs, I repositioned the material, updated the focus point, and lined up the second cut in the UI. The results are nearly flawless. Less than half a kerf width off (and I think that was my imprecision rushing the test because I was excited).
So finally calibrated mine. not looking particularly accurate right now. even in the center of the bed, it’s about 3/16" off to the left.
Dead center:
top left:
top right:
bottom right:
bottom left:
Ouch, I thought mine was off.
I will surely put fresh masking on the draftboard and give it another try. Someone upthread said 3rd time was the charm…
Did you reboot your GF after the calibration?
i rebooted before per the instructions. but i don’t remember seeing the instructions to say reboot after. it was turned off last night, so i can check again today.
They don’t. But Dan & a couple of Support replies have suggested it to reported problems and it seemed to correct their issues.
ok, so rebooting made a world of difference. they might consider just putting that into the instructions if it sometimes makes a difference. only takes a few minutes whether it does or doesn’t, but it won’t hurt and looks like it sometimes helps.
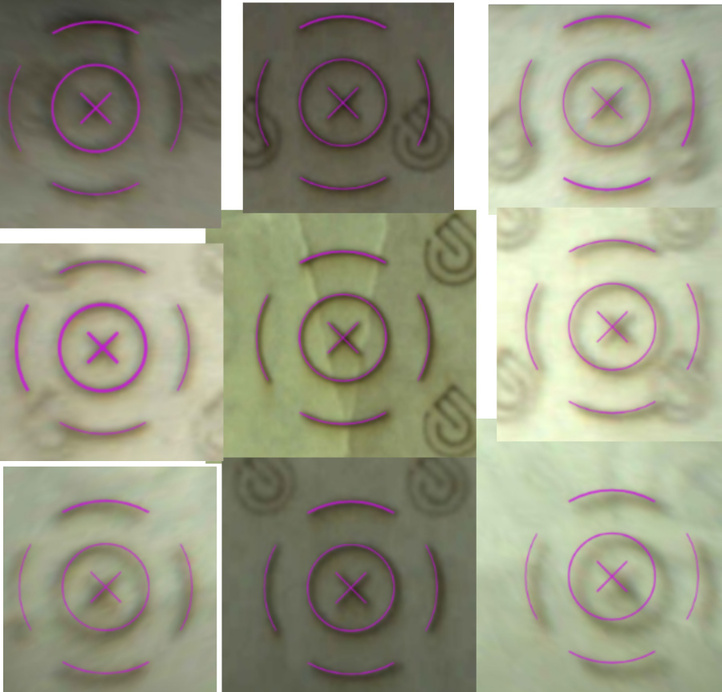
center:
lower left:
top left (little more off here, maybe .125")
top right:
bottom right:
My journey to calibration…
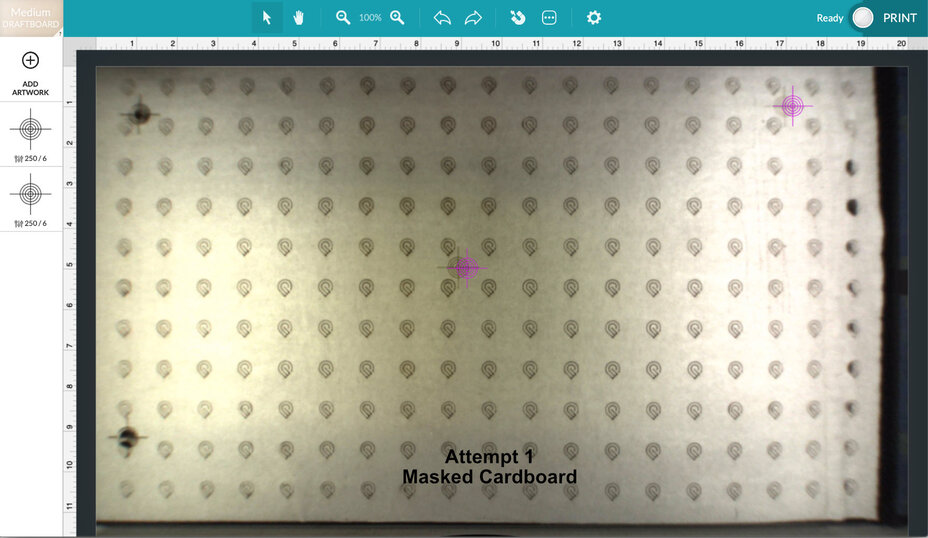
Attempt 1
Not being certain what’s about to go on, I walked through enough of the thread to know a flat, white material is needed and to never ever touch the print head (not that I ever made a habit of doing so)
Only had a single sheet of ProofGrade DraftBoard left so was loathe to immediately use it. Will a piece of masked cardboard do the trick? It certainly laid flat-as-can-be on a glass surface. Cleaned the lid camera, the crumb tray as instructed and started calibration. Glowforge scored its logo array and then proceeded to do a sampling inspection with its head camera.
The cardboard was clearly too flimsy as the scoring laser (expecting draft board) tended to cut through a few at the end. They didn’t fall all the way through thanks to the internal corrugation.
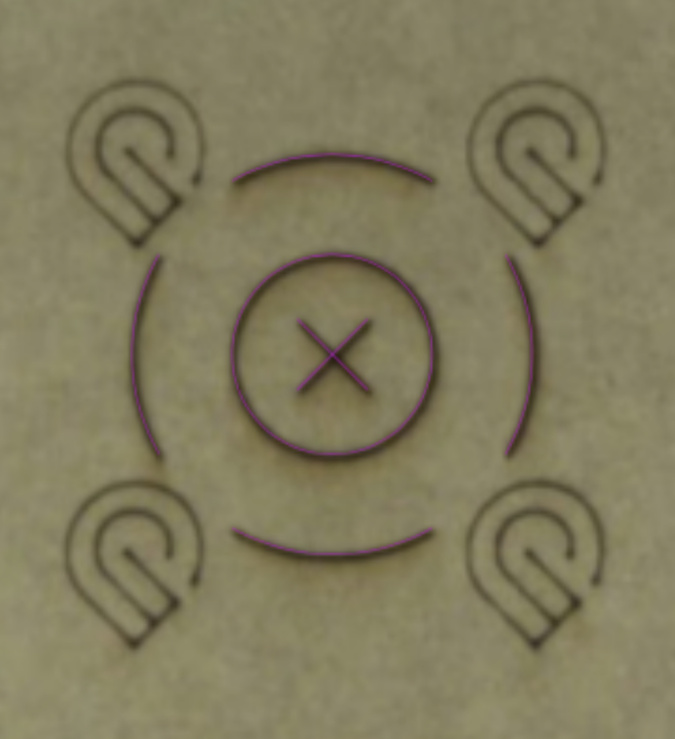
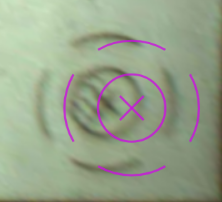
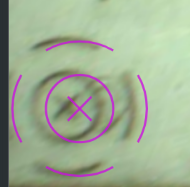
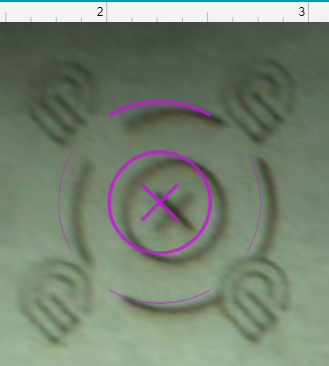
Next step was to test calibration by laying down targets. Highlighted one, and then ran a “Set Focus” on it. This caused the head to immediately go to the spot to do whatever it’s doing.
The result? No go. Repeated the target test with another pair in different spots. Calibration didn’t take hold as seen by where it should’ve landed (purple) versus shifted scoring result.
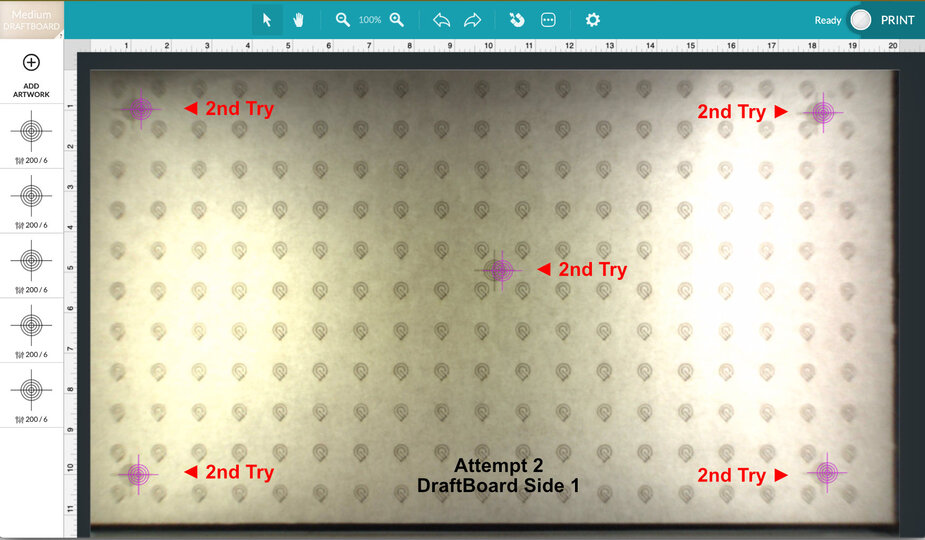
Attempt 2
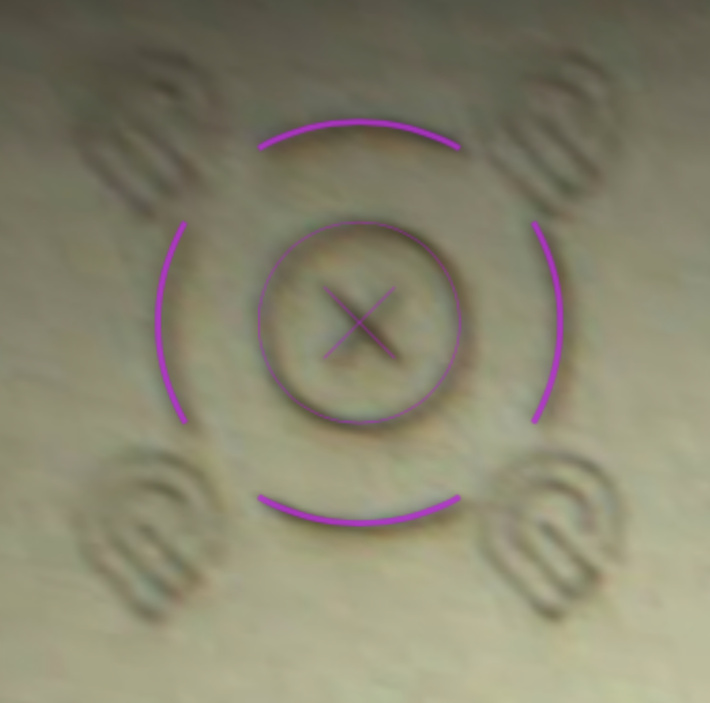
Time to burn some ProofGrade the sanctioned way. DraftBoard was loaded, the Glowforge rebooted, and calibration steps repeated. Five targets placed, “Set Target” on the center one.
All failed.
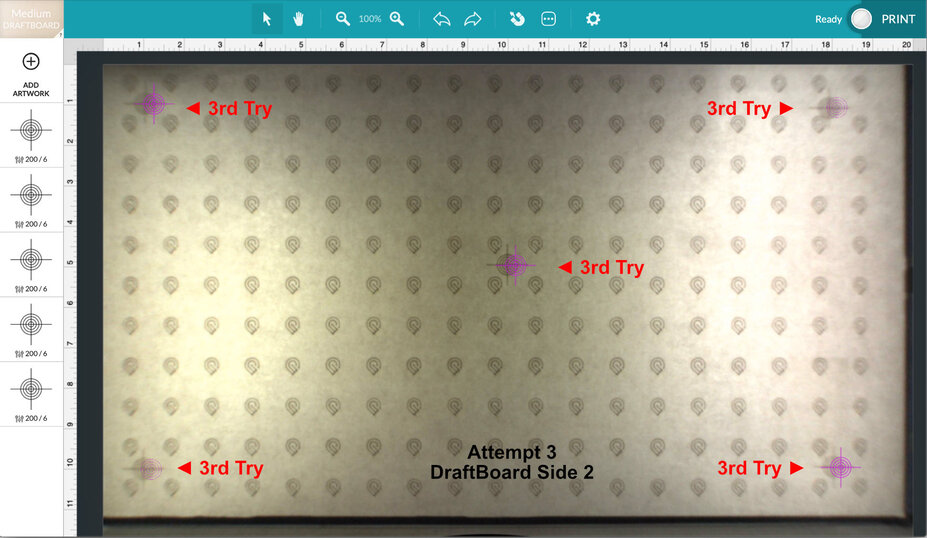
Attempt 3
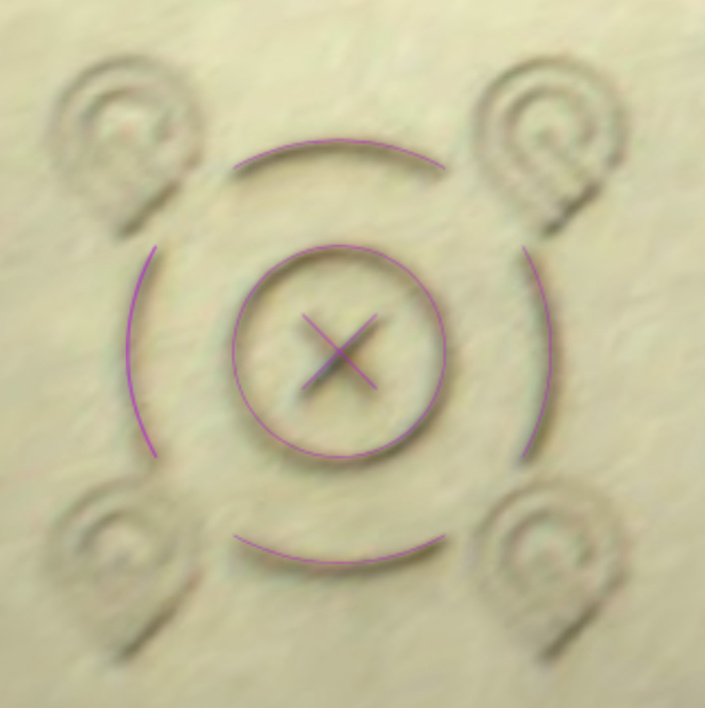
DraftBoard flipped over for a new canvas, the QR sticker removed, last chance to try this again…
![]() Surprised? Not really. I’d love to assess what’s going on, but there doesn’t seem to be a precaution I didn’t follow. Print head? Never touched it. Level Glowforge? Reasonable concern if my zip code was 94109, but it isn’t. A cylindrical glue stick doesn’t roll left, right, fore, nor aft when placed on the lid. Material flatness? It’s flat. No discernible warping unless we’re looking for decimal places in the thousandths… are we?
Surprised? Not really. I’d love to assess what’s going on, but there doesn’t seem to be a precaution I didn’t follow. Print head? Never touched it. Level Glowforge? Reasonable concern if my zip code was 94109, but it isn’t. A cylindrical glue stick doesn’t roll left, right, fore, nor aft when placed on the lid. Material flatness? It’s flat. No discernible warping unless we’re looking for decimal places in the thousandths… are we?
Following the cleaning page, I turned off the Glowforge once more and pulled the magnetic print head. Underside looked clean as day one. Disconnected it’s ribbon. No bent pins of course, or I would’ve experienced massive problems early on. Lifted off the print head lid to glance at the mirror. No obvious issues. Cleaned the head’s side window and snapped everything back together.
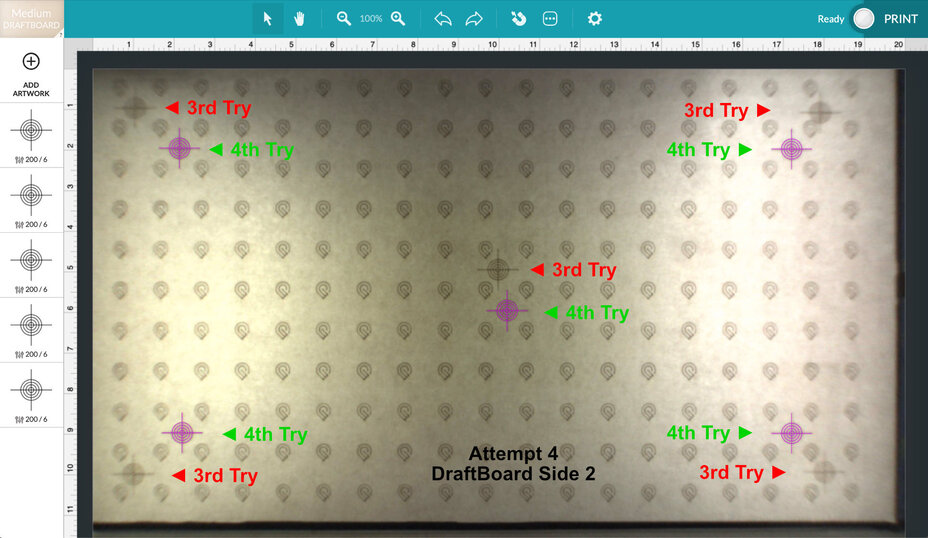
Attempt 4
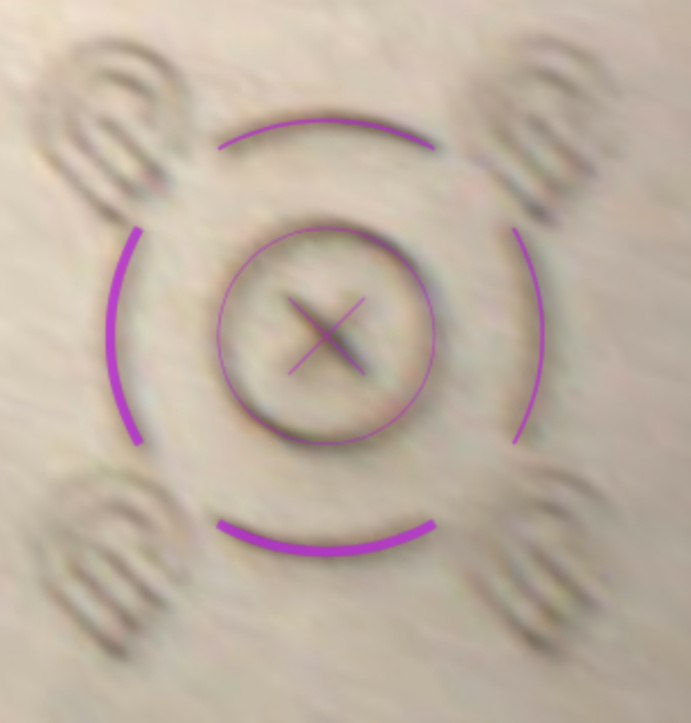
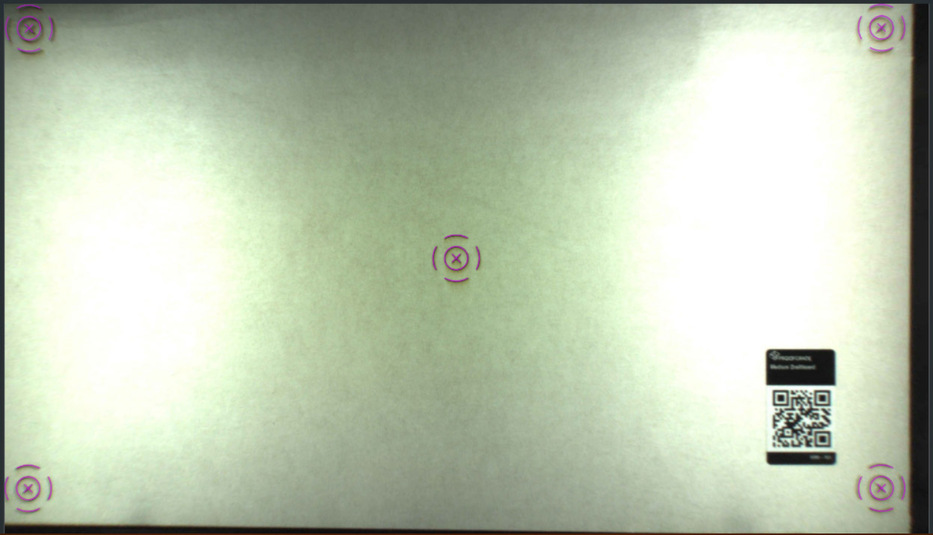
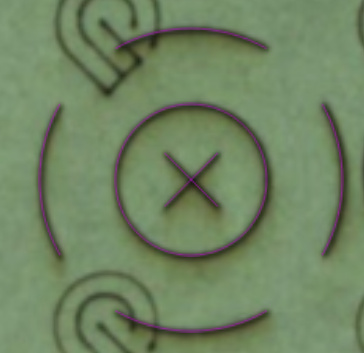
Relocated my targets still remaining in Safari browser’s Glowforge App. Might as well see if the target shift at least consistently lands at a given distance away. Highlight the new center target and “Set Focus”. Hit Print…
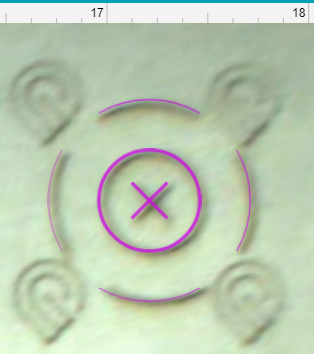
Captain! Confirmed strike on all targets! Is this some fluke?
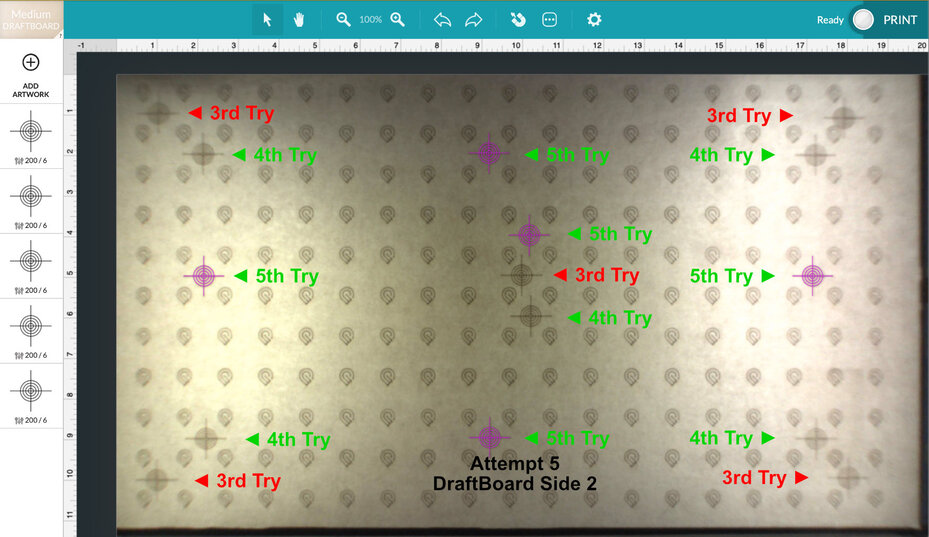
Attempt 5
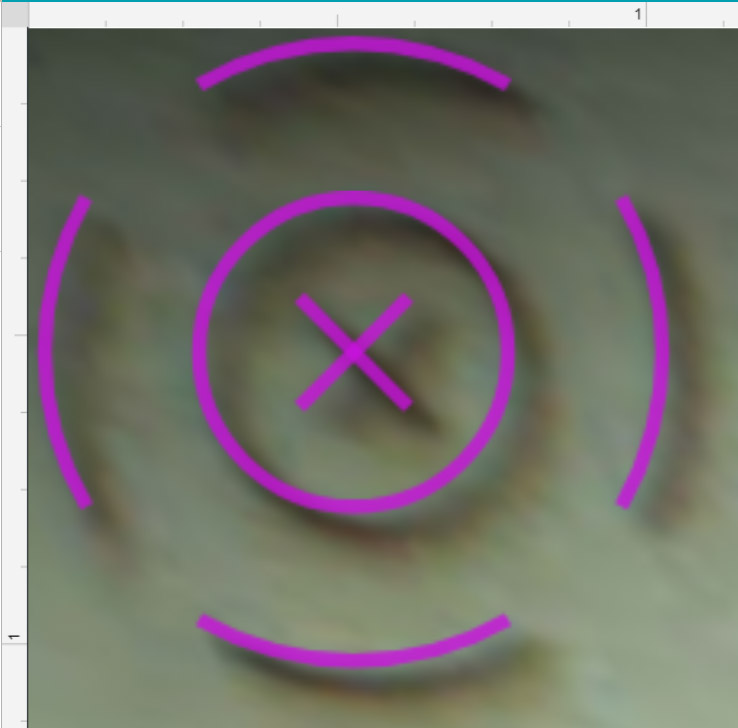
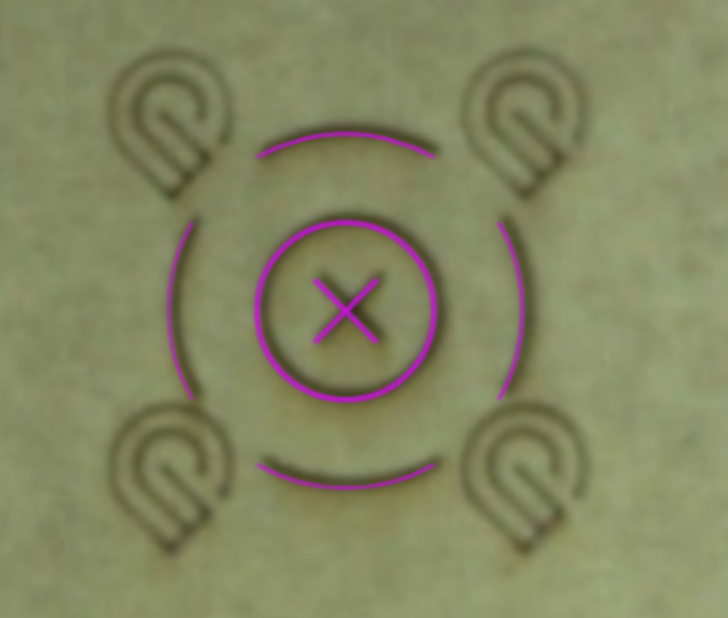
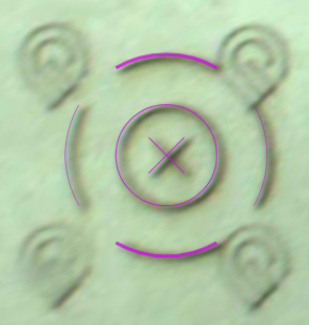
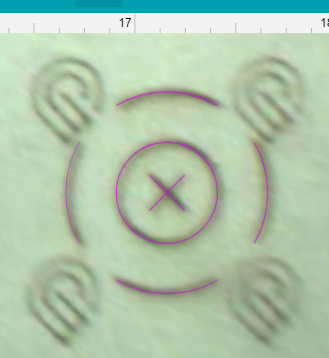
Targets moved again to edge midpoints…
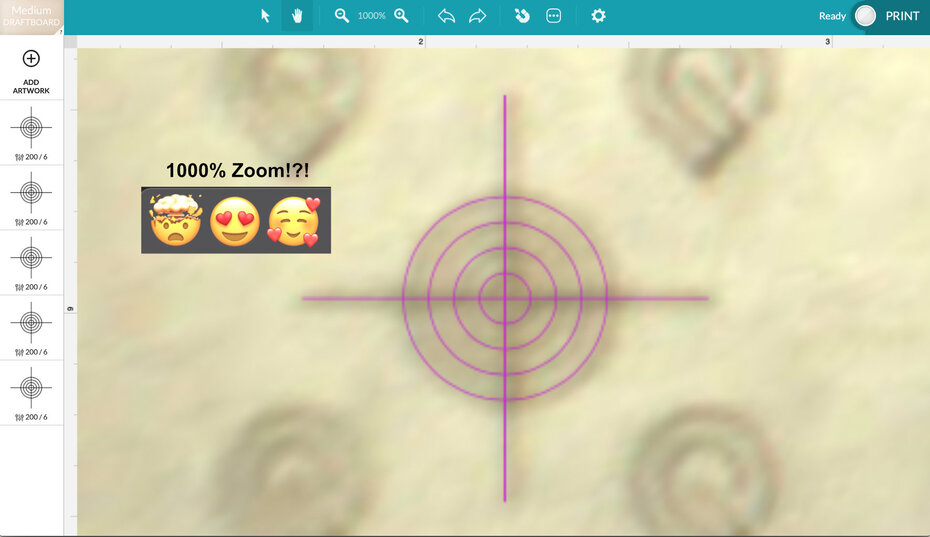
Let’s take a reaaaaal close look…
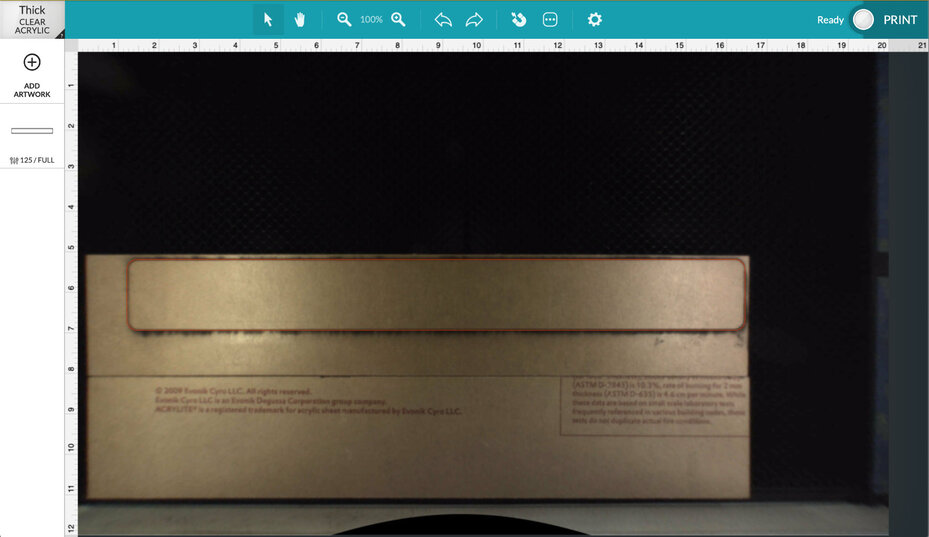
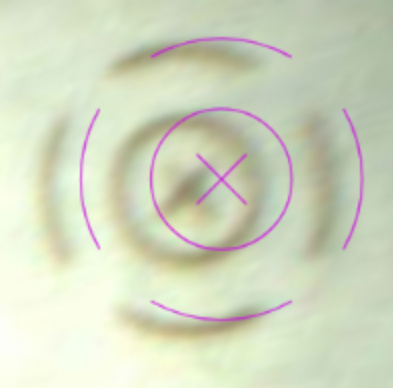
Can we actually use this new found accuracy in real life and does the machine hold its calibration after a reboot? Need to try this on a piece of heavy acrylic…
That’s as close as I was comfortable dancing at the edge of and the newly calibrated Glowforge nailed it. Thank you, Dan & team.
Now to go design a Louis-Vuitton inspired wooden handbag with my Glowforge-patterned DraftBoard…
Rebooted, no improvement. My upper right is still worse than before the new features came online. Bummer.
edit to add:
Re-re-booted, flipped the Draftboard and re-calibrated. I then re-booted before doing tests, making sure to also use Set Focus for each of the 9 burns. This time there was a big improvement in many places.
However, the right side of the material is still a little off. I would say it is approximately as off as it was before calibration. So, this is a net improvement, and I now feel good about using the camera to align art on small items, at least in the center of the bed.
Awesome work, Glowforge staff!
Pretty accurate now, less than 1/16th of an inch off in the upper left corner. I scored all of these in one go, using the upper left for the focusing set.
Absolutely.
If something about the setup changes, you may need to recalibrate it. Putting it on a different workbench, moving to 94109, etc.
FWIW, I’ve packed and unpacked my unit at least 3x since calibrating and it’s still spot on.
I believe we’re rolling out a change soon so that it will align itself (the important part of the reboot) after calibration automatically. I’m so glad it helped!
Just so folks know, the test isn’t useful unless you print only one target at a time. Otherwise, any change in height between targets will create inaccuracy.
And if the calibration stage after burning is interrupted for reasons unknown? Is there a way to skip the burn stage of the calibration and just head to the measurements, since restarting the measurements wasn’t an option in the step-by-step?
Saddly, my GF is worse than it was before…
Try powering it off and back on again – there’s a final calibration update that doesn’t happen until you do that, sometimes.
Made a video walkthrough of this if it helps someone out, here’s the link to the post for it: Video walkthrough of the Camera Recalibration
Ooh, if you make a separate post with this link, I’ll move it to Tips and Tricks for you!