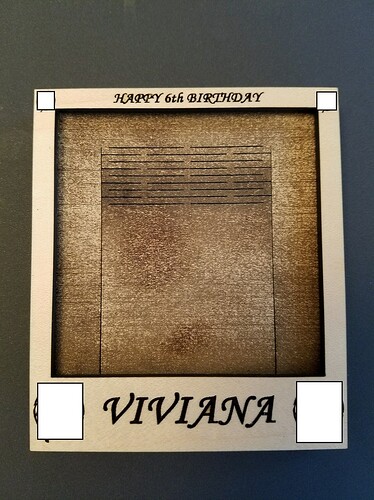
- Used the GF’s design of the picture frame with living hinge to make this customized one (ummm, I had to blur out the logo of the theme party…sshhh)
I tink I forgot to remove some of the backing, lol. Anyway, it was fun & easy to make, but the back piece’s engraving (the big dark patch on the pic) took a while, since it basically has to cut a pretty large area with just a pin needle width laser, so it takes time to cover the whole area. If you are making a lot of these, you might be better off using a router and setting up a jig for that one part of it. This was after sanding the middle, by the way; it was really dark prior to that
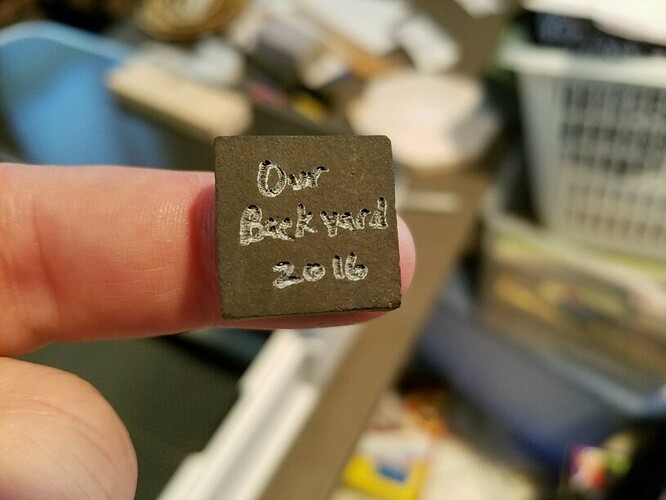
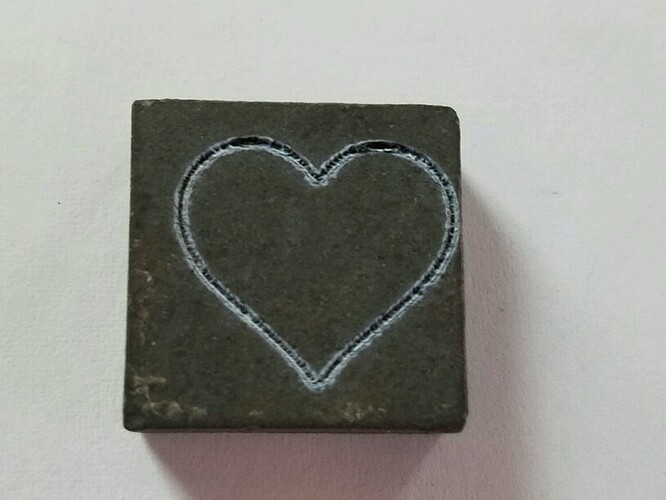
Found this small slate(?) tile, only a bout 1" x 1" in the dirt of our backyard garden last year, decided to try engraving it…
I remember another member said that the light reflecting off of the one he did was really bright, and he sure wasn’t kidding! It was basically like looking at magnesium ribbon burning.
I did a poor job of centering it…oh well, live and learn.
This did raise my curiosity, though, and I will e-mail support later: the engraving is done in spots, and horizontally, like how an inkjet printer runs. Would it not be better / cleaner / faster to have it run in one continuous line? That is how it makes cuts…
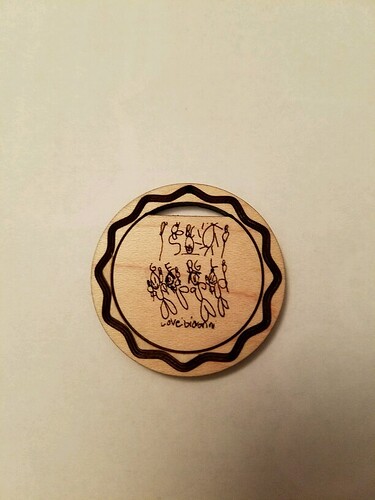
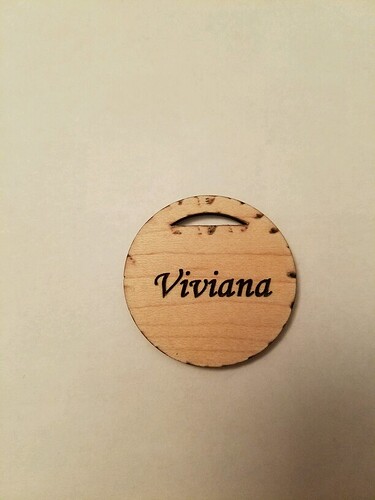
And finally, made a few pendants (from the GF design) for my boy’s friends, from a pic he drew about the birthday party, and then engraved their names on the back…
This is one of them…
Front:
Back (I forgot to change the settings of the cut, darnit, so there is a little excessive scorching, even after some light sanding…my brain is jello lately).
Oh, and I also etched a clam shell…you can get an idea of the brightness from this video. Too bad it isn’t smell-o-vision, to give you the full effect, lol:
Dangit, video too big, again…gonna have to start posting to YouTube…
It’s not much, I know, but it’s been a busy weekend…and I’m learning Fusion, so hopefully I’ll have more creative stuff soon ![]()
