Repair attempt at loose glass lid at rear hinge

UPDATE: PERSONAL ADVICE TIME… (POSTED LOWER AS WELL)

I wouldn’t fully recommend doing the whole process I did at the top of this thread. That was advice for when I thought just one side was going to break… but I see now that if one side breaks, it’s a very short time window until the other side does too. So, all of this thread was, well, literally a half-measure that wouldn’t stand up over time.

I don’t know the specific technique I’d use, but in retrospect if one side breaks (and you’re fixing it yourself), you should probably disconnect the camera wire bundle, wedge a thin scraper in the gap, and remove the entire lid.

When it’s fully released the entire contact area is obviously fully exposed and can be better worked with. I saw all the dry adhesive, could scrape off a lot of it, I goo-gone’d it and scrubbed off a lot of the residual, so I had a clean surface to work with. That gave me a lot more access to put a clean layer of E6000 down.

________________________ ORIGINAL POST BELOW _________________________________________

OK, I posted in the Problems and Support area about my recently detaching glass lid.

( Glass hinge detaching issue... about 1.5 years later :( )

But since I’m attempting a fix myself (don’t live in an area that would easily allow shipping it back to GF) I figured I’d post a different thread on what I’m doing, and will post the results when I have more info.

SO!!!

After reading a great deal on what adhesives are best for attaching glass to metal, I went with a two part solution.

First, I taped off the glass in the area, just in case the adhesive(s) left some nasty residue.

IMG_6002

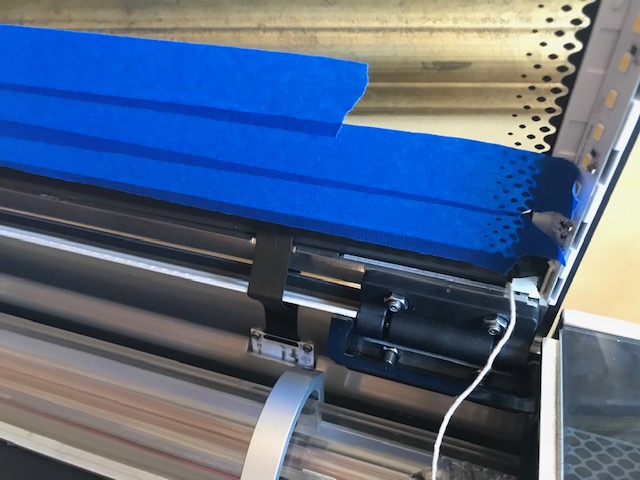
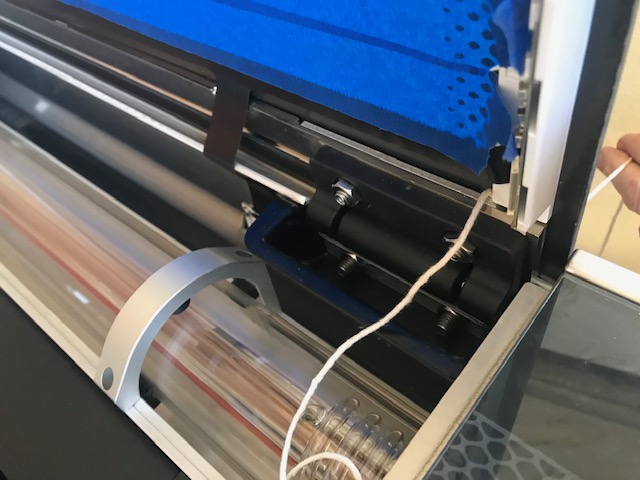
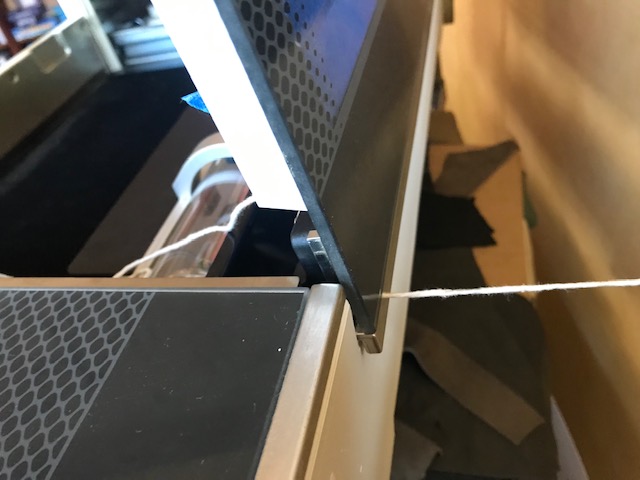
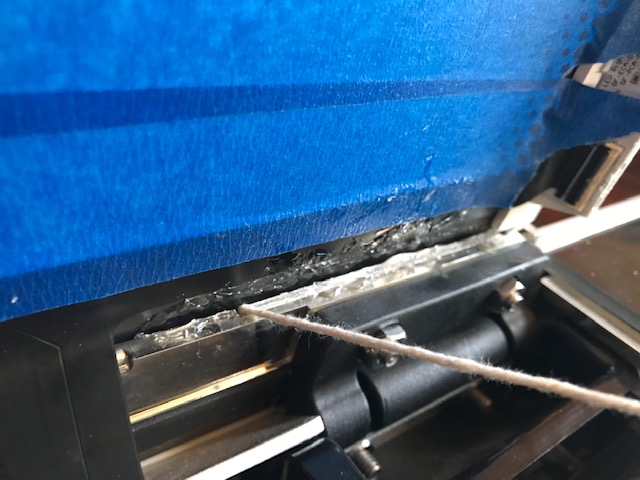
Then I threaded a line of twine through the gap between the glass and metal. I did NOT cut the line off the roll, since I didn’t know how to best use the string anyway. The goal here was to use the line almost like “floss” and allow me to spread the thick adhesive around in the gap.

IMG_6003

IMG_6004

For this area, I grabbed a tube of E6000 (which loads of sources online claim to be pretty awesome for these two materials) and ran a thick line of it along the top of the gap.

IMG_6005

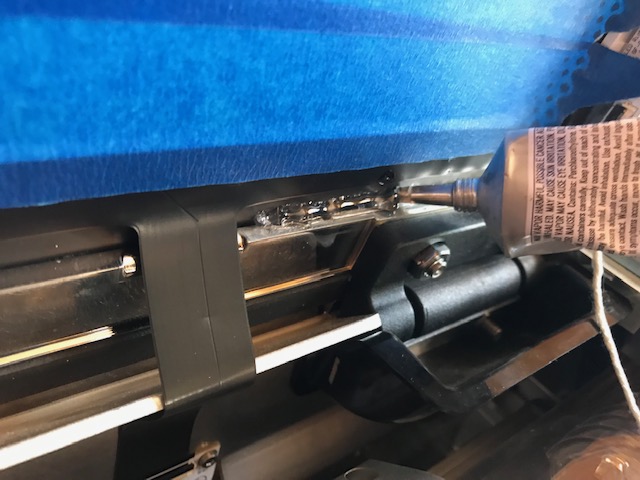
From there, I used the twine “floss” line to pull the bead down into the gap better. I actually repeated this process about 3 times, laying down a line, then spreading it into the gap again.

Yes, it’s still a wee bit messy, even with the masking, but… whatcha gonna do? I cleaned up immediately with some folded paper town edges to try and minimize what I could.

IMG_6007

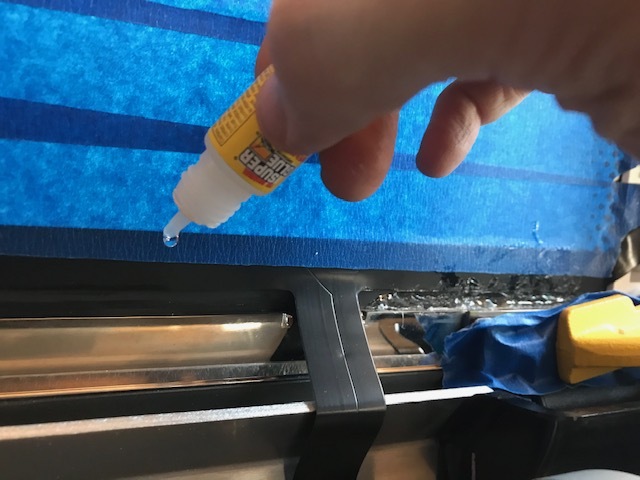
Further in on the lid, the gap was more subtle, not allowing room for the string, but definitely detaching. I used a thin CA glue along this area, which wicks into the opening pretty easily. I wiped up the excess where I could. This would almost certainly discolor the nearby glass if not taped off (I believe).

These two adhesives don’t overlap or anything, they both are in their own “area” of the gap that is split by that area where the lid cables run.

IMG_6008

Then I taped a couple bits of wood remnants on the hinge and glass side, and clamped the bittles together reasonably heavily.

IMG_6009

IMG_6010

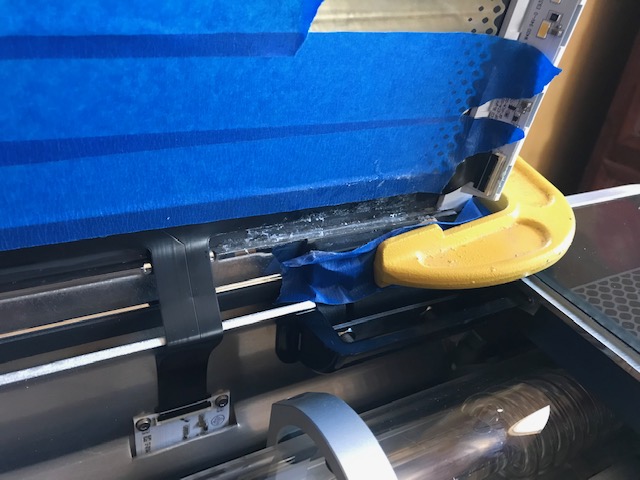
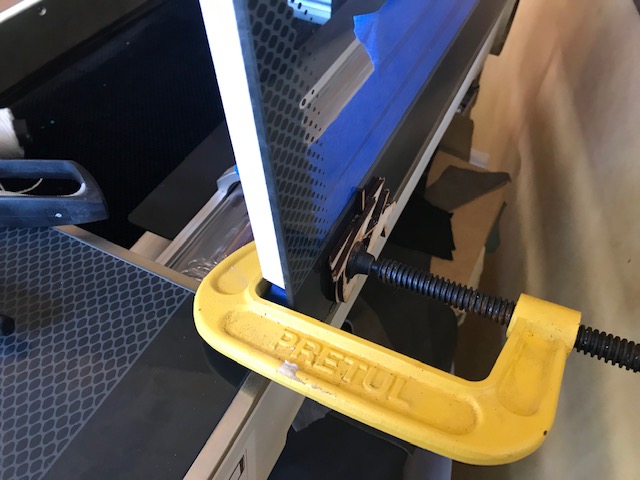
Now, I’m going to leave that clamped for at least 2 days, and… fingers crossed… this will work out to be strong enough to not worry about the hinge anymore.

I will probably discontinue using the lid regardless, unless it’s really needed, since often I can just barely lift it up, lower the front side door, and put things in through there.

I’ll post again after that waiting period, and let you all know how it goes.

26 Likes

Sure seems like this would do the trick and I’m keeping fingers crossed for your success. And, your success may prove to be very useful to others in the future. Best of luck to you!

6 Likes

Thank you for posting and documenting your trial. I’m sure this will add to the knowledge base of the group. I hope it works well. It looks like it should.

3 Likes

That’s almost exactly what I had in mind for mine. The only difference is that my hinge is completely separated, so there’s plenty of room for adhesive and something more rigid to spread it with. Props for tackling it so quickly. If yours goes well, I’ll have to start mine early next week.

4 Likes

Thanks for giving this a try and, for sharing with the community. We appreciate it!

3 Likes

Today I’m in super rare form and being patient enough to not touch the Glowforge.

Want to give it a full 2 days of drying time.

7 Likes

Why 2 days? I mean sure more time is often better with glues but does e6000 take that long to fully cure?

2 Likes

Just taking the advice of some site that did comparisons. Pretty sure it would be OK now.

But also, hadn’t had any need for it for today anyway, so might as well let it go until tomorrow.

1 Like

Wow, I like your careful and thoughtful approach! My fingers are crossed for you! I hope it holds!

2 Likes

Hey all. Everything SEEMS to have worked with the repair.

I removed all the tape and clamp, and the hinge looks like it is holding well. I haven’t really tested the strength of the bond, because really I’m not sure how that would work.

Nothing to really show in pictures, but I’d recommend this treatment for others who might have this issue.

11 Likes

Fingers still crossed for you.

1 Like

Very good news! I know I’m not alone in hoping that it stays right where you put it…for good. Thanks for sharing your progress and the details about the adhesive you chose.

Really appreciate you documenting this, thank you!

1 Like

It will be interesting to see the performance after you run the camera calibration.
I usually only open the lid a bit more than halfway, and if needed open the front door. That’s plenty of room for access.

3 Likes

The lid is fitting like new again, the weird offset seems to have cleared up with the fix.

10 Likes

Excellent. Did you run the camera calibration afterwards?

3 Likes

Sorry, only today got around to cutting some things.

Everything is working like new for now, calibration and everything is fine… so, fingers crossed it all holds up over time.

14 Likes

Is the adhesive still holding up ok? We just had the adhesive on the handle/glass end of the lid give out. I have students using the Glowforge, so I am hoping that an E6000 or similar fix will be sturdy enough to fully use the lid after curing.

2 Likes

Yeah! So far so good!

I mean, I’m fairly gentle with it now, but it seeeeems really solid.

6 Likes

And it’s been how long now?

I just had the glue come apart on mine, and when I talked via chat, the response was that they “grant me permission to glue the hinge and lid together, though they can’t give advice”. Shheeeeesh.

Thanks so much for this detailed post. I’m hoping I don’t have to repair my $6k investment because I’m worried about the calibration. But at least I’m granted permission!

If I was in Mexico, I would definitely go that route! I lived in Sayulita for 3 years, so I hear you, mail is not an option! Where do you live? I LOVE Mexico!!!