If you’re new to Inkscape this is not yet for you. See tutorial links down below. This tutorial assumes you have a working knowledge of Inkscape. You’ll be using Layers, Fill and Stroke, and Align a lot. It requires use of the Bezier tool - although you could use ready made silhouettes to bypass that. Some experience with nodes is also useful. You’ll be making a simple, small shadowbox design by following these steps. Hopefully this will familiarize you with how to use basic techniques so you can come up with your own designs. My apologies - these instructions use mouse actions as opposed to keyboard shortcuts (due to my mobility issues). You’ll find the keyboard shortcuts on the menus alongside the commands.
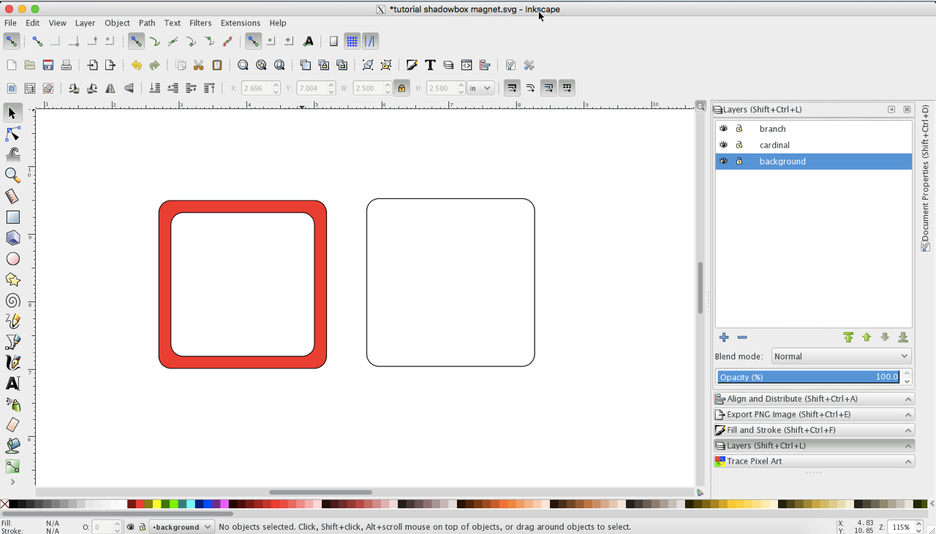
Draw a 2.5” square with slightly rounded corners. Draw a smaller one inside it just like it. Use the Align dialog to line them up just right. Make a copy of the outer one and move to the side (for background). Highlight both squares and choose Path > Difference. You have your frame. It’s useful to give it a fill for now so you can see what you’re doing.

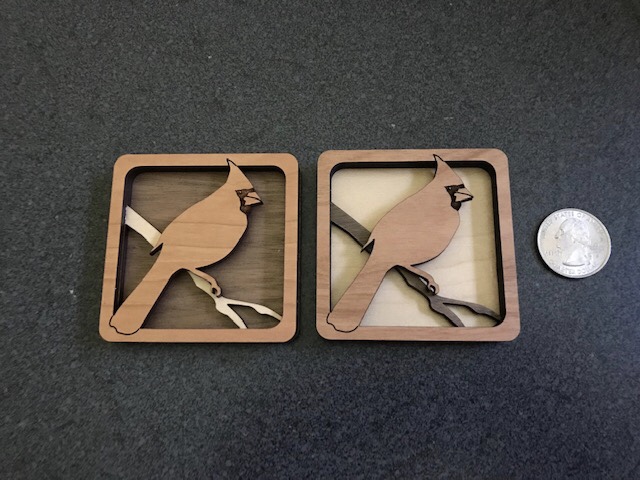
For this small project you’ll end up with 2 frames and a background.
Set up your layers. Add a new layer: ‘background’ and move the background square to that layer. Right-click > Move to layer > background. Add 2 more layers: ‘cardinal’ and ‘branch.’ Move the frame to the cardinal layer. Delete the default layer 1 (you can’t do all functions on layer 1 so I usually get rid of it straight away). On the cardinal layer, copy the frame and move it to the branch layer. I always double check that there is only one frame on each layer, by toggling open/closed and moving/move back, so you don’t ever run into accidentally cutting the frame twice. What is important here is that each basic frame is on the exact same spot as the other layers. Use Align to do so if you need.
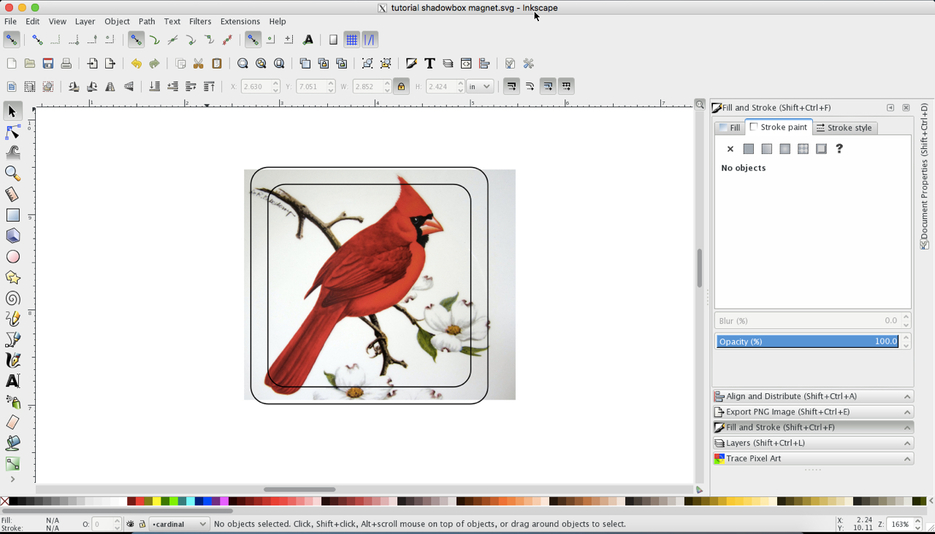
Close the background and the branch layer while you are working on the cardinal. Import a picture of a cardinal you can draw with the Bezier tool. Position it just the way you want it. Toggle the fill off on the border so you can check the placement. Make sure part of the cardinal is attached to the frame. Alternatively, you can use a readily available silhouette.
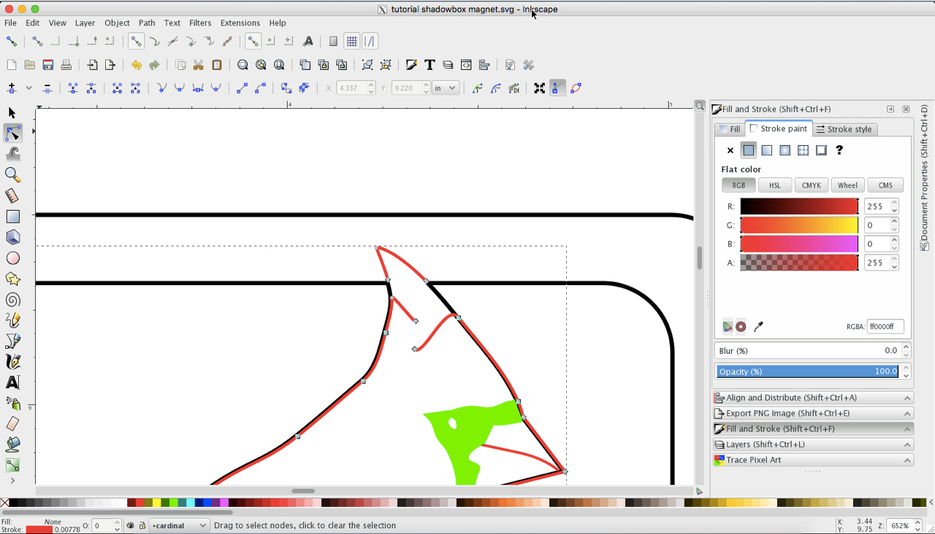
Using the Bezier tool, draw an outline around the cardinal and refine it with the Edith Paths by Node tool. Refine the claw later when you have a branch drawn. Optional: add some definition to the cardinal with engraves and scores. Tip: make sure your colors are all the same in number value; this will ensure the GFUI doesn’t create multiple steps where one for each should suffice. You can also ignore the score and engrave to end up with a pure shadowbox.

Connecting the cardinal to the frame and breaking the path. Make a copy of the cardinal outline and move it to the side. Highlight the outline with the frame > Path > Union. Change stroke color of cardinal you saved on the side to red.
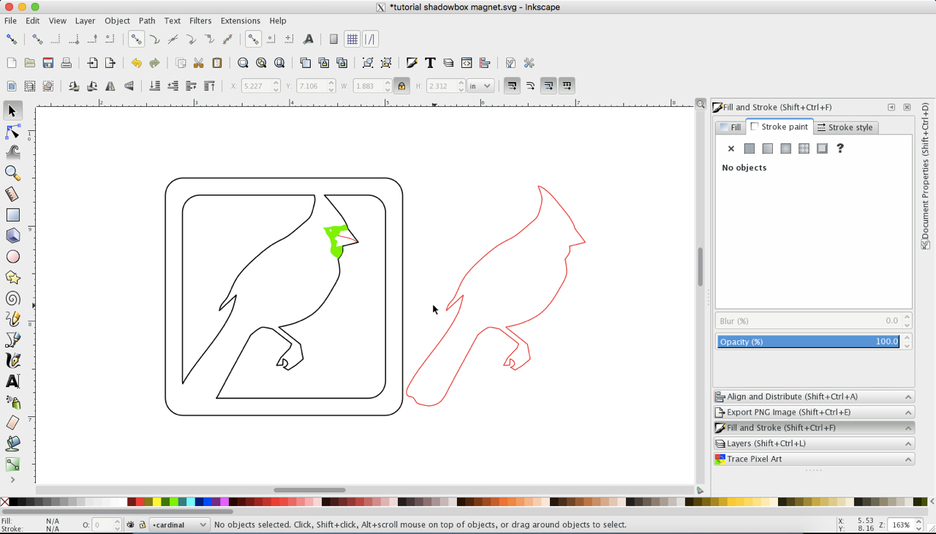
Place the red outline exactly over the black outline and break the nodes at the frame edge at the top. Do the same at the bottom. Delete the rest of the outline in between. You now have score lines on the frame and cut lines inside it. Of course you can ignore this step as well if you want just the shadow outline.
Now shift to the branch layer. Meanwhile you may want to lock the cardinal layer so you can’t mess with it accidentally. Using the Bezier tool draw a rough branch shape.
Refine the branch using the Edit Paths by Nodes tool.
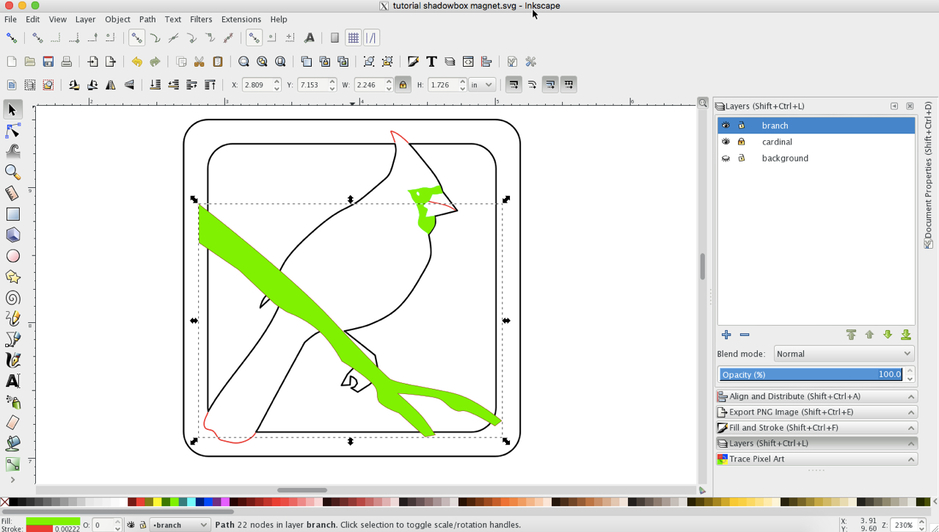
On the branch layer highlight the frame and the branch and choose Path > Union.
Refine the claw to go with your branch. This works best if you give both frames a fill so you can see how it is going to look. See how I dragged the bird layer on top of the branch layer. You do this on the layer panel by switching the order. You can also set the cardinal layer opacity to half (also on the layer panel) so you can see where the branch is at the same time.
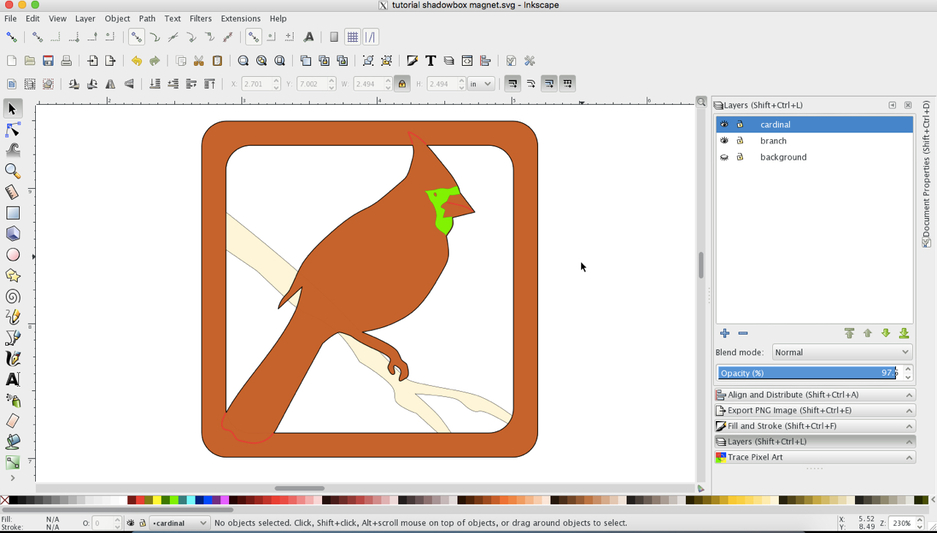
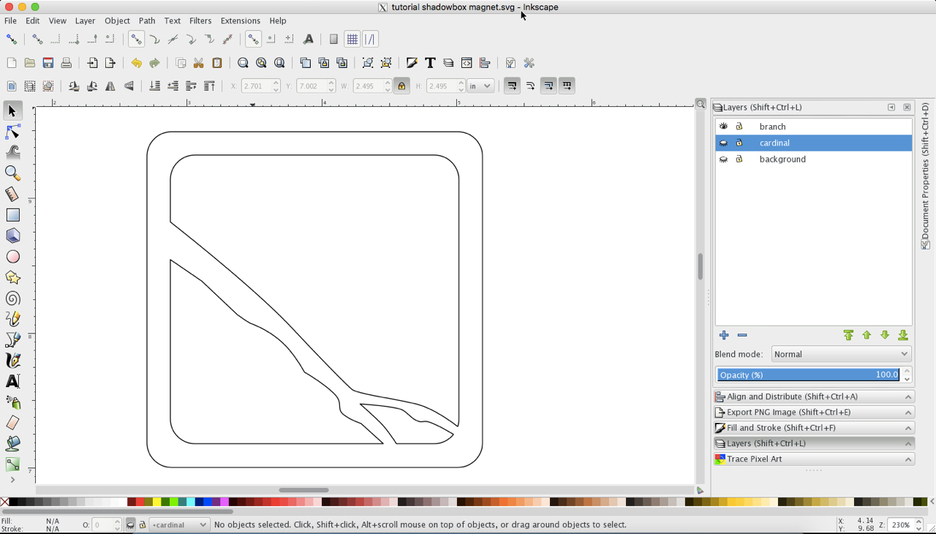
Play with color fills to see what would work best.
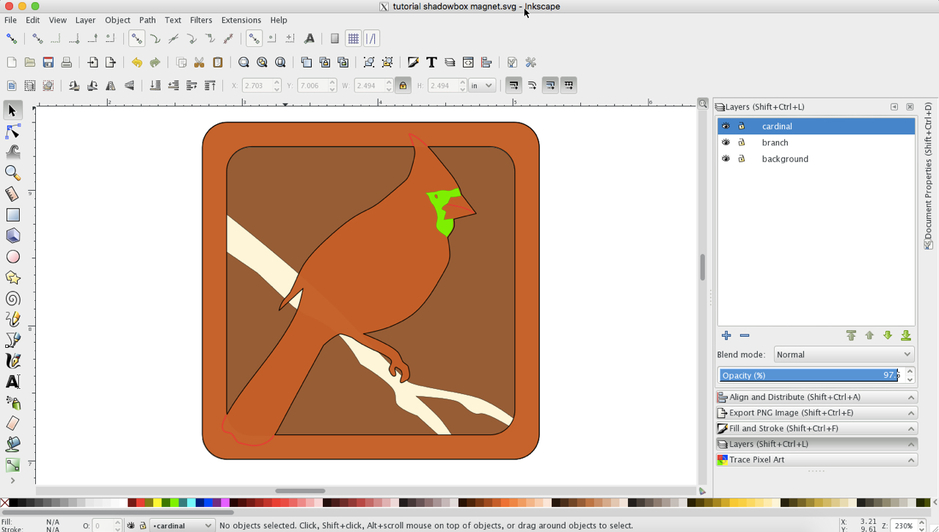
To prep for printing; remove the fills on each layer. Make sure all cut lines are one color; i.e. black; green for engrave; and red for score. Make sure each color has the exact numerical value, so the GFUI doesn’t interpret separate steps. I usually keep the layers all together on top of one another. Close all layers except one and save. Pull that file in the GFUI. Go back, and toggle another layer on, others off; and save and upload; and then one more time. So from the same file you have the three layers uploaded separately in the GFUI as it only recognizes what is visible when you saved the file. On the cardinal layer set the engrave and the score steps correctly.
Not sure you can’t do this? Less than a year ago I didn’t know how to draw a simple cut line for a key chain in Inkscape. (Granted, I did have Photoshop and InDesign experience, but never worked with SVGs). It’s a learning curve, but so worth it! It took me many months before I could realize my first shadow box.
Here is a copy of the file with the layers in tact. You’re welcome to play with it, improve on it, add another layer, etc. However, this file is for personal use only. Not for sale, or commercial use.

Inkscape tutorial links:
You can find plenty of help right here on the forum, especially those by @Jules:
Put this in the search box: inkscape Glowforge Tips and Tricks
I acquired many of my Inkscape skills from this set of tutorials:
I’m currently working my way through this Advanced Class - totally worth its $17 and I’m only halfway through:
Have fun and I hope to see your own shadowboxes here soon!


 )
)