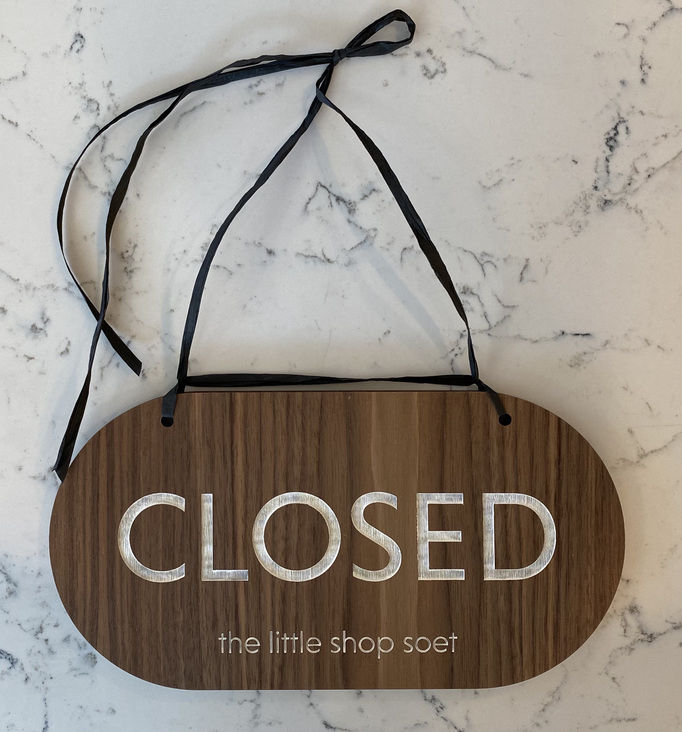
My friends own the little shop soet + sister soet in San Diego and requested a two-sided sign. The sign measures approximately 11" x 5.5." ( just under 28 cm x 14 cm).
Here are the files in case anyone would like to print one (or improve upon the design). If you make one, it would be great to see how it comes out!
Directions:
First, run the file with the Closed/Will Be Right Back Panels and Inserts
Tape/secure material to the bed.
Draft engrave the blue text.
Ignore the purple text in the inserts (i.e., 1, 2, 0, 3, Hour, Hours).
Cut the red lines.
Second, rerun the file with the Closed/Will Be Right Back Panels and Inserts
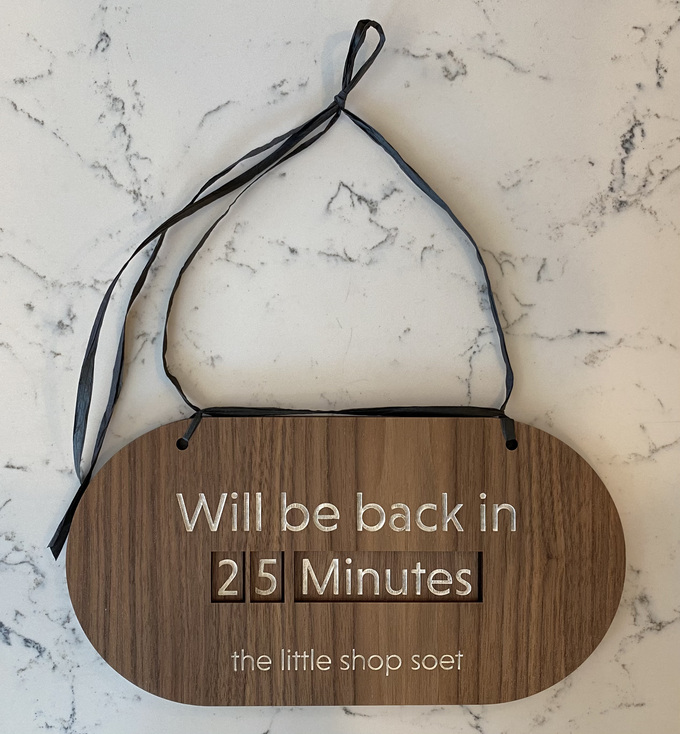
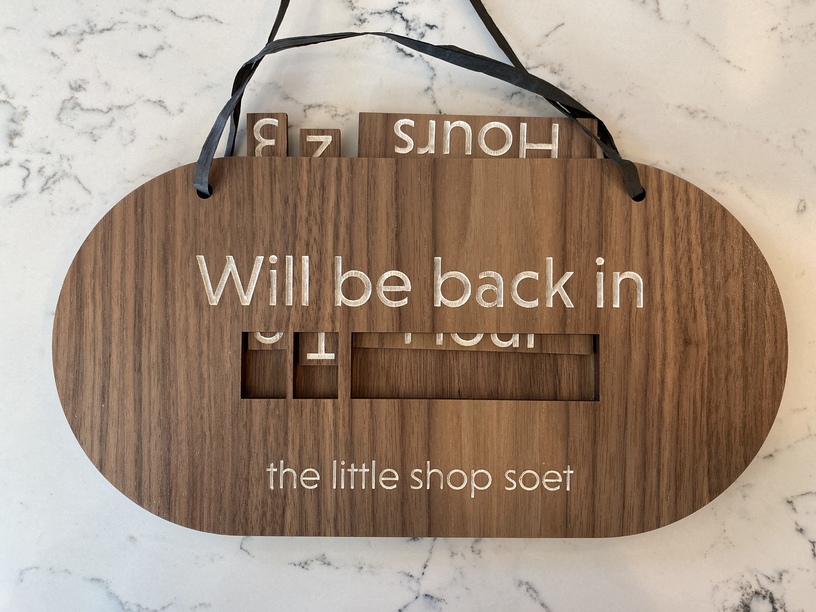
Keeping material in place, flip the square inserts with numbers (i.e., 0, 5, 4, 5) and the word “Minutes” over to the right (or left).
Ignore everything except for the purple text in the inserts (i.e., 1, 2, 0, 3, Hour, Hours), and draft engrave the purple text.
Third, using slightly thicker material, cut the Center Piece.
Finally, glue all 3 pieces together (sans the inserts). I placed a stack of heavy books on the sign while the glue dried (but I think clamps are classier).
Side Note: If you’re good with design software, all elements of the project can be moved to fit on a single piece of 20x12 Proofgrade (the center piece fits easily below the first two panels and the inserts fit into the cutouts in the center piece – note that the inserts are slightly smaller than the cut-outs). If the whole project is cut out of a single piece of material, the inserts won’t slide in and out easily. You’ll need to figure out a way to expand the center piece by just enough so the pieces will slide in and out without getting stuck. If you have any good ideas, I’d love to hear them. I just glued in some very thin scrap material that was lying around.
Your design looks great. The problem I have with signs like this is that you don’t know when the “25 minutes” started. Did you just leave and it ill be 25 minutes before you return or did you leave 24 minute ago and you’ll be back very soon. No way to tell from a sign like this. It seems like it would be better to state the actual time you will return.
Fair enough. It is what was requested. What I’d really like is a matrix panel from Adafruit counting down. Adding electronics is another wormhole, and I just got into 3D printing recently. Too many fun things to dive into.
Three rotating card stock numbers with "will be back by " would work for any time. If it is 4:00 and the sign says you will be back by 4:30 They would not need to know when you left and closed for the night would just have the “be back by” give the morning opening time.
Not as fancy as electronics, but would be more manageable.
On the other hand, having a built-in camera and connect to your phone, to reset the time or talk to passers-by would be at the deeper end of the rabbit hole.
If you really want to make it easy on yourself, glue the card stock to the wood before you cut, that way you won’t have to align a card stock layer to your piece after the fact. It just comes out as wood plus card stock as a solid layer.
That’s how I did my card stock mandalas, if you saw those posts. I would glue the card stock to the wood before I cut which made it perfectly aligned. It would have been much harder to align the layers after the fact.
Thank you for adding this information here. I was trying to think of a good process for using cardstock since your suggestion yesterday.
I am so far behind on reading posts. I think I would have faced many a trial and error before running across your mandala post. Greatly appreciated!
All this got me thinking of a dream product - laserable moisture activated glue mesh sheets. A thin laserable sheet that once placed is misted with water, becomes gooey and doesn’t squish out when pressure is applied (kind of like fabric tape, but not heat activated). Does this exist? If not, maybe some can create it.


 Adding electronics is another wormhole, and I just got into 3D printing recently.
  Too many fun things to dive into.