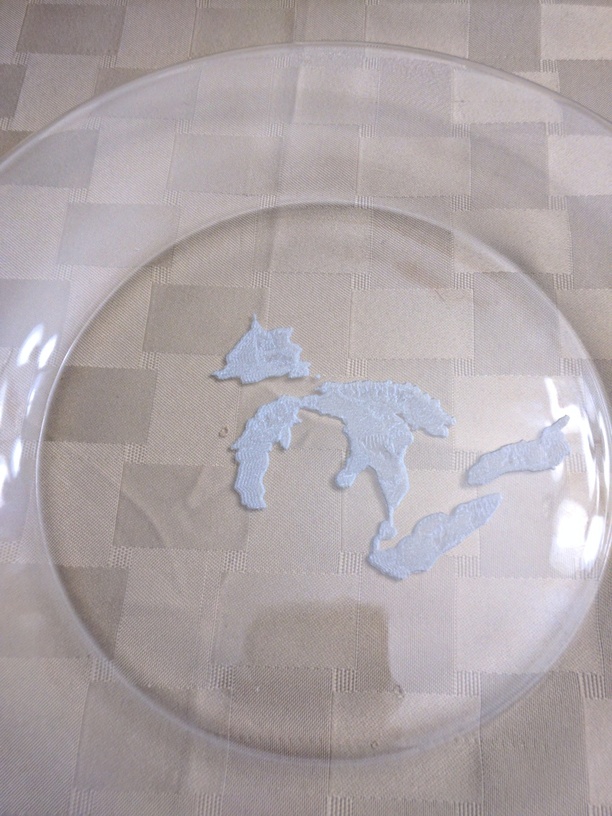
Having a very strange issue while testing an engrave on a clear glass plate… only part of the image is engraving. The laser head is moving as if it were firing the laser, but it isn’t cutting any material away.
Experienced this for the first time last night (tried twice) and decided it was because I wasn’t thinking and imported my png image into Inkscape to flip horizontally and saved as an SVG… figured something got corrupted.
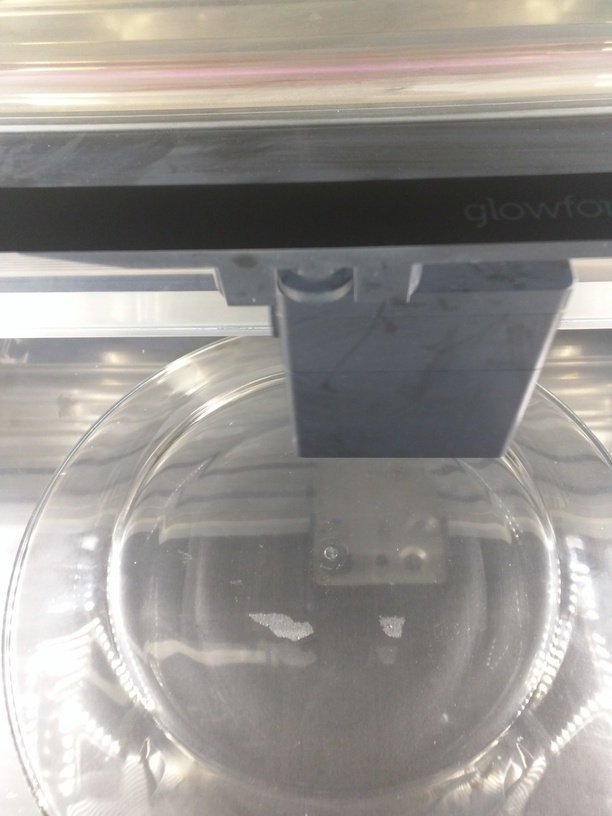
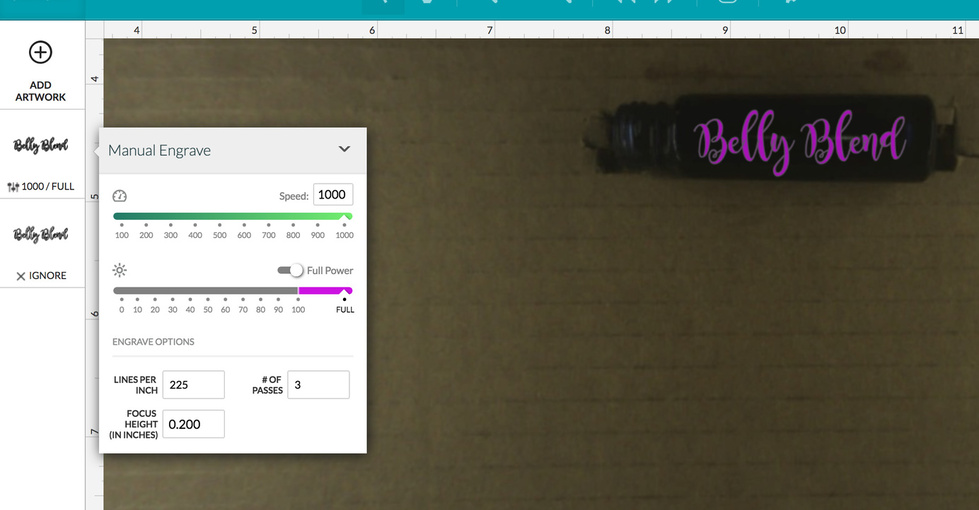
So tonight I redid the image as a PNG, imported that and test engraved on a piece of wood… worked as expected. Out came the crumb tray, in went the 1" high plate sitting so it could be engraved from the bottom. Redid my settings to 400/100/225/3 and fired up the print. Started fine but then about 1/2" into the engrave it suddenly stopped cutting while going through all the motions. Any thoughts on what’s going on?
Continued playing this… used painters tape to mask the bottom of the plate and everything worked… but last night the first piece used the dish soap method and when I slid a piece of wood under the plate to mask the bottom of the Forge for the second try, no difference. Still confused as to what exactly is going on, but the last two attempts have worked as expected when using masking.
Sometimes the art takes a few seconds to fully activate in the UI, but that usually only applies to more complex vector files with lots of individual paths. If this is happening and you hit print too quickly, it won’t fire on whatever elements haven’t turned to an active color.
Are the lakes vectors? Separate paths? Or one big raster? If one of the lakes just isn’t going and they are individual vectors (especially with high node counts), I’d suspect something like this.
I expect that potentially the clear glass was causing an issue with the auto-focus when the laser tries to see where the material is (although I don’t know why it worked partially). The masking you’re doing now is allowing the GF to “see” the material when it does the scan before the print prep step.
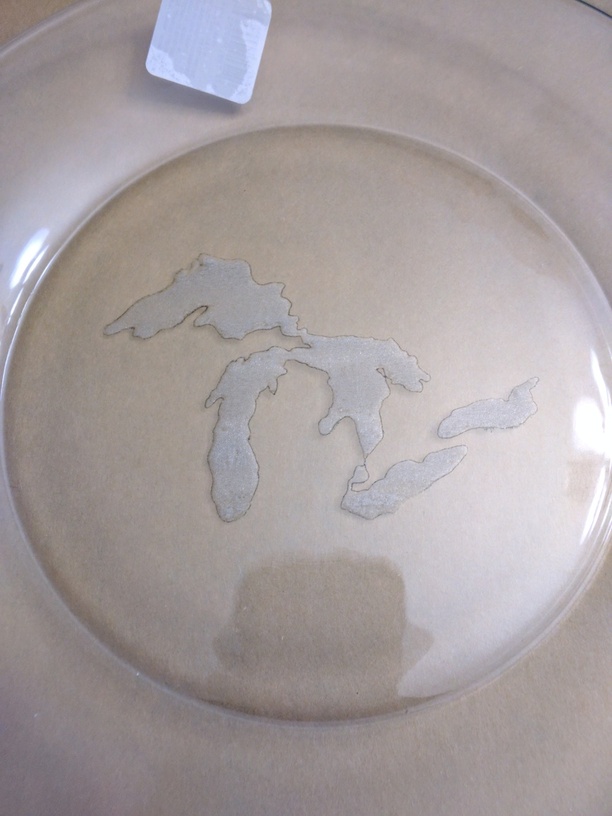
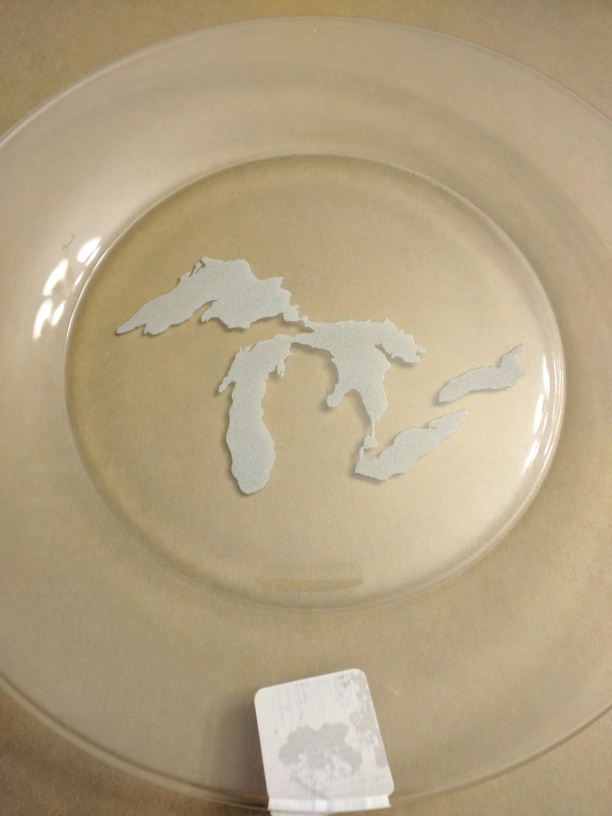
The most interesting part here, in my mind, is that my attempts to fix the “no print” problem resulted in an engrave that has a beautiful even white etch, which I’d been lead to believe wasn’t going to really happen with glass, only acrylic.
That’s really neat then. The LPI you were using or the engrave setting (did you do any dithering?) must have resulted in the stippling effect that makes frosted glass vs the fracturing that typically occurs on lasers.
That’s definitely a keeper method to use!
Edit: noticed it was a PNG you started with - so I expect you used the dot pattern which would do this. Scores & cuts result in fracturing because it’s a continuous beam vs the dot pattern which is only on/off in micro-bursts.
The first attempts using variable power engraves @100% fractured like you mention, leaving sharp edges on the bottom of the piece and an uneven engrave. Switched up my settings to use the dot pattern @ full power for 3 passes and masking the piece before engraving and I’m loving the results! The engrave isn’t as deep but it’s infinitely more desirable.
Yep - that’s the key. Using the dot pattern the laser pulses on & off so it’s still fracturing but just tiny little bits. That’s what the sand blasting and other frosted glass etching methods end up doing as well (technically those eat a crater into the surface either chemically or physically).
When the laser is doing a line (vector) based engrave/cut/score it’s got a continuous (although potentially variable) power beam. That creates long fractures instead of tiny craters.
How do you use the dot pattern. I have engraved before where it asks if you want to do dot or variable as an option but I went to do a simple test and it doesnt give me the option. For reference I am trying a simple text I created and saved as a pdf.
Good and bad. Rastering the image worked. I was able to select what type of engraving. Bad news is that my GF wont calibrate. Says to try to turn it off/on and/or contacting support. I just sent my email.