I have a couple of suggestions for you regarding your files, to cut down on issues in the GFUI.
When you are designing Cuts and Scores, do not give your shapes a fill color. Give them a Stroke color and no Fill.
Engraves should have a Fill color, but no stroke color.
When you do that, the interface will automatically set the file up the way you want it to be, and you don’t have to convert filled shapes into cuts, which frankly can introduce errors when you have overlapping fills.
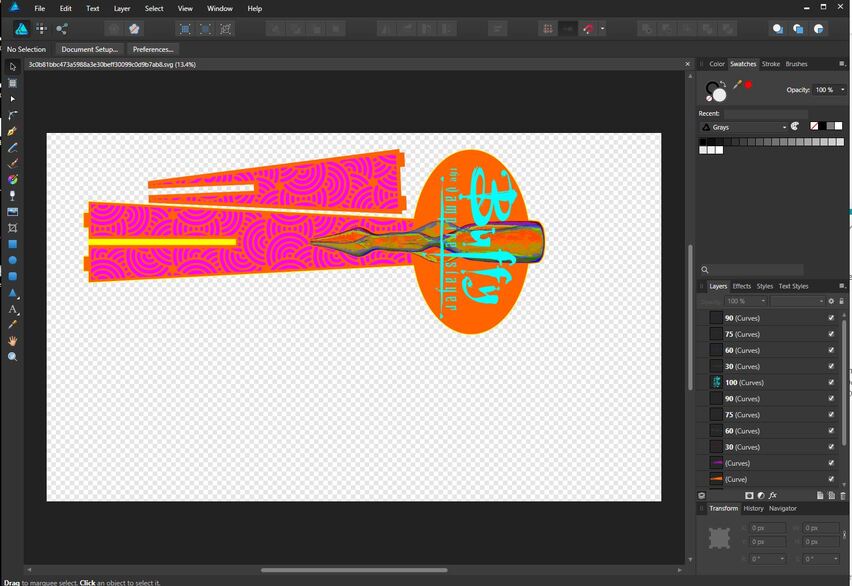
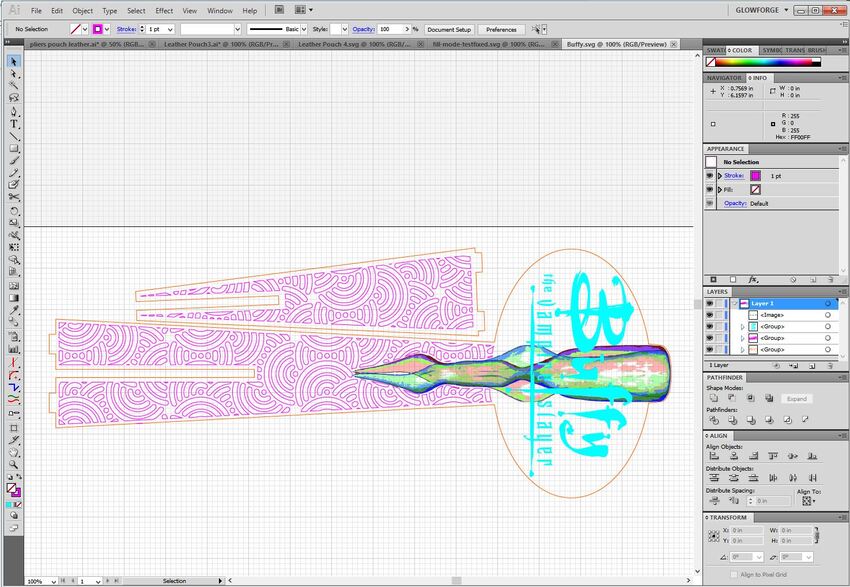
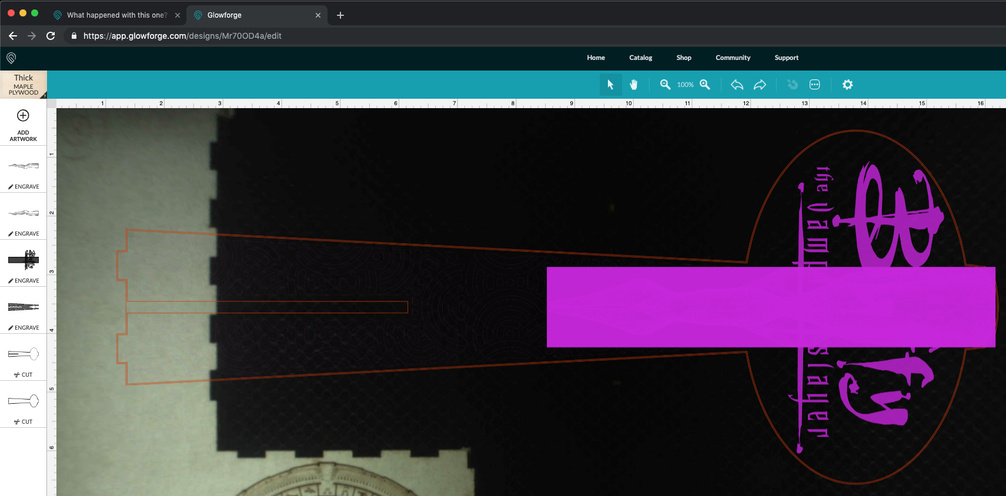
This is the way your SVG file looks in AD…very colorful and lots of fills. (Note that the fills might have been created when you saved the file to SVG format…I have no way of knowing that since I can’t see the original AD file…if you have these set up as strokes with no fills, then the problem is in how the AD program is saving your design as an SVG file.)
The issue with that is that you have a yellow filled layer on the bottom, with an orange filled layer on top of that, and pink filled shapes on top of that. The GFUI is going to probably pick up errors trying to interpret it.
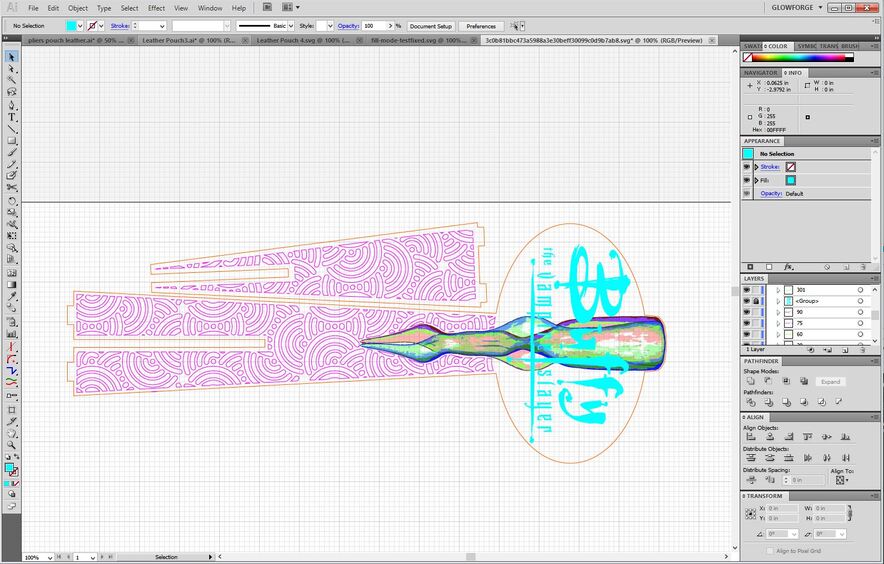
(Going to switch to AI, which is what I mainly use because it is faster, but the process would be the same in AD:)
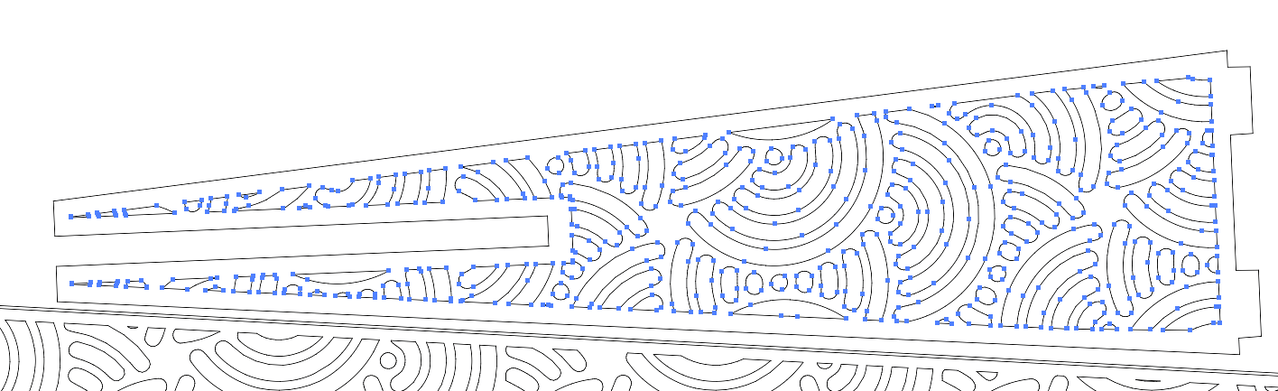
If you save the cuts and scores with different colored strokes and no fill, you wind up with something like this:
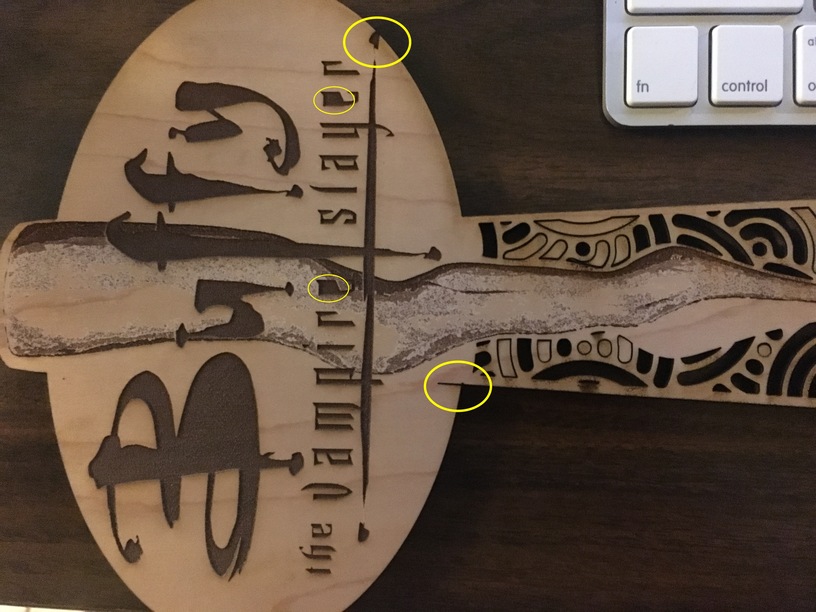
You also have an error in the Text. (I suspect winding error on that, because it is a known issue with AD.) The centers of the text have not been subtracted out. In addition that engrave behind it is going to take a LONG time to set up all of the engraves for, since each one is going to require you to set up individual settings for it…and if you don’t intend to use individual manual settings for each one, there is no earthly reason to keep them separate. You will get a much faster and neater engrave by rasterizing that.
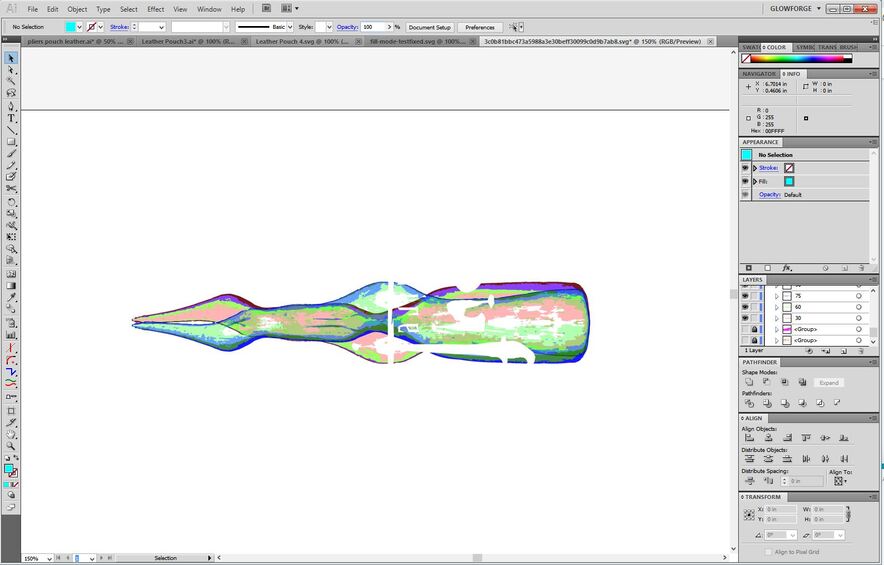
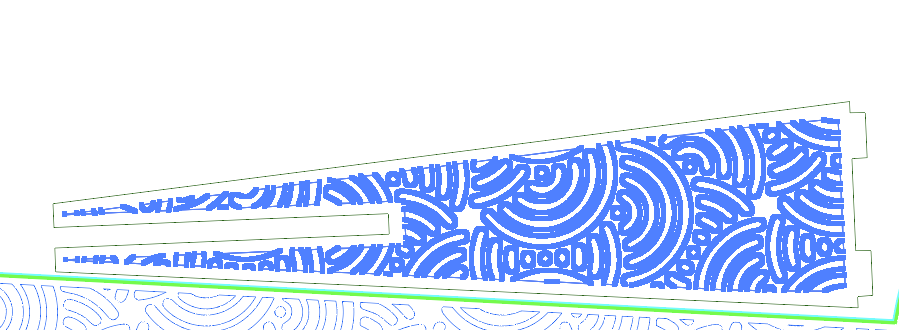
Okay after temporarily turning off visibility for everything else, and fixing the issue with the text (much easier to do in AI, it doesn’t have the same issues with winding rules) I rasterized everything else in that engrave. I kept it separate so you can treat the text differently if you want to.
All of this is rasterized into one image while everything else is temporarily hidden from view.
After rasterizing:
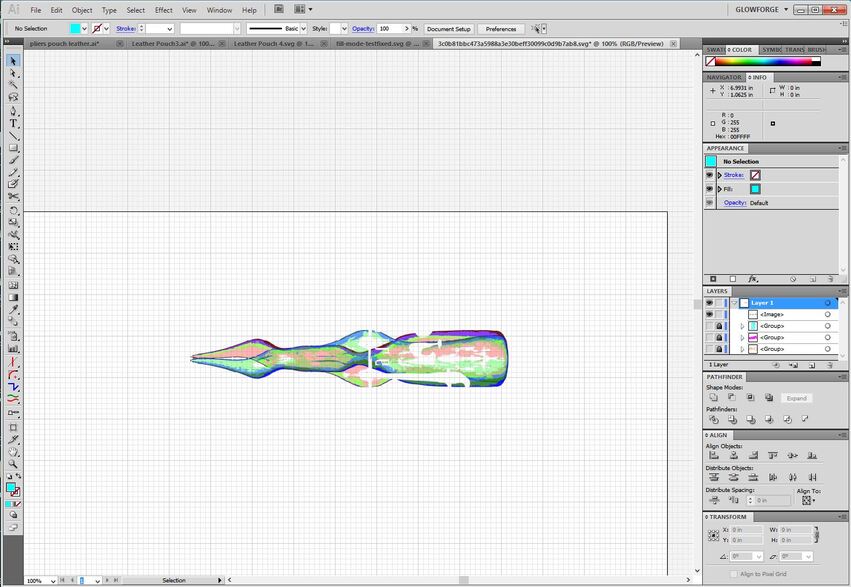
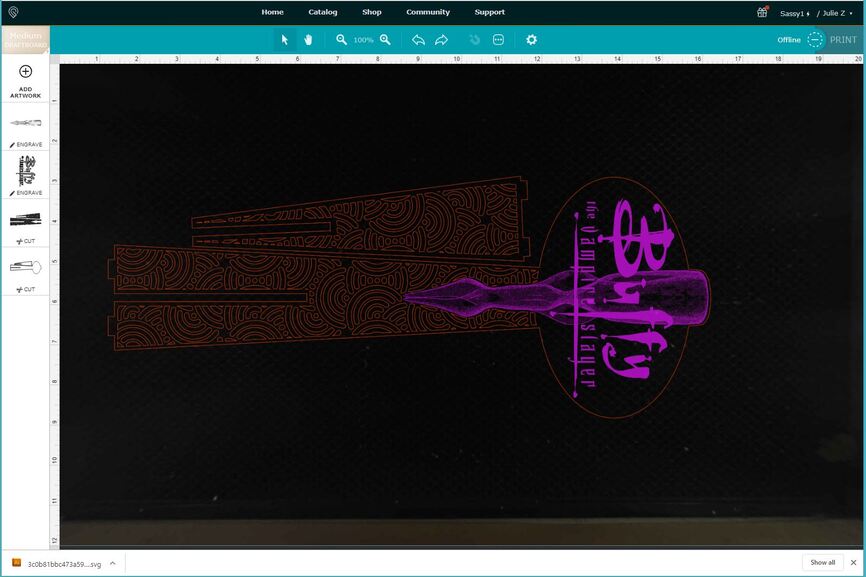
Then after all of that, I just turn back on the invisible parts and save it as an SVG file with the image embedded in it.
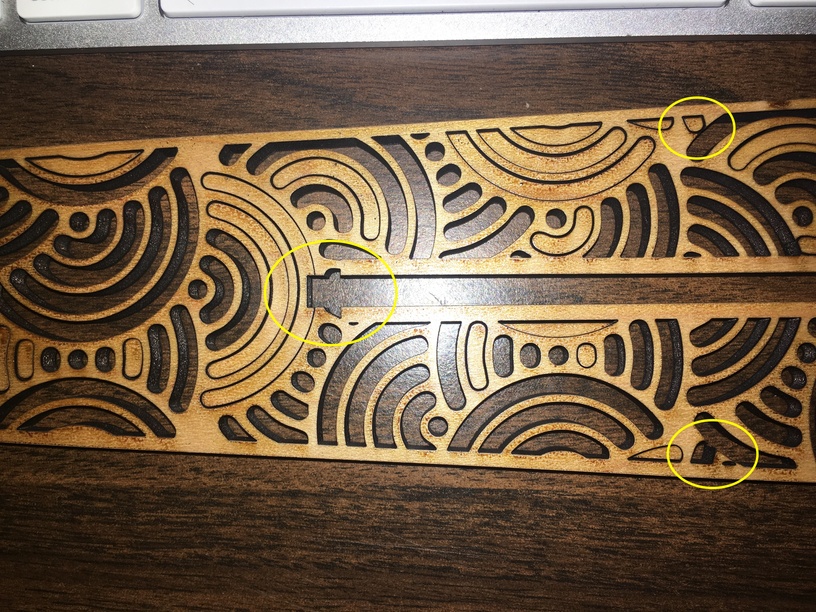
This is how it loads into the GFUI…Two engraves which you can set different settings for, and two cut operations. (You can slow down the little interior cuts by a few points, and have a better chance of things cutting all the way through.)
If you want to test this file on your machine to see if you are still having issues with it skipping and getting out of whack, I’ll include it below. (Hope this one works.) 
Buffy.zip (472.9 KB)