Wild n' Funky Bright Acrylic Puzzles

Pics first because shiny!
Shimmer Hummingbird Puzzle:
shimmer-hummingbird-puzzle-together
shimmer-hummingbird-puzzle-pieces
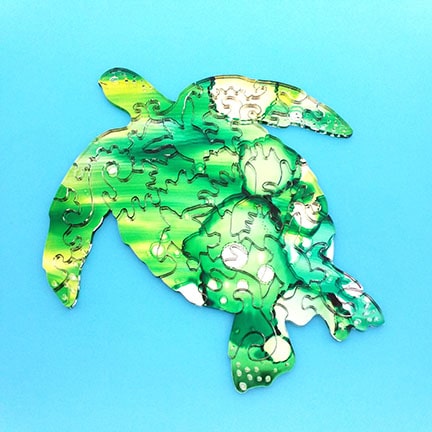
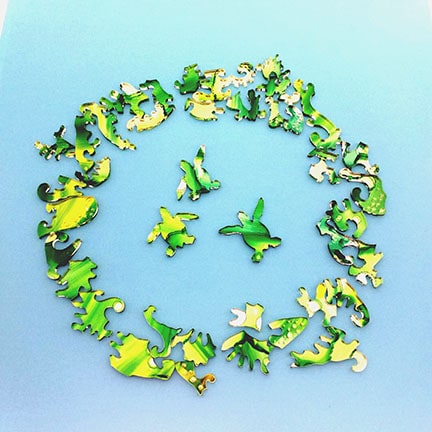
Shimmer Sea Turtle Puzzle with adorable baby turtle whimsies:
shimmer-seaturtle-puzzle-together
shimmer-seaturtle-puzzle-whimsy
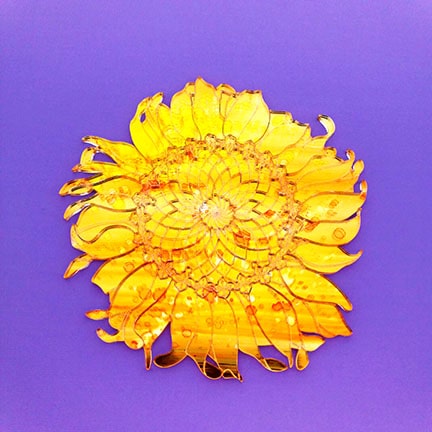
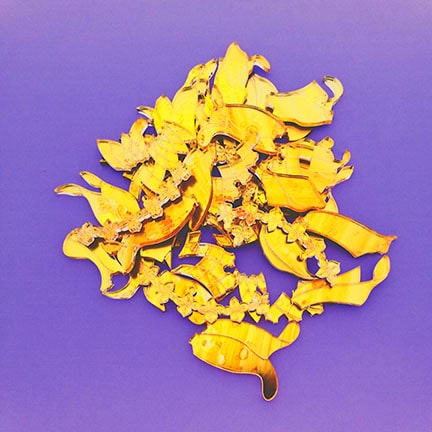
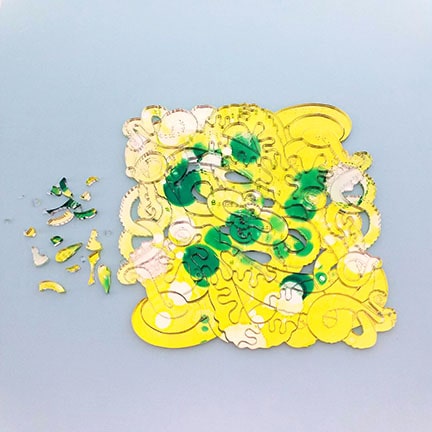
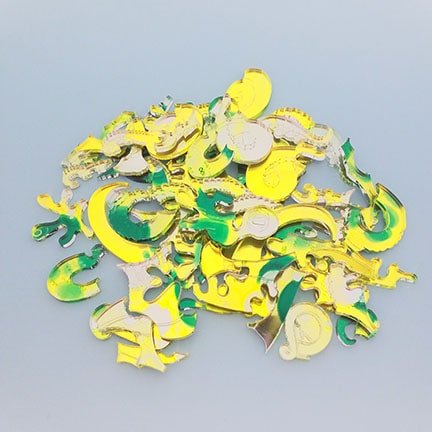
Shimmer Sunflower Puzzle:
shimmer-sunflower-puzzle-together
shimmer-sunflower-puzzle-pieces
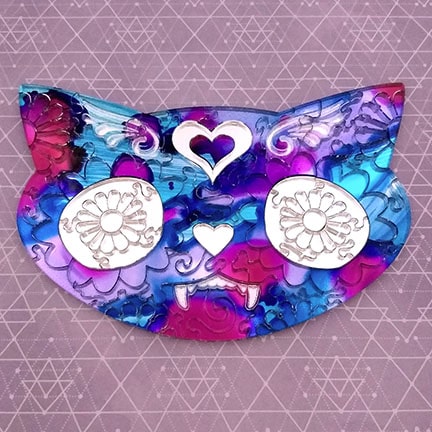
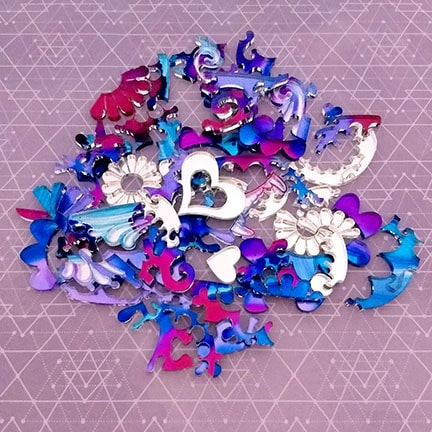
Shimmer Sugar Kitty Skull Puzzle:
sugar-kitty-skull-puzzle-together
sugar-cat-skull-puzzle-pieces
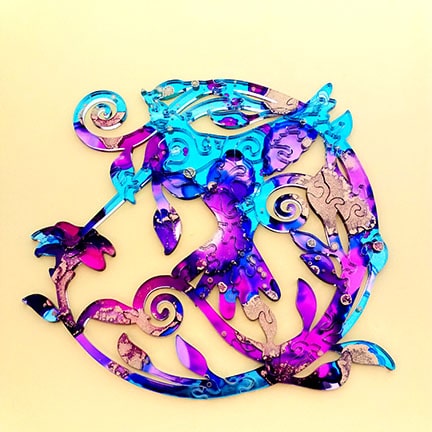
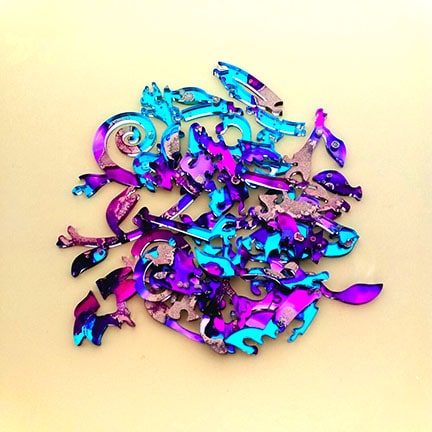
Shimmer Octopi Puzzle:
shimmer-octopus-puzzle-together
shimmer-octopus-puzzle-pieces

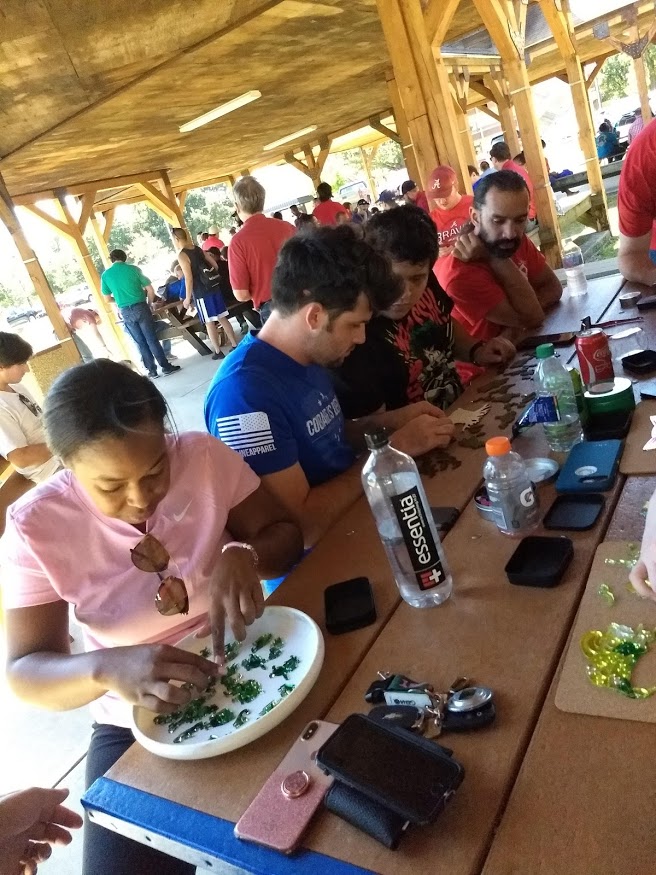
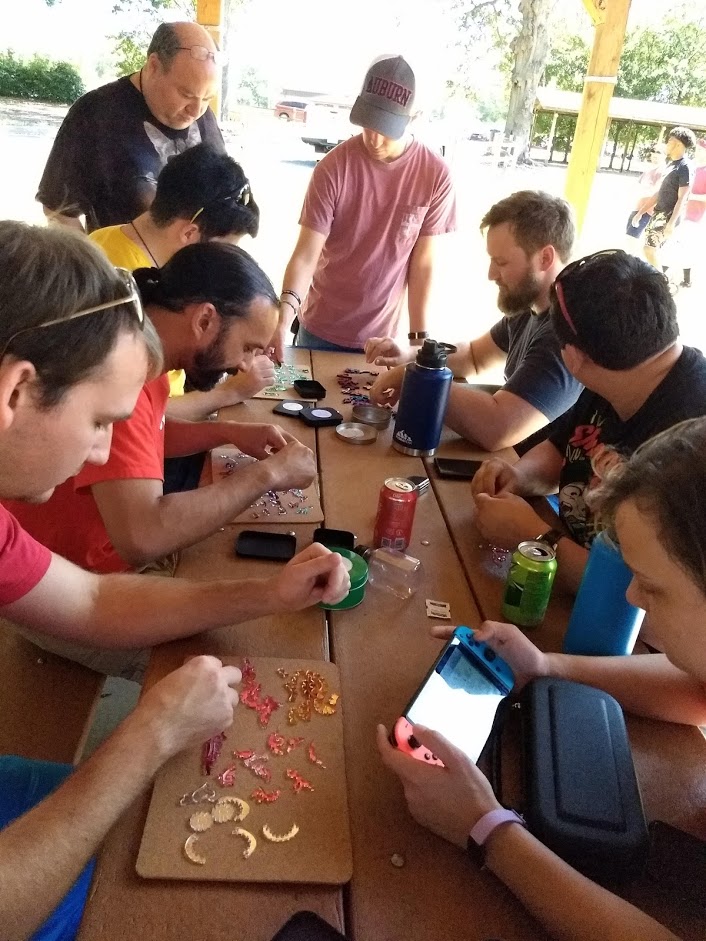
I had the opportunity to get them tested “in the wild” so to speak, at a spouse team-building picnic today:

In case anyone is interested, you can find them on my site at 3catmax.com :stuck_out_tongue_winking_eye:

Story time:
I was gifted a large amount of 1/8" mirror acrylic 6x6" squares (about 100 lbs worth) from Piedmont Plastics in Atlanta (which I wrote about here) and had been racking my brain to come up with something to do with allllll of it!

Wooden Puzzles:
I’ve been turning my skills to jigsaw puzzles and learning about the history of 1/4" wooden jigsaw puzzles cut with a scroll saw, and have done some custom hand-painted puzzles on my Glow-Zomb, and while I love the look of watercolor on wood, when the plywood doesn’t cut through because of a chunk of glue or whathaveyou, it is very disheartening to have to trash a hand painted piece.

On to Acrylic!
So yay acrylic, being an homogeneous material, cuts how I expect every single time, no messing with cutting through stubborn wood bits with an exacto!

Color!!!
But what about all that color you ask? An idea I got from @cynd11 mentioning that you could color :proofgrade: ply with copic markers, which are alcohol ink. That is how the adorable Desktop Sugar Monster Box is colored. Test shows that it sticks great to acrylic (as long as you don’t wash it with soap), but markers show a little too much “texture” from the felt nibs. Instead, I use bottled alcohol ink, commonly available through Ranger Adirondack or Tim Holtz inks or Jaquard Piñata. Also, let it dry at least overnight before cutting ;p

Where you are needed:
There is still some R&D needed with this techinque, as the colors can get cloudy on the acrylic and I’ve not figured out how to completely stop that. I have noticed that using 95% rubbing alcohol ink to dilute the intense colors tends to cause more fogginess compared to the Ranger Tim Holtz Alcohol Ink Blending Solution. If you try “dying” your own acrylic, I’d love to hear about your experience! Maybe together we can figure out the best way to use this technique!

One last pic, from 2019 DragonCon in Atlanta, #dragonconswagnseek where people hide things for the community to find and enjoy ;p 3x3" tiny dragon puzzles designed from the logo mascot:
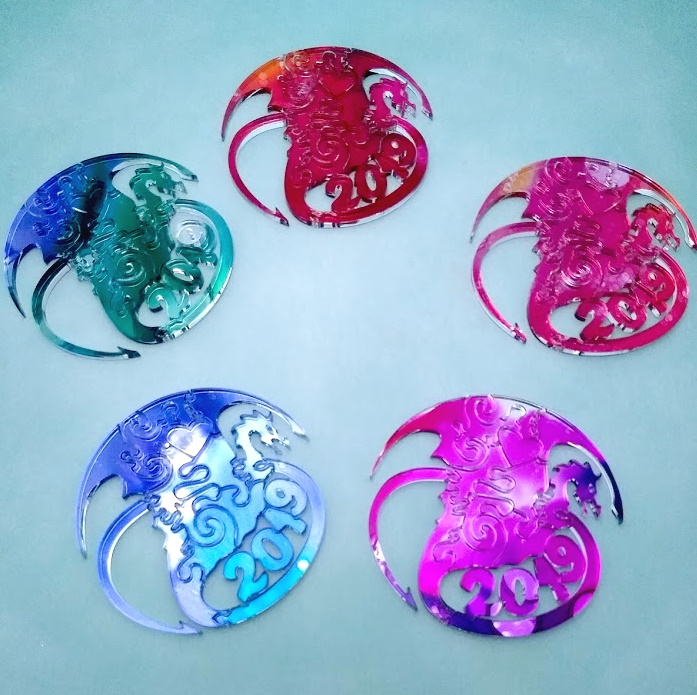
74 Likes

Love the technique! :grinning:

3 Likes

It makes my magpie heart flutter :smiling_face_with_three_hearts: so much shiny!!!

5 Likes

super new technique. Perhaps using a lighter dilution of IPA & water (50/50 maybe?) or denatured instead of IPA. Or even 190 grain.

Alcohol and acrylics sometimes work okay together and sometimes it causes crazing so it’s not surprising that you’re getting some reaction. Dilution or alternate alcohol formulations might be the ticket to success.

7 Likes

Your puzzles are adorable as well as very shiny and bright!!!How fun.

6 Likes

Ah, thank you! Although the puzzlers today didn’t appreciate my maniacal laughter when they said the puzzles were really hard;p

5 Likes

Took me a minute to figure out you are talking about Isopropyl Alcohol, and not beer ;p

I haven’t tried adding water, I figured that would make it worse, but I’ll add it to the list of ideas to test! I’m also intrigued by the 190 grain, but I prefer not to mess with the denatured, might as well try the acrylic solvent before going that route, at least it smells as toxic as it is ;p

I have found that as long as I am adding the color before cutting, there is no crazing, most likely because heating it up releases any stresses in it before being captured again. I have been making them since May and haven’t had any craze after cutting, although I have had massive crazing after coloring in an engraved area with copics on a different project!

4 Likes

So that suggests another alternative. Color after cutting & annealing (180F oven for an hour per mm).

3 Likes

I did test using a heat gun on it to see if I could get the foggy areas to go away… the result ended up with still foggy, but now slightly warped pieces :laughing:

I’m not sure how well I specified, but the foggy-ness isn’t specifically from the laser, it is from the coloring technique, before any lasering is applied ;p

1 Like

These are so lovely! Reminds me of the ridiculously expensive Par Puzzles recently featured in Architectural Digest (but at price normal humans can actually afford!)

2 Likes

Yep. That’s why I was thinking different alcohol base or dilution. The annealing might help if the fogging is microstresses which would be released in the annealing process.

3 Likes

Very cool

4 Likes

These are terrific.

5 Likes

I cant get over how wonderful these look!

3 Likes

Those are fantastic. They are sparking ideas for me so I am in your debt. Thank you!

4 Likes

These are amazing.

3 Likes

Thank you! I was so surprised to find out the history of wooden puzzles! Par Puzzles are fantastic, with the modern day representation of that business being Stave Puzzles (also super expensive!). As for laser cut puzzle makers, Liberty, Artifact, and Wentworth are some of the larger manufacturers, with about 10 to 20 other small businesses that are nibbling at the market, me included :sunglasses:

2 Likes

Yikes… Those puzzles look hard. How long does it take to put one back together? Beautiful work. :sweat_smile:

2 Likes

I am actually Tammy, account under hubby, he bought me the Glowbaby, Thought, coming in as a noob, hi! I dabble in custom tumblers. Wondering if, just if possibly a very light coat of maybe a clear coat, sealer of some sort, triple thick? or even a super thin layer of uv epoxy, sets in the sun in minutes or under a uv light, pretty cheap on amazon, its kinda flexible sorta, we use it on acrylic keychains and such. worth a try. before cutting that is. test cut a small piece.

6 Likes

These look fantastic. It’s a really clever idea. I love working with alcohol inks.

If you ever want to return to wood, go with Baltic Birch ply (not the same as birch ply). You shouldn’t have voids and glue plugs and as long as you get it flat on the bed, it should cut fairly consistently.

2 Likes