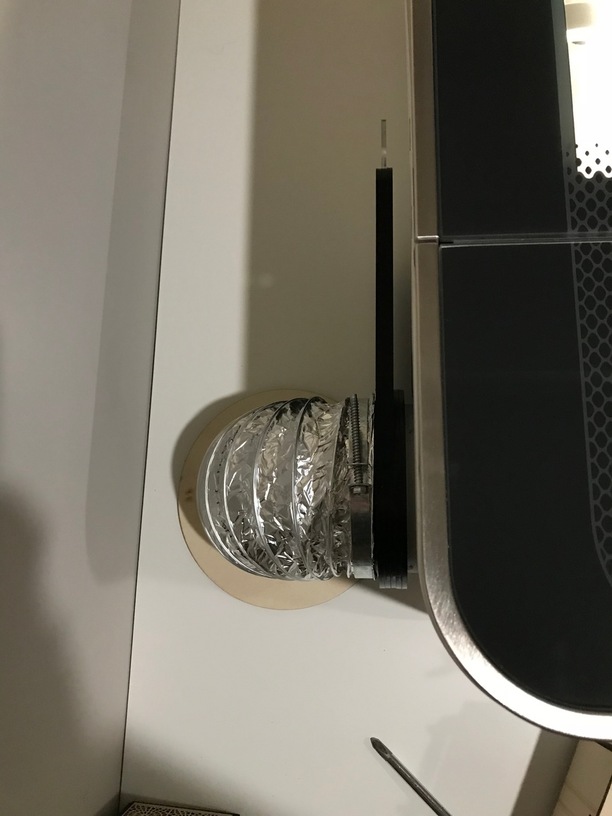
So had my first taste of humidity finding it’s way into the machine and distorting a cardboard jig I had setup last night. So I decided to design a blast gate that could be easily mounted directly to the machines outlet port and then the duct on the other side. That way it’s super low profile and easy to install. I made mine out of 1/8” acrylic since I figured that would limit expansion from moisture, and slide smoothly. It press fits over the outlet and can be clamped to the duct.
Note: I designed this for glowforge plus. It should be fine for the basic, but will need to be rotated to prevent obstruction of the passthrough on the pro.
Edit 8/21/19: I noticed a number of people having issues with the SVG file I uploaded. I have removed that and replaced it with the PDFs instead.
This is perfect for what I need. I’ve been disconnecting my vent hose to avoid humid air from outside coming into my Glowforge and condensing and making a wet mess or ruining my system.
It’s actually pretty good. I was having the same problem with it coming loose. It’s a bit larger than the gf outlet which combined with an actual clamp holds well. You can also just cut 1 or 2 more of the smaller rings.
Nice design. I’ll be making one of these. It’s not the humidity that I find a problem. It’s that the cold air coming in at night carries the smell inside of the Glowforge into the room.
This is great, just what i needed. I may put a small contact, connected to a green go light to remind me if it is open or closed. Next step automate it to open and close when the Glowforge is turned on.
at the window, at the forge, either works. This is quite elegant. If 1/4" acrylic were used, that would give a better edge to hold the vent pipe, no? since acrylic is not going to absorb any moisture at all…?
There’s no reason to remove it. When mounted the GF duct is within a 1/16" of the sliding blast door. Which means the entire assembly is ~5/8" beyond the edge of the gf duct. So you can just remove the ducting, slide open the blast door and clean the fan as usual. This is part of the reason I why I use 1/8" material… to keep it as low profile as possible. In my case access to a wall mounted or table mounted blast gate wasn’t possible. Since I’m venting through a wall I also have 2 flaps in place in the duct work 1 at the interior wall and 1 at the exterior wall. I was hoping these would be enough to do moisture control… but apparently not.
In 1/4" you can cut down on the number of rings needed. From 2 on the GF side to 1; and from 4 on the duct side to 2. But on the gate assemble you will be gaining depth… which isn’t really a problem. Gate assembly will go from 3/8" thick total to 3/4". So a bit thicker, but in the end either will work just fine.