PLEASE tell me there is a way to disable whatever is shifting my image. Like so many others, I am experiencing my image shifting when I go to cut. I’ve read numerous posts saying to Set Focus before placing your artwork. The problem is, I’m trying to create double sided artwork, and when I open the lid to flip the material, it resets the focus and if I remove the artwork to reset the focus, I can’t get it to align properly.
I have to be missing something, or there is some flaw in my approach, so I’m hoping the brilliant people here can help. Let me describe everything I’m doing so you folks can tell me what I’m doing wrong.
I’m creating gaming tokens, and I’d like them to be double sided. I have a 1 on a side, and a 2 on the other. The file I’ve created has both numbers in different colors so I can control which number gets engraved per side. I felt this was the best approach to handle accidental misplacement of an image since I’m not removing “side 1” and uploading “side 2”. Its a single image, and never has to move.
When I go to cut, I place the material on the bed. I have spaces on the edges where I can tape or pin down the material to the honeycomb tray. I want to keep the material in place and secure because once side 1 finishes, I have to flip the tokens and I can’t have the material shift or things get misaligned.
This is my process, and its worked perfectly twice. Two full sheets of material, double sided tokens. They’re beautiful! However, its failed 4 times, meaning I’ve wasted 4 full sheets of Proofgrade material. Its frustrating. Please help!
The camera is always an approximation. You need better than that.
Read #15 and #23 for alignment tips and jig technique.
Then read this post about getting perfect alignment on a double sided engrave:
Between those topics your alignment issues will be a thing of the past.
It sounds like you’re very close to the right track with your current workflow; the key is to ignore the camera on your second side operation. If you haven’t loved the material it’s dead accurate and adjusting the set in the ui will always fail.
Let me read through those again and see what I’ve missed. Since you first shared that resource in my first post, I’ve checked and read over it. Its incredible. I really appreciate your patience, assistance, and knowledge!
I’m happy to know that I’m on the right track though, that gives me some confidence! Here’s hoping I can cross that line soon and start making beautiful things.
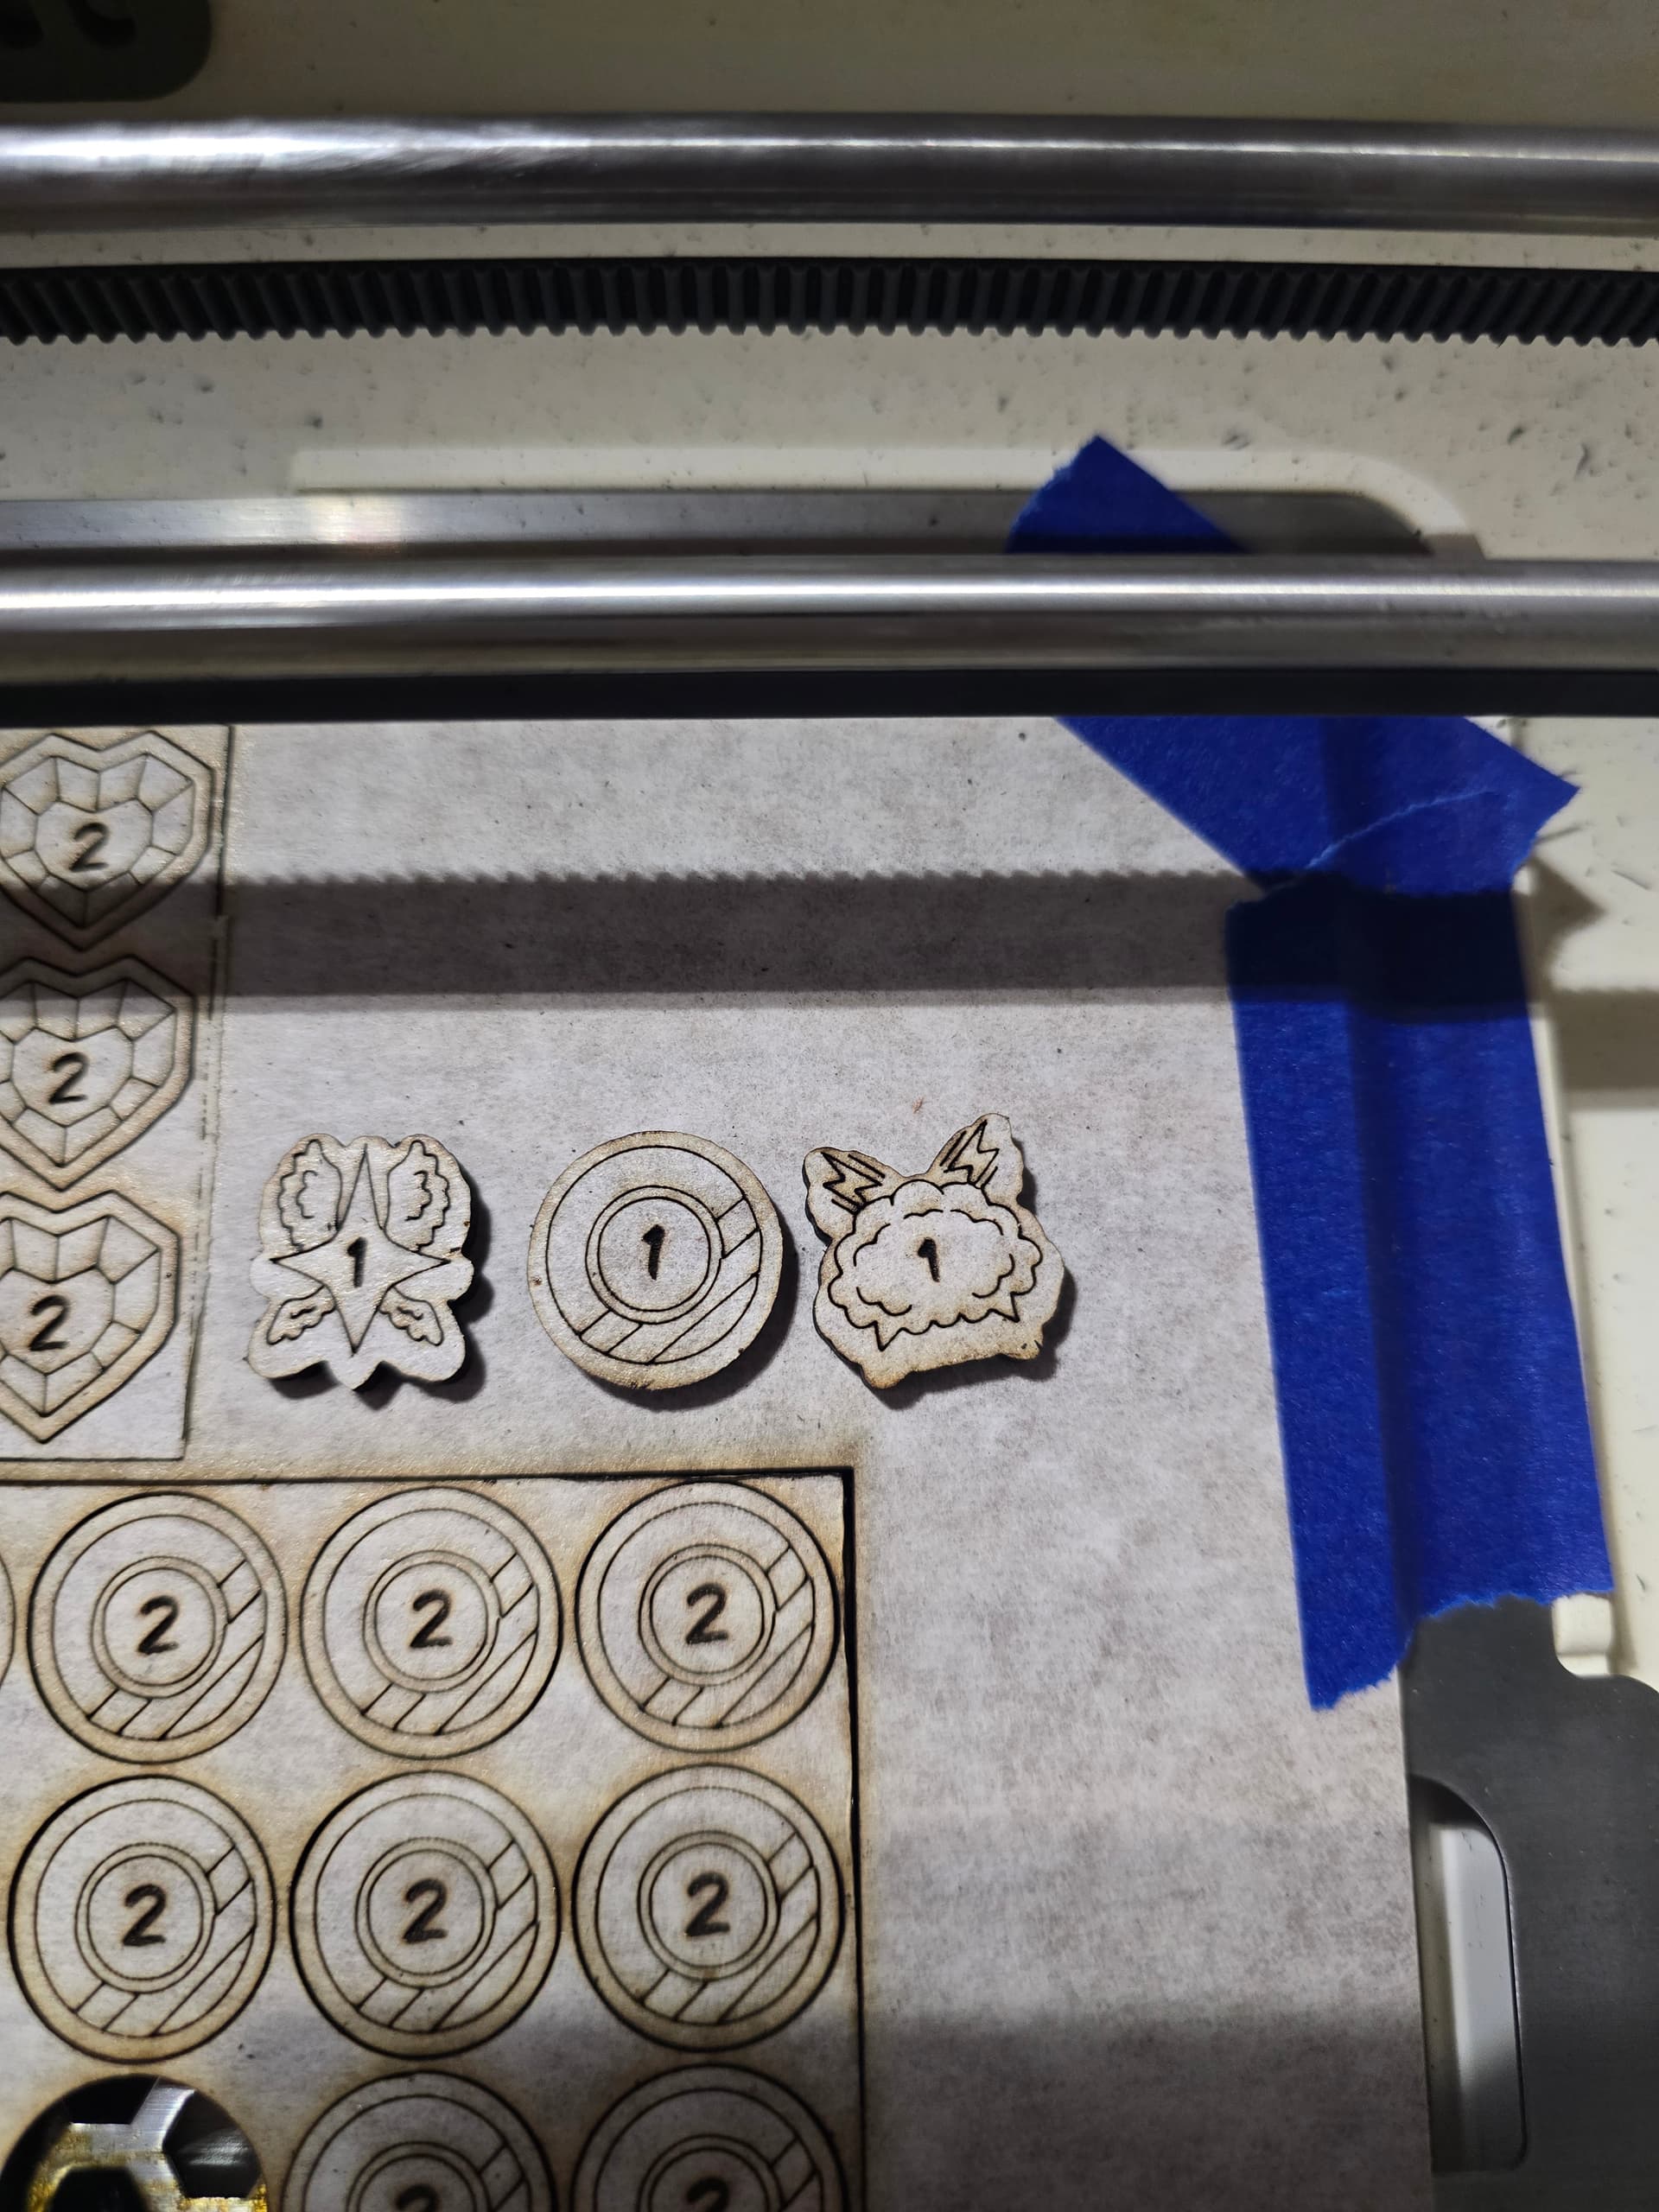
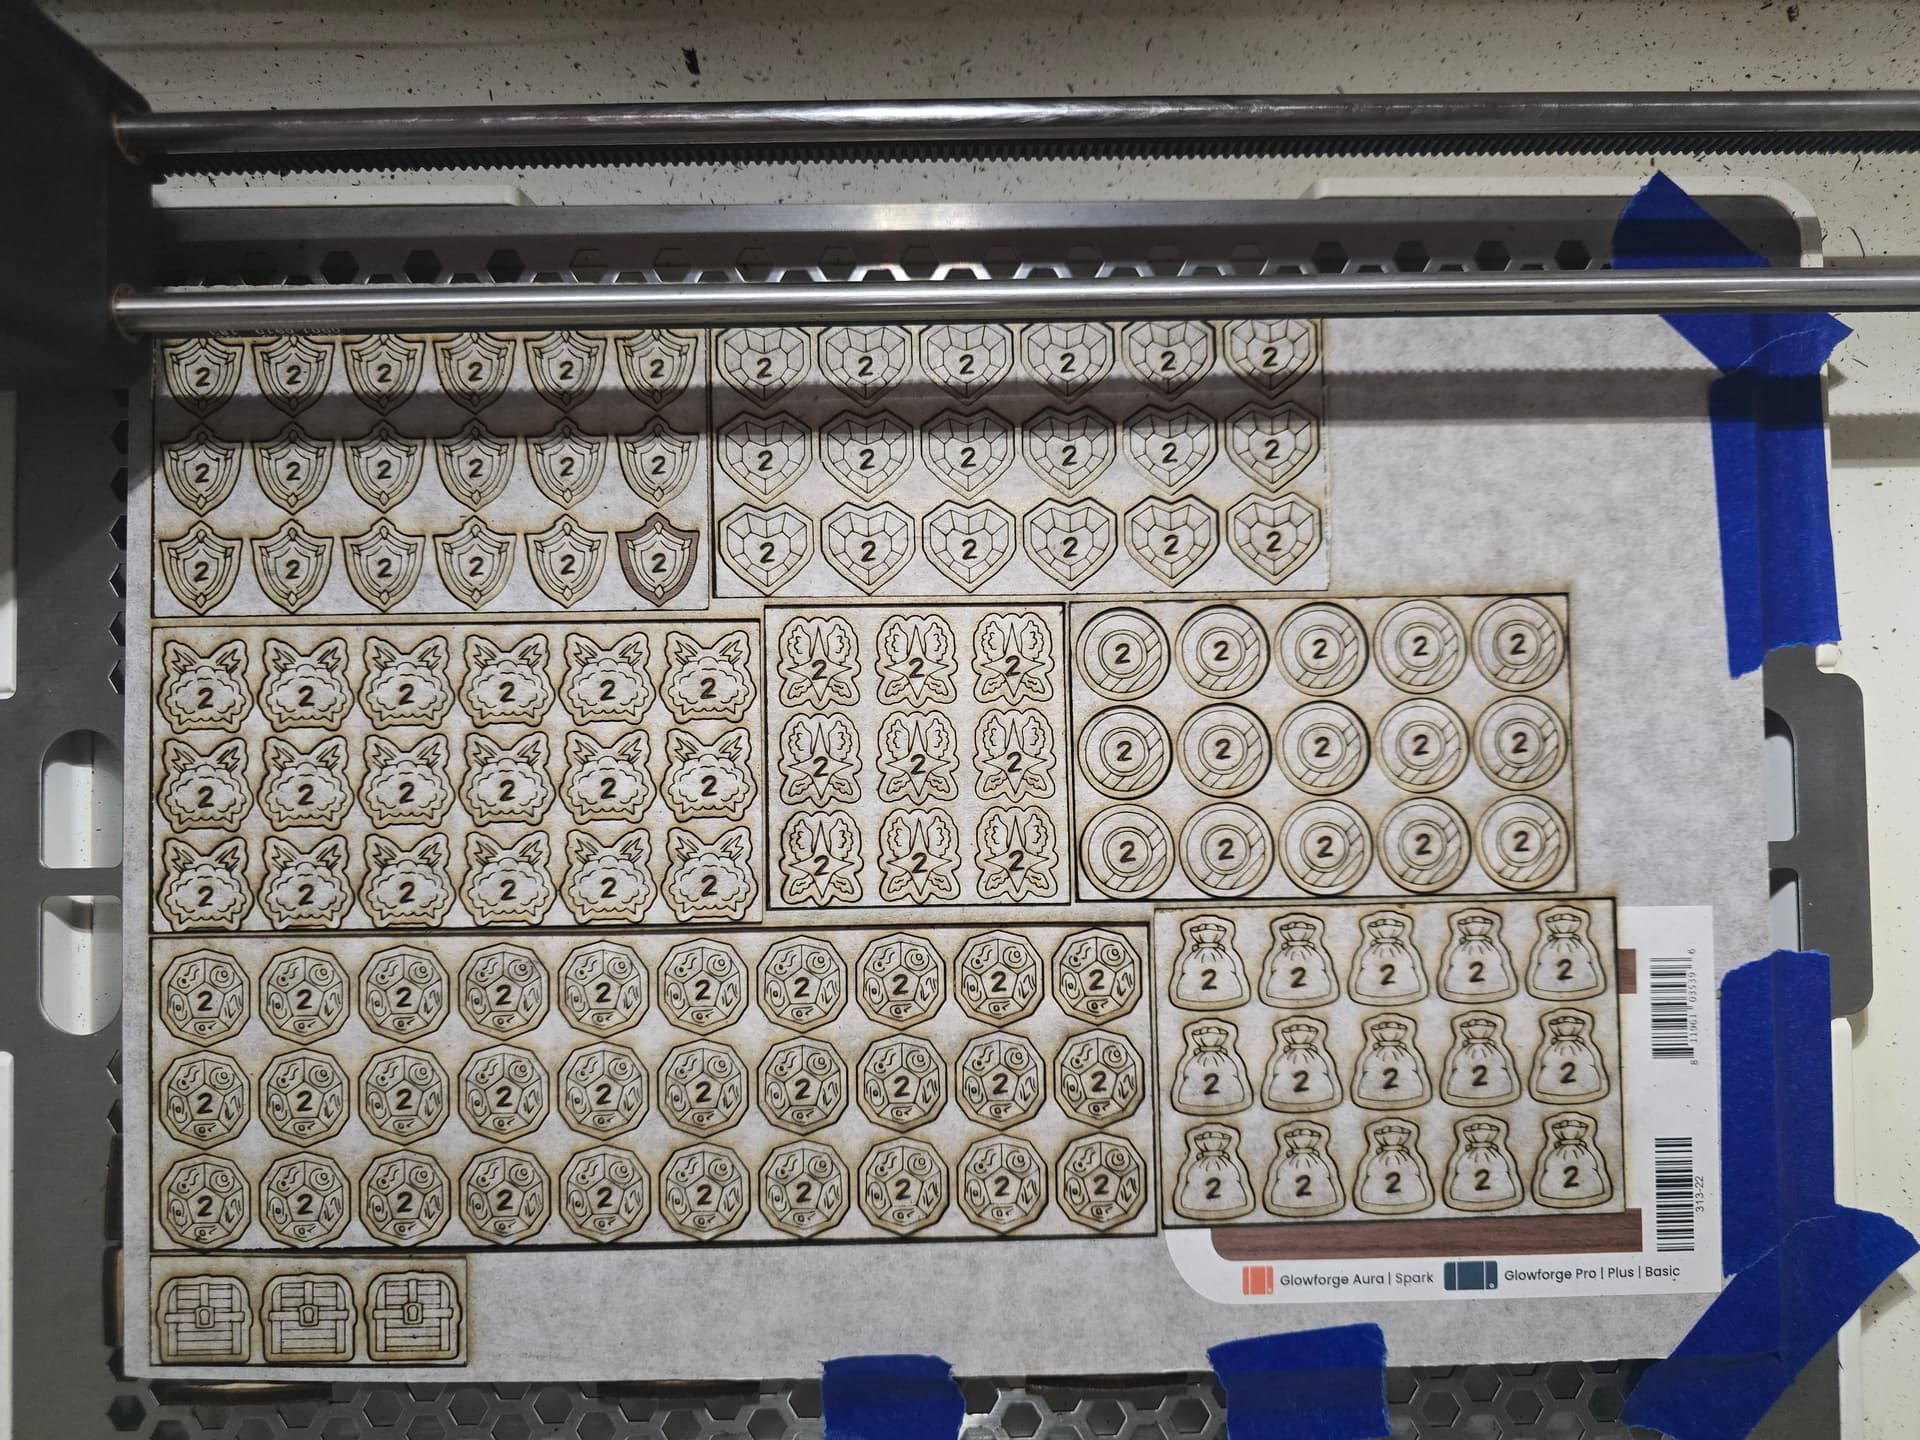
I figured some images might also be useful if anyone else has other tips to add. I engrave and score the 1 side, with a rectangular cut around the tokens. Flip the rectangles and engrave, score, and finally cut the tokens on the 2 side. As you can see, however, the alignment on the 1 side is off. I did not shift material, nor image, but I suspect the image shifted when I went to print as I’ve seen it do a couple of times.
Hmm I’d have to see your artwork to evaluate it. It’s possible that your symmetry is a tiny bit off in the art: to check it flip the image (or in this case each of your arrays of tokens) horizontally. As you flip back and forth any wiggling will be a tell that your alignment is wrong. I’ve had it happen.
Then there’s the matter of kerf. You do have a tiny bit of play when slotting those parts back into their holes, about 0.006”. It sounds very small but it can be noticeable. You can do a trick to help center your material back in their holes, I call it the paper towel trick and explain it in #23 on the faq.
I’m not 100% sure where your alignment accuracy issues are coming from but that’s where I’d start to look.