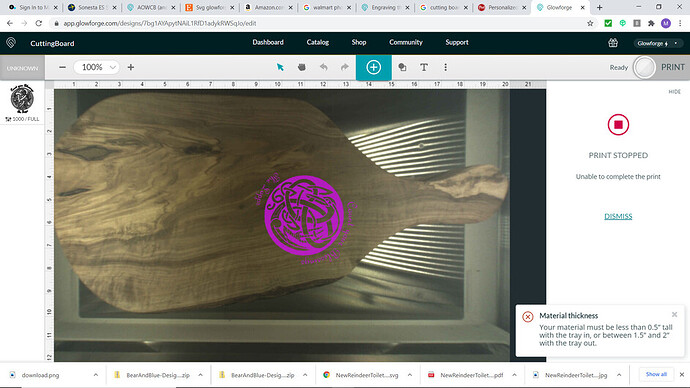
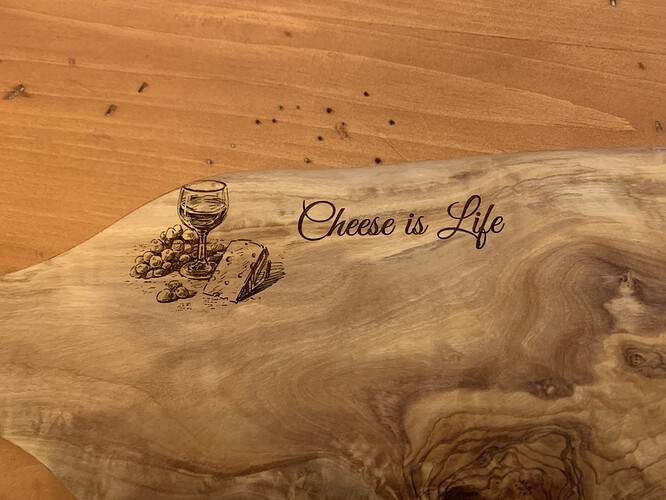
Hello, This is my first attempt at engraving on a thicker material. I have followed the below tutorial on how to measure for cutting without the crumtray. I come up with a thickeness with this method of .2895 which I entered into the glowforge manual setting for the material. The cutting board is just under 1" thick but I have another under it to bring it into the correct height range.
I am getting an error though. Screenshot attached. Any advice is appreciated. I need to engrave these cutting boards for gifts and get them in the mail by Friday. Thank you.
You would be better off to use the set focus tool and not enter a material height. If your board is 1" and you have another underneath, your surface to engrave is nearly 2" off the floor of the Glowforge. That would make your material height about .01"
Use the set focus tool and see what happens.
I will try and let you know. Thank you.
It wants me to select a material type or thickness. I am not sure what to do.
Select uncertified.
After you’ve used the set focus and choose ‘uncertified’…it should show the word ‘auto’ in that box. Lately, after I’ve set focus, the word auto doesn’t show up until I completely reload the page.
Thank you for the replies. I am still getting the same error. I have been able to put the tray back in and cut other stuff since earlier but when I put this back in, I get the same error.
I think maybe part of the material is bringing it above 2 inches. I took out the lower cutting board and put in a few sheets of 1/8’ plywood and it now will let me do the job. I have not yet though because I have another question. Should I still do the set focus and let it do auto for it even though it is now lower? I just wanted to check before I ran this. Thanks.
Yes, do the set focus and make sure the beam hits directly on the material where you want to place your design. The camera will refocus your view and you can then place your design and be fairly confident that it will engrave where you intend.
This little no math toolis perfect for jobs like this:
Since this problem is being seen on materials that were purchased from another company, we can’t offer support for prints that don’t come out as expected. I’m going to move it to Beyond the Manual so other folks here can help. Should this happen with a print on Proofgrade materials, please open a new ticket in Problems and Support and we’ll help you right away!
You can directly measure the required material thickness setting - and check whether your material is in range - using this handy tool.
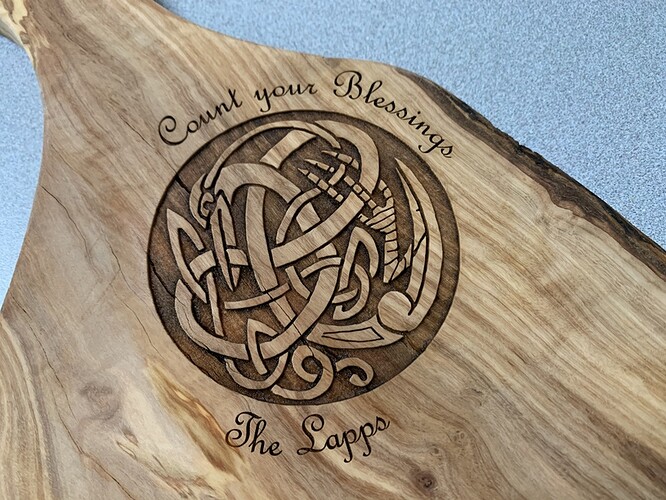
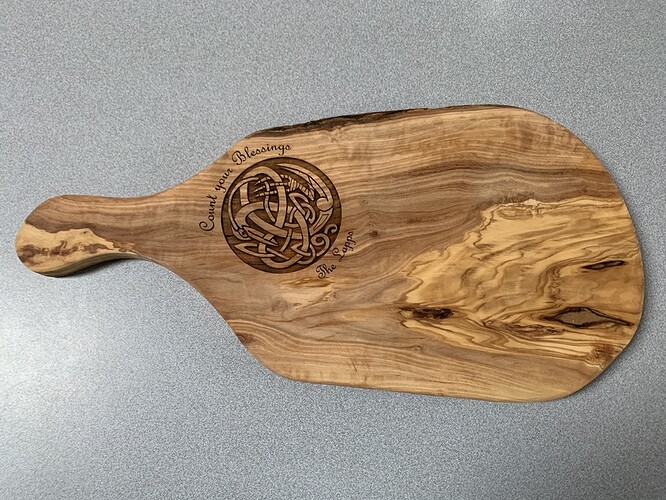
Thank you all! I was successful in engraving two boards. I still need to oil them but love how they turned out. This is one of them (I forgot to take a picture of the other and it is in the other room and I am currently printing something else so can’t leave.
That’s a beautiful piece of wood and your engraving looks awesome.
Thank you!
Wow, that came out great. It is a beautiful board.
Love the figure. Is that myrtle? Or olive?
Lovely, is that a pelican? Original artwork by you?
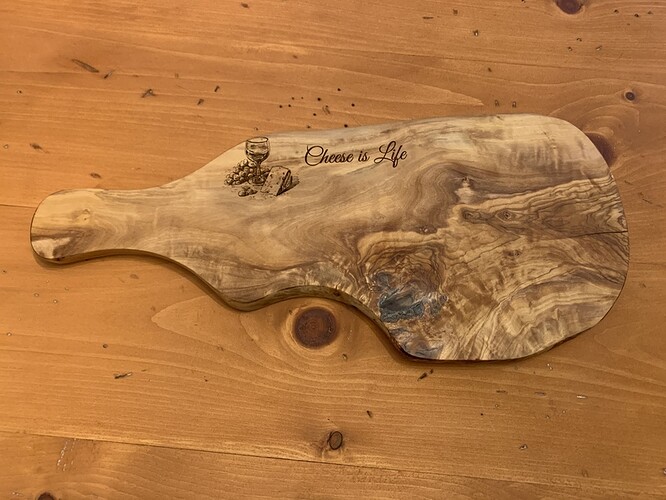
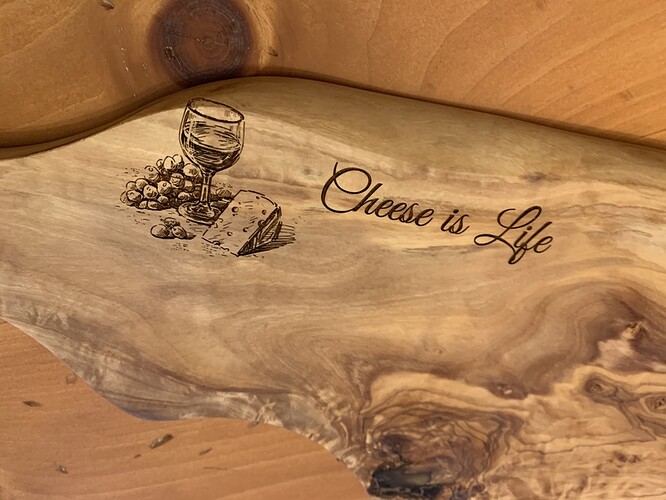
Thank you all. The board is olive wood and I got them at Trader Joe’s for $20 each. I am not sure what type of bird it is. It was from a Dover book on traditional Celtic knots. Here is the other one. It is for my father who loves cheese. I didn’t realize when placing the image that I was on the curve so would have come in more but it is what it is.
Way to struggle through the hard bits and learn how to do engraves with thick materials! The boards are both gorgeous. If the Cheese board really bugs you, and you have a sander or planer, you can remove the engrave and re-place it. One of my mottos is that the only difference between the pro and the amateur is that pros know how to cover up their mistakes better!
