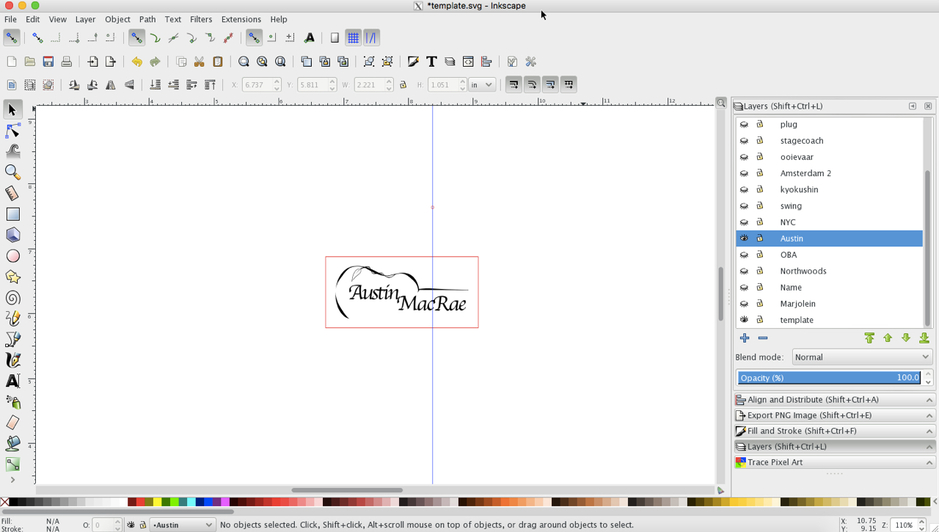
Utilizing the layer feature in Inkscape can save you many steps if you are using the same shape with different designs. To get an excellent introduction to Layers in Inkscape, check out @Jules doc:
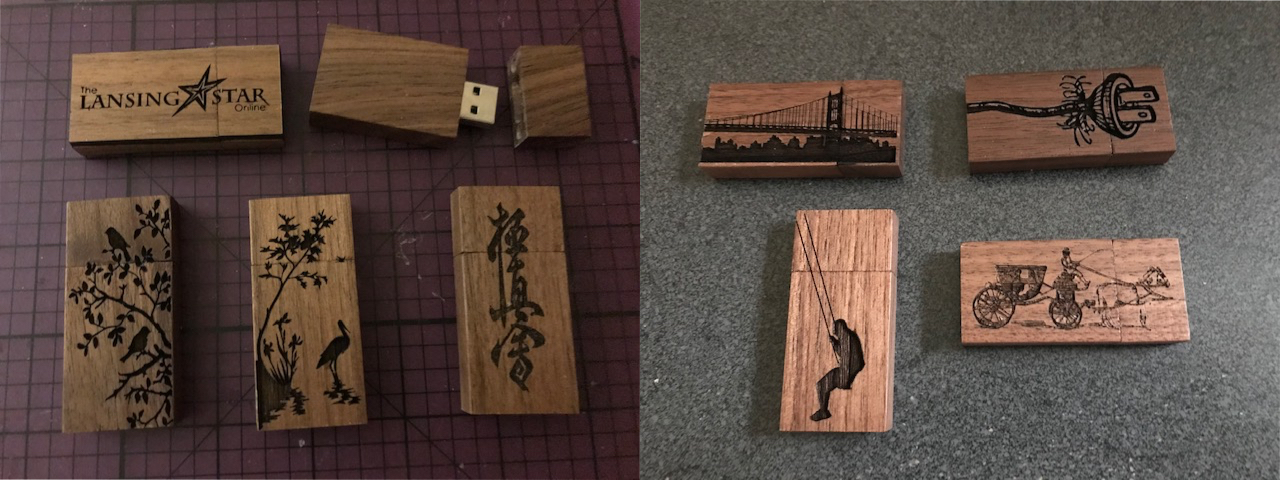
As an example, I use these USB keys to illustrate the use of layers (similar programs have layer palettes as well and can be used the same way).
They’re all produced using 1 file, with multiple layers. Each design takes up one layer.
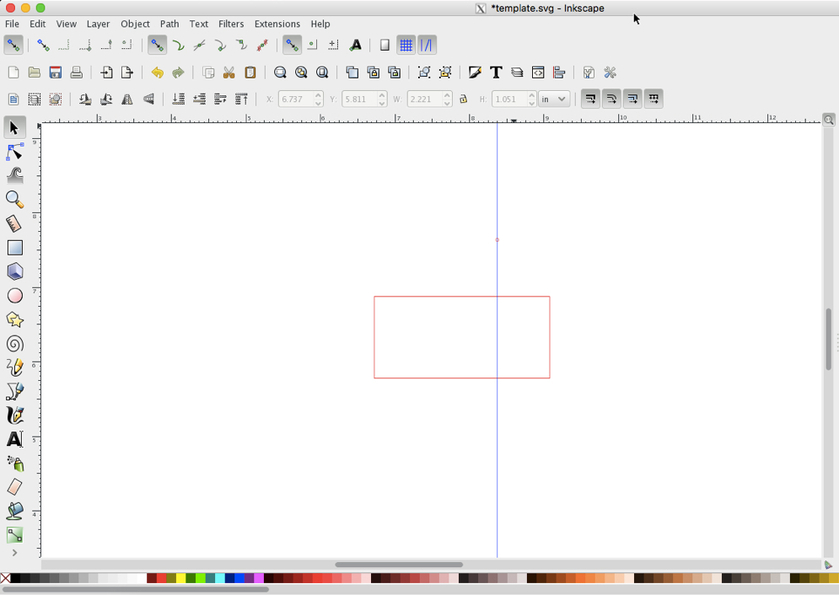
To start, measure the USB key and draw the rectangle. Best put it somewhere in the middle of the page, i.e. ending up in the middle of the .
I use a guide line in Inkscape (pull from the left side ruler) to mark where the top comes off the USB key. Sometimes it makes a difference how you place the design.
In order to prepare one for print, I have all eyes closed on the Layers palette, except for the template one and a single engrave layer.
File, Save as a plain svg. When you pull the file in the GFIU it will ignore all the other layers.
The first time you run a print, you need to make a jig for the USB key.
Carefully put a piece of cardstock or cardboard precisely in one corner of the honeycomb tray, so that you can put it exactly in that corner again next time.
Upload the USB key file with only the template and one engrave layer visible.
Do not move the item. Where it lands, will be its permanent place after you create the jig.
Set focus height for your cardstock or cardboard.
Set the Engrave step to ignore.
set the outline to Cut.
Print job.
Now that you have your jig, place a masked USB key inside the cut line - it should just fit.
Switch the outline from Cut to Ignore.
Switch the Engrave from Ignore back to engrave.
Next time you want to print one, upload any one of your designs, by toggling the open and closed eyes and don’t forget to set the cut outline to Ignore once it is loaded. I leave it in there just so you know it looks right.
p.s. After the lid calibration changed things, I figured I better start a new jig as the alignment changed. In the file, I opened all layers; highlighted them all at once and moved them to a new spot using the same card stock.
Another Great writeup by a user! I just some additional suggestions on improving the workflow of this from what I’ve seen on the forums as well -
I might have missed it in your first screenshot since you might be zoomed in, but you might want to leverage the Glowforge document setup as your default Inkscape template, so that your always on a 12x20 piece to ensure your jigs are always in the same place when you use them over multiple reboots of your Glowforge (assuming you align the jig to a common point, I use lower left corners of tray.) I’ve included a copy of my default template (which I got from the forum and updated to lock the guides in place) I use for my Inkscape (you can find it in your “Inkscape/share/templates” directory.
And here’s HLModTech’s (@theroar84) Youtube on it as well -
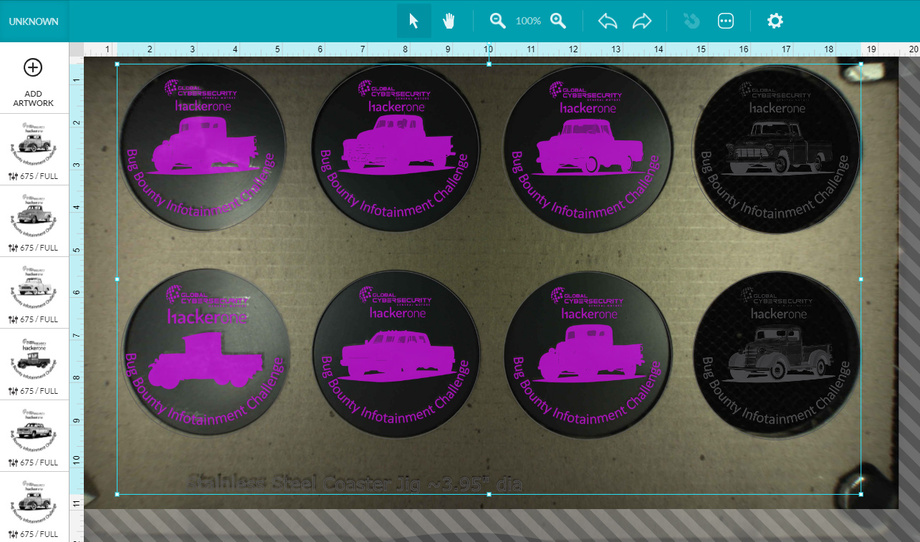
And just a thought if you’re going to be making multiple engraves at once, create a cloned tile array of the USB outline for however many you’re going to make in a batch. Or just duplicate the USB rectangle and then drop a rectangle around the page and use alignment tool to space them out around the page. Then you can also align your images and cuts using the Glowforge palette, to help order your cuts/engraves if they aren’t all raster images. I’ve been doing something similar for engraving 8 ceramic tiles or slate coasters at the same time by using a cardboard jig layer and the ability to cut it first and then ignore it for all future uses, and turn on the engraves after I at my material to engrave. It also lets you reuse the file again even if you don’t need to engrave an additional 8, maybe you just need to make 4 more you can leave the additional spots to ignore and only engrave what you need. It really helps when you start running batches through instead of having to do each one individually, an saves workflow time. Especially when your using the 12x20 inch workspace trick, since Glowforge will always load it the same.
An example of my cardboard jig for multiple engraves:
 .
.