Material risers in Medium Draftboard

I liked the material risers @Secret_Sauce posted, but not having a 3d printer and wanting something NOW, I made something similar in medium Draftboard. These risers were just made with a box generator and press-fit together tightly. I will glue them later, but they are going to hold up fine for tomorrow’s project.

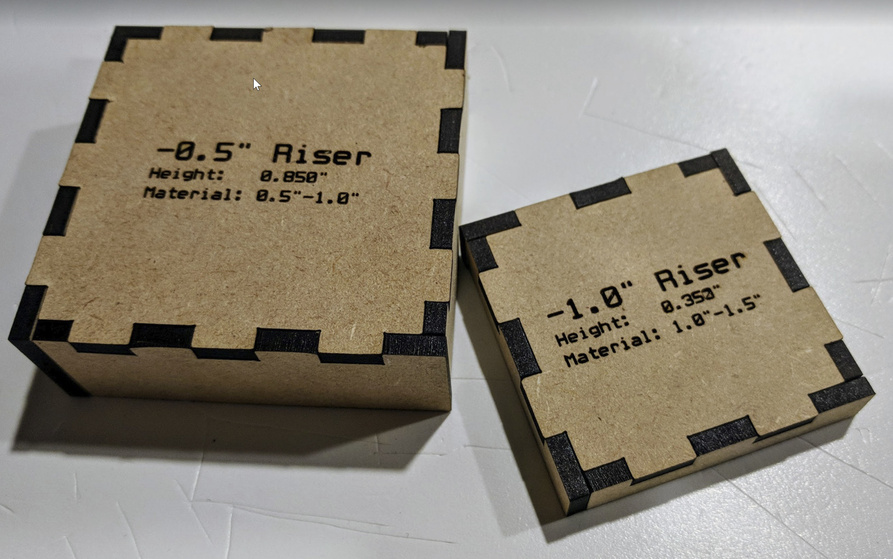
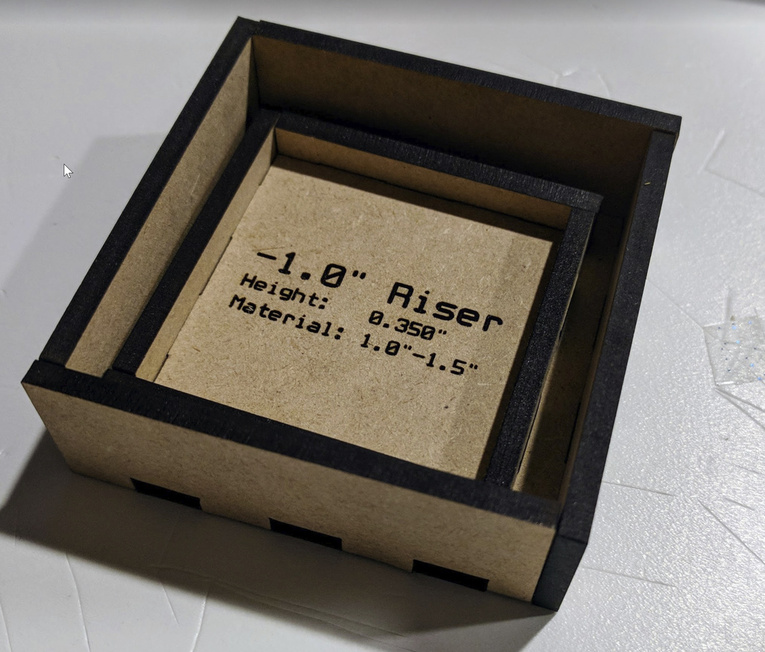
(I made them so the 3 sizes of riser nest together, but it also might be nice if 3-4x of a particular height nested together.)

The 3 sizes are 2", 2.5", and 3" square. Here’s the SVG, but these are easy to crank out with your favorite box generator. You just have to know how tall to make them, which depends on the height of your crumb tray and the thickness of whatever you may be engraving. I determined my crumb tray was 1.350" off the deck and decided to use -0.5" and -1.0" risers like @Secret_Sauce did. His crumb tray was 1.38" I think, but I saw variation across my tray of more than that so maybe this is close 'nuff for your needs, too.

I used a cut width of .007". The press-fit is very tight. If you want it looser, which may require gluing, remake the risers in your favorite box generator and change that to .006-.005".

BTW, my calipers show these are about 0.002" taller than specified, but again the height of the crumb tray varies by a lot more than that so I am not too worried. I’ll certainly take extra steps to make sure I am spot on when placement is critical, which I’d do with the crumb tray anyway.

Risers in Draftboard.zip (18.2 KB)

125 Likes

Hey, thanks! The little platforms are large enough to be used on their own for small projects, and four of them would prop up a whole sheet. Very useful!

4 Likes

Thank you! These will come in very handy!

2 Likes

This is a great idea. Better than the stray layers of scrap wood I used for my brick engrave test. Thank you!

1 Like

Thank you very much! I have yet to try doing anything with the tray removed, but it’s always going to be something I might want to do. Very convenient!

1 Like

Thanks. I made several copies in the UI and printed. (Note to self: remember to check thickness of material that design is for before cutting.) I cut on Thick Draftboard, but it looks like it’s drawn for Medium. Oh well.

Let me make sure I understand how to use these properly…

I have a material/object that is .75" high, so the tray must be removed. I use the -0.5" Riser. And for the ‘focus height’ in the GFUI, I use .25" (subtract .5" from my material thickness/height)…

Correct?

@rpratt – correct, sorry about that. I’ll update the OP.

@n_dawson – correct!

Since each of our machines received some individual calibration, and since our crumb tray height can apparently vary by a small amount, do tests to make sure the riser heights work for you.

(You can do a test cut and then change the manual material height, which redoes the image warp and preview. By adjusting height in small increments in both directions you may find a beneficial adjustment for your specific machine, in which case you can remake customized risers.)

I found that placement accuracy seemed to be indistinguishable from using the crumb tray… That is, still not perfect. :slight_smile: I’ll definitely continue to use the regular tricks when alignment is critical.

1 Like

@GrooveStranger, other than my screwup on the thickness, the pieces went together beautifully.

And nest-able. I like that even better!

BTW, I see one of the sizes looks like the usual height of the crumb tray. Count me silly: Why would you want a riser in the same height as that?

1 Like

You might have an object with protrusions that need to poke down below tray height in order to keep its engraveable surface in the working range.

4 Likes

I have some plywood cut just a hair too long so it will come up on the edge of the crumb tray and not be flat. I was thinking about just that point of support without the crumb tray :slight_smile:

1 Like

Think box lid (lip hangs over riser) or if you wanted to engrave the bottom (outside) of a dish or tray… or outside bottom of a bowl…

2 Likes

Definitely have to eat my being “silly”—with thanks to the community to help me visualize the possibilities. :slight_smile:

4 Likes

when using non proof grade materials how do you input the laser focus height. lets say my object is 1 inch thick for an engrave.

If you want to engrave on an object that is 1" tall, you would need to put it on some kind of riser so the engrave surface is no more than 0.500" from where the top of the crumb tray would be if it were installed. (whew)

If you had made these objects, you could place your object on a set of -0.5" risers, and manually enter an object height of 0.5". (The true 1" thickness less 0.5" because that’s the magic number for that size riser.)

You could also use the -1.0" risers, which would place the top of your 1" object more or less at the height of the crumb tray surface, meaning that you’d enter an object thickness of 0" in the app. (It will not let you actually choose zero, though, it will round up to 0.010", but this seems to work fine.)

1 Like

Thanks for sharing!

Really appreciate you sharing the riser file. Thank you so much!

Yeah I’m going to have to make some of these. Probably be way easier than using ceramic tiles / wood like i currently use to raise pieces up! Thanks!

These will be a huge help. Thank you