It’s been a year since I created my first 6x6 pinhole camera and since then my subsequent cameras have evolved.
6x6 is one of my favorite formats so it was time this camera got some love. Some modifications are purely aesthetic, others are improvements in production technique, yet some are long awaited functional features.
In my previous write up for my 35mm pinhole camera, I noted the issue of registration and alignment between two layers of wood. Wood glue itself is quite slippery when first applied. Even if you align the layers perfectly, they can shift as the glue dries. Clamping can sometimes nudge the layers out of alignment because they can slide as the excess glue is being squeezed out.
This is an age old woodworking problem and there are many solutions like using salt or some grit to keep the layers in place. I went with the registration pin route because I needed perfect alignment since the winding knobs rotate around concentric circles.
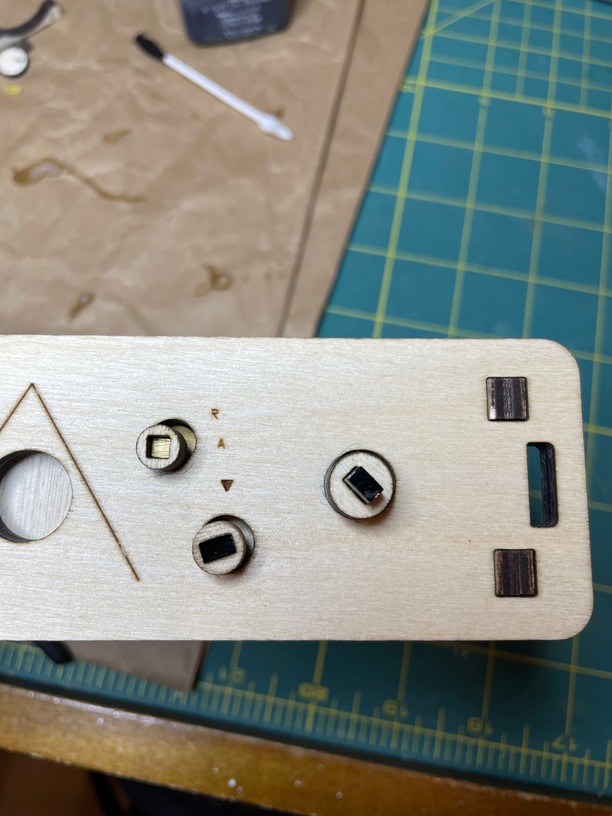
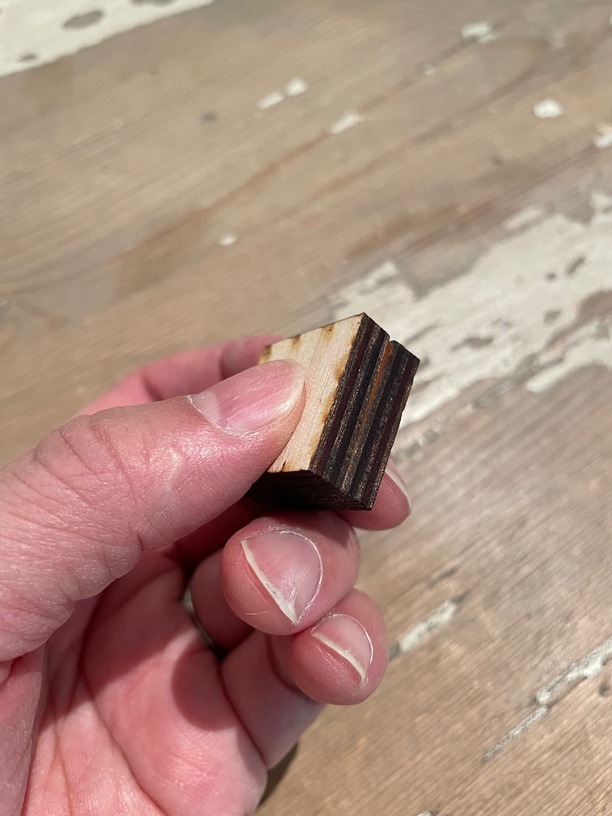
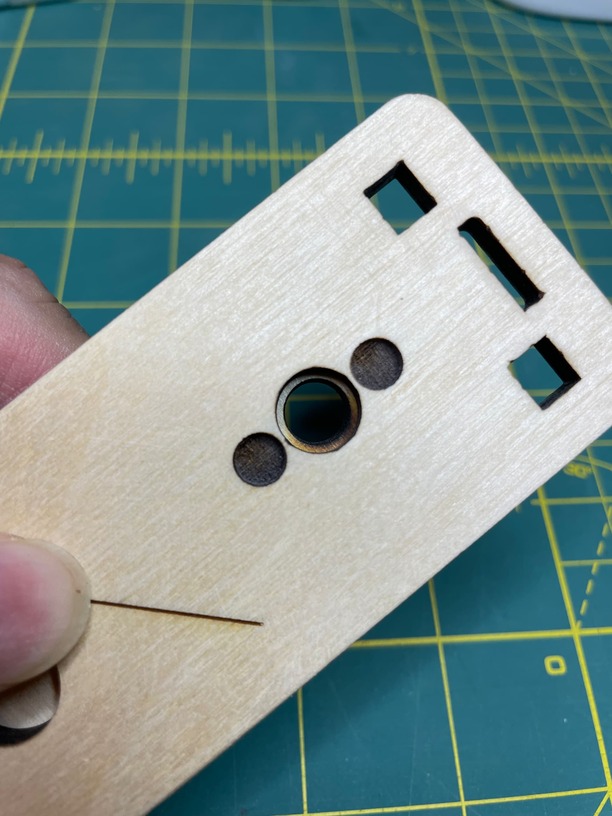
I could’ve used metal pins but I do like doing as much as I can with wood and the ![]() . I could’ve made a gluing jig but I wanted a general solution. My answer was to use a 7mm square of 1/8” plywood as a registration pin. Each layer then had a 6.9mm square or 7mm square recess engraved to a depth of about 1.5mm to receive the pin.
. I could’ve made a gluing jig but I wanted a general solution. My answer was to use a 7mm square of 1/8” plywood as a registration pin. Each layer then had a 6.9mm square or 7mm square recess engraved to a depth of about 1.5mm to receive the pin.
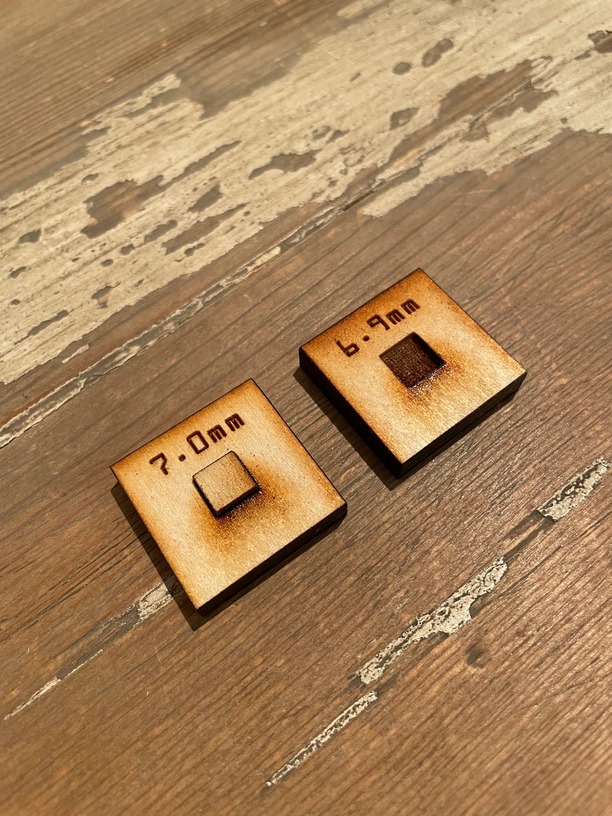
The reason for the difference in size is that the character of laser cutting has to be accounted for. As you know, the laser does not cut a square profile; it is trapezoidal. Additionally, cut holes are slightly larger because of kerf and engraves also are just slightly smaller.
The simple measurement difference compensated for all of the variances.
Each layer had two pins to ensure they are locked in place.
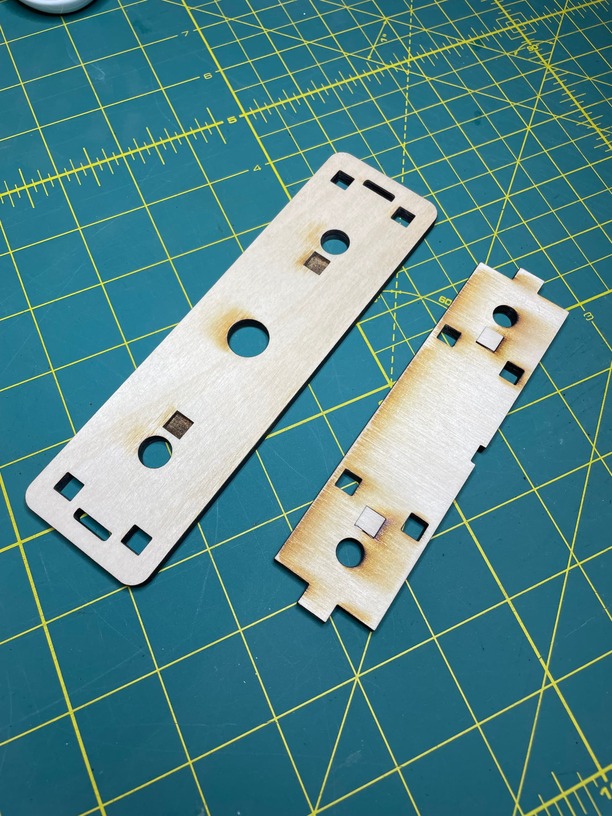
One tricky aspect was that I had outer layers that had engraved text and scored lines. Since registration was of paramount importance, I cut and engraved the inside surface (the one with the pin recess) and then flipped the piece and then engraved and scored the outer surface.
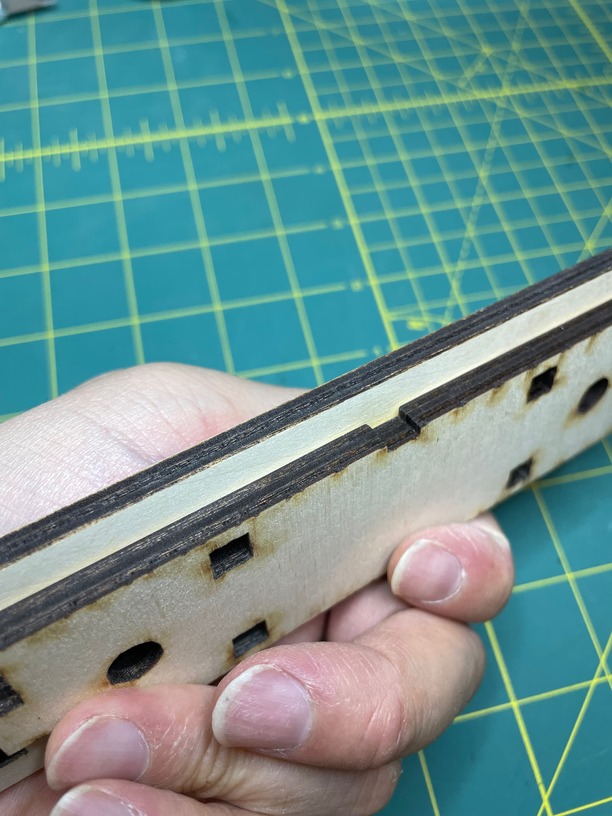
Perfect alignment. Major headache gone for good.
I originally planned to use this method on only the 1/4” plywood layers but it worked so well that I used it on the 1/8” plywood layers as well.
The biggest feature added to this version is the sliding shutter. The original camera was a “lens cap on, lens cap off” type of shutter. For general pinhole photography that is more than adequate, but a shutter allows for shorter exposures and the convenience of being able to swap filters without exposing the film. The design I used for the panoramic, stereo, and 35mm cameras worked well so I used it here. The challenge was that the 6x6 body is not as wide (relatively speaking) and there was not enough distance for the slide to move in such a way as to provide ample coverage of the pinhole. So, instead of putting the slide pull at the equator of the pinhole, I shifted it down so that I could get a 25mm draw on the action.
This created a light leak problem of exposing a thin layer of wood near the receiving spool. This time, I added a two layers of black cardstock on the roll chamber and gasket sealant in the recesses to make sure the camera body was light tight. In future iterations, I’ll have to work something else out. I can’t move the shutter anywhere else, so either I make the camera body wider (not a fan), come up with a shutter system that is not a slide, or… I don’t know.
The original tripod hole was a press-in type that is often used to electronics. Well, what gets pressed in gets pulled out pretty easily too. It made mounting the camera on a tripod a delicate affair. I’ve since used a t-nut type embedded between two layers of wood and that has proved to be quite robust so that design was adopted here.
Rubber feet, which was something I added from the panorama camera to provide clearance for the removable film roll pins turned out to be a nice feature on its own, since I can place the camera on a rough or wet surfaces and not worry about damaging the wooden body. Also, on smoother surfaces it adds some resistance to keep it from sliding.
Pinhole photographers like to put their cameras as low as they can for dramatic effect so this really helps. Adopted.
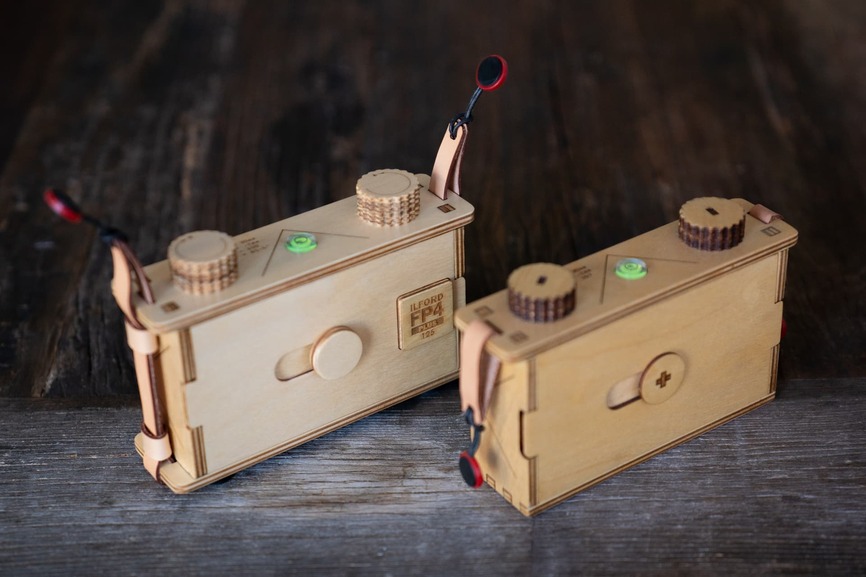
Film type indicators developed for the 35mm camera was added as well, though this created an aesthetic problem. The 6x6 has an exposure index window that needs to slide open and closed. This left very little room for the indent needed for the film type tab. I had to put it on the extreme right of the camera back.
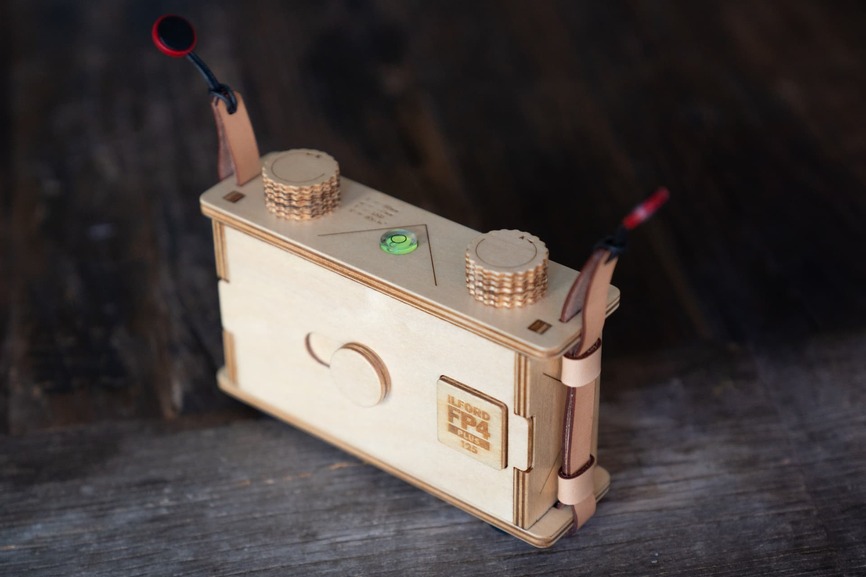
It fits but I’m not terribly happy with the visual balance. Adopted, but next iteration I need a better solution.
I was going to add a viewfinder but my designs using plywood made the camera so big it was laughable. Abandoned.
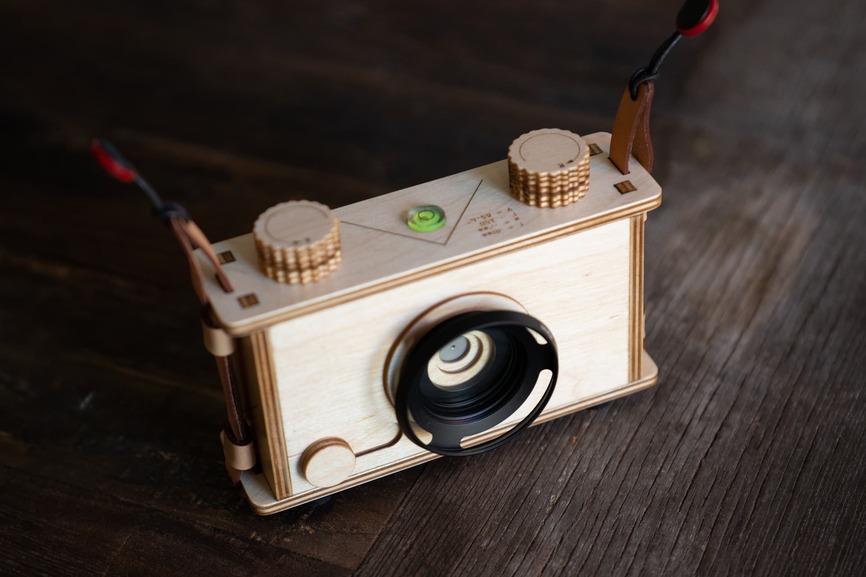
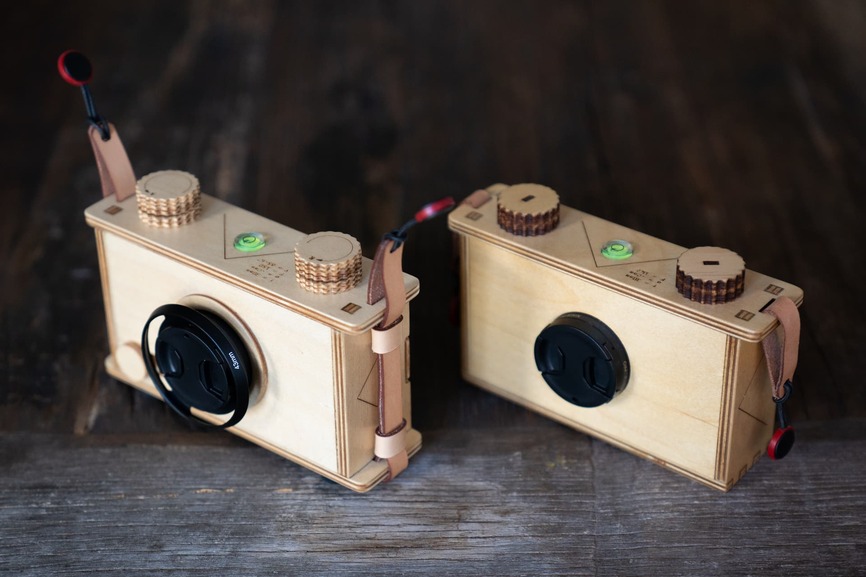
Here is the new design next to its older sibling. It is only 1/4” thicker due to the shutter, slightly taller due to the feet, and the same width as before. It feels more sturdy in the hand.
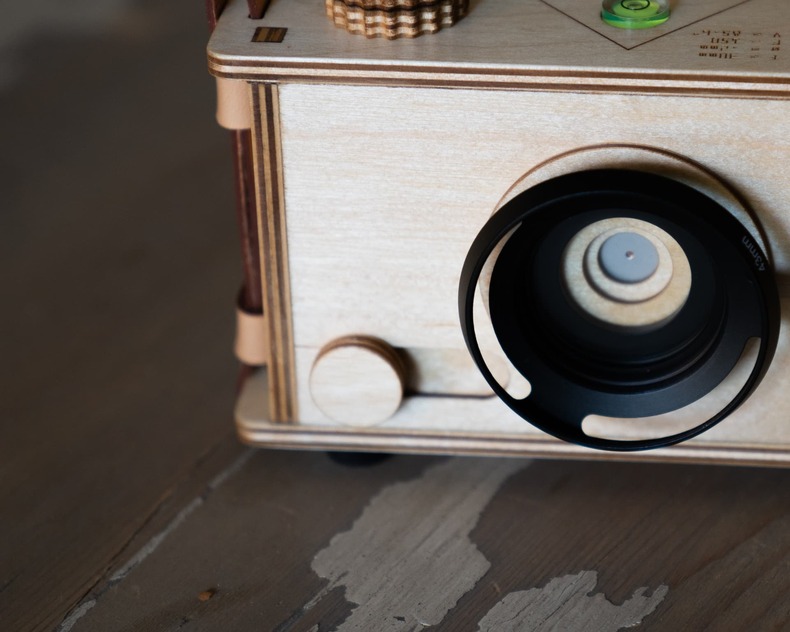
I added a vented hood - not so much because I’m worried about flares but because it is a natural place to attach the lens cover lanyard. It removes a step of fiddling since I don’t have to worry about where to put or remember where I put the lens cover. It’s all about the process of taking pictures so the less fiddling, the more I can focus on the image. Yeah, that sounds pretentious, but unfortunately it is very true.
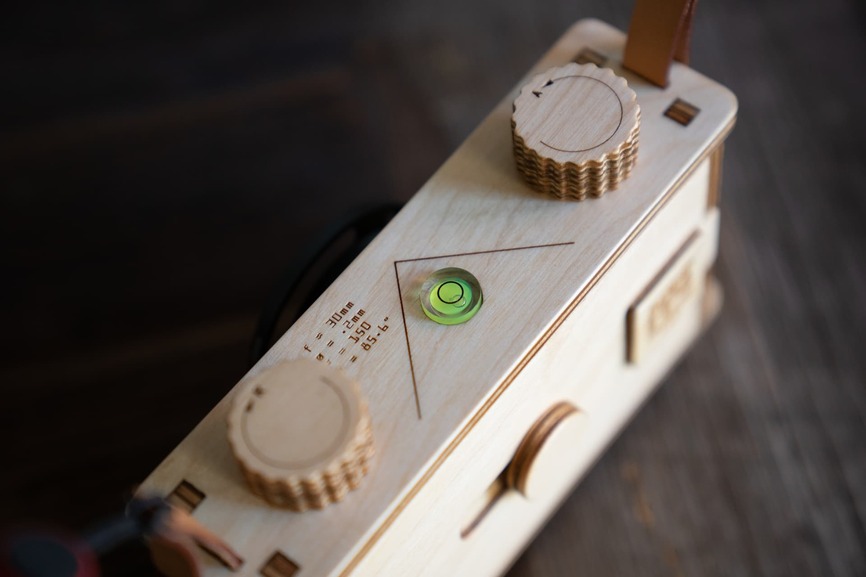
Small detail, but the f-stop number on the original was incorrect! So that was fixed and I added an angle of view number in case I wanted to use a separate viewfinder.