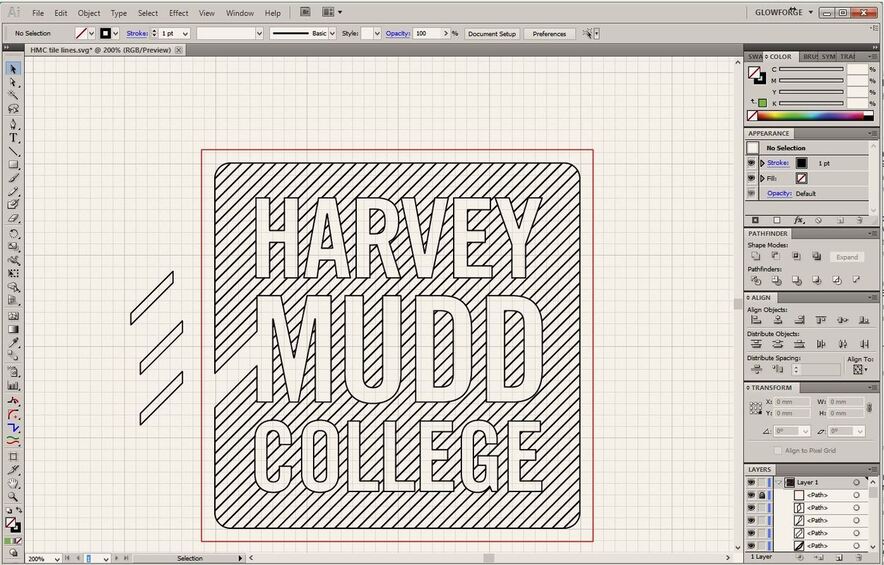
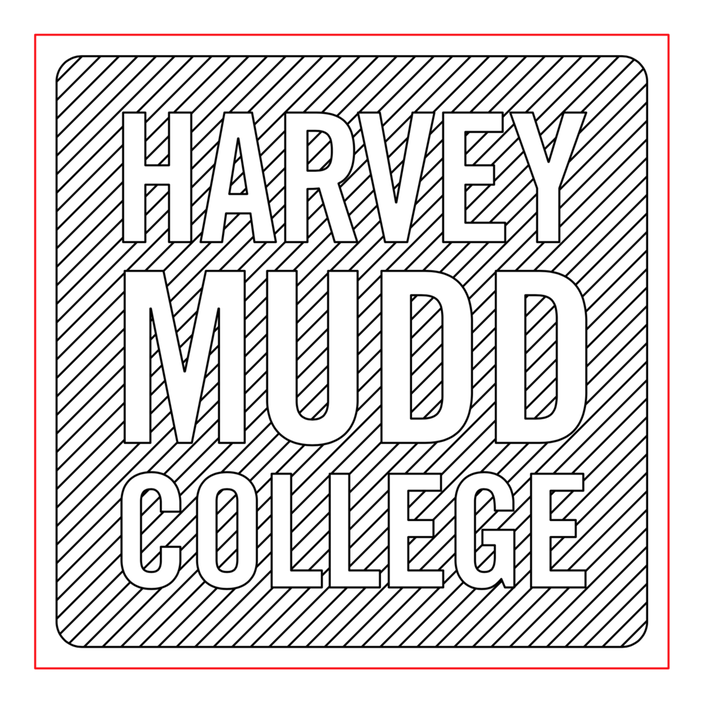
And now I’ve reached the point where I really wish Glowforge supported clipping paths. Anyone have any idea how to make an SVG equivalent to this but without using clipping paths? This would be center of the triptych.
Ok. That’s kind of painful to do in AD at the moment, as it’s lacking most tools for cutting paths that way. (The only way to do it that I’ve seen is to use the node tool, zoom way in, and manually create a node at each intersection and click the break path button.)
I might have to take the time to learn how to do it in Inkscape.
The warning has only popped up about twice lately…but you can now disregard the clip path. Just ignore it and do the image engrave. I’ve now done it several times and it works just great. Seems they never announced it, but it’s sure working now.
edit; also to Jules, too…I think it was me that mentioned clip paths in my post about ‘musing’.
No, clipping paths still don’t do anything useful. The warning can be ignored if you’re not trying to use clip paths and you just have some extra rectangle around an image to engrave or whatever, but in this case I was trying to use clip paths to do clever things with vectors. Clever things that GF can’t so yet.
I tried to convince Affinity Designer’s path combining tools to do the right thing, but they’re quite obstinate. It’s easy (ish) in Illustrator. Would you mind if I used this as an example for a tutorial video?
I’d like to see one if you put it together…it turns out to be a lot harder than it looks, because AI is closing the paths and doubling lines with the automatic processing. (We took the conversation off the boards and wound up having to do several iterations to get something that worked. He just wants all lines scored except for the cut line, and not duplicated through overlay anywhere.)
By the way @tim1724 , you might have already gone to bed by the time I posted up the last one…try version 4 …that one should create the effect you want without duplicating anything anywhere.
Really wasn’t thinking they might be useful, but just that for people like me, who are not so versed yet in design software, at least we can now ignore them rather than have to go back and rethink everything we put together.
There are always many different ways to accomplish the same result. I took a bit of a meandering path to get there, for the sake of trying to give a clear explanation, but I think this way of doing it is reasonably easy.
Great video and great explanation of the initial steps we want to take to troubleshoot the problems with the file.
Unfortunately, when Illustrator creates it’s cuts using those methods, it’s closing the lines and overlapping some of the lines at the edges of the shapes…if you Ungroup the file after you have created it and start pulling it apart, you’ll see that each of those diagonal lines is going to score twice.
Getting around that is not an easy issue, and doing so involves making and locking copies for reuse and deleting individual overlapping segments by hand. I don’t know of a quick way to deal with cutting open lines or segments that doesn’t involve a lot of hand work with the scissors tool, or deleting individual segments with the Direct Selection tool.
Anyway, you might want to take a look at it and see if there are some hidden lines in there that might cause a problem for folks trying to use this method. If it’s okay on your file and i did something wrong while following your method, I’ll link the video, because it really does cover a lot of ground.
Thanks for pointing that out. I’ll check it out in the morning. Most likely that is a problem. I was going to try engraving the completed file to test the result but I got tired. Sloppy skipping QA.
I’ll leave the video on YouTube for now but if it’s creating a bogus result I’ll delete or replace it tomorrow.
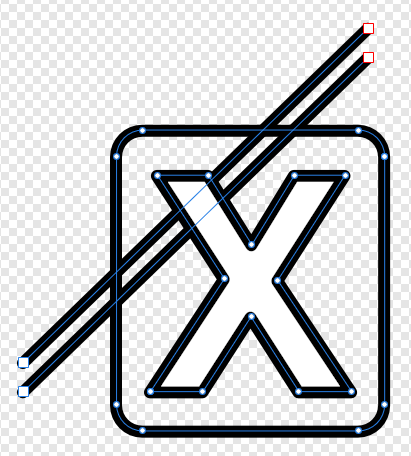
There’s a way you can do it in AD, but there’s two things you have to keep in mind: The order in which you stack things, and also that your diagonal lines are not just single lines… they’re actually closed paths of black.
Starting with this basic set (notice the blue paths):
take your diagonal lines and Expand Stroke, and then highlight them all and Create Compound.
take your text and Convert to Curves and then Expand Stroke… this will leave them as individual fill and outline text on the layers.
take your rounded rectangle outline, and Expand Stroke on it as well.
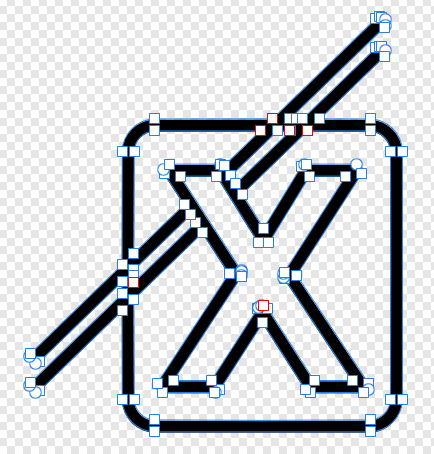
Choose only your diagonals and the white text fill layer, then Layer > Geometry > Subtract so the white of the text cuts the diagonal lines.
Select everything else remaining (the rounded rectangle, the cut diagonals, the layer of black outline of the text) and then Layer > Geometry > Add to combine them all.
You’ll have something like this:
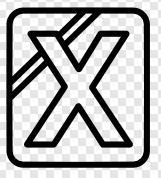
Clean up loose out-of-bound nodes of the diagonals you don’t want with the Node Tool to get:

 (The only way to do it that I’ve seen is to use the node tool, zoom way in, and manually create a node at each intersection and click the break path button.)