For all of you out there designing parts in Fusion 360 for your Glowforge, there is a new workflow that I think you will like. It will allow you to go straight from Fusion 360 to your Glowforge and even takes kerf compensation into account.
There was a previous conversation about this topic here: Fusion360 to Glowforge in case you want to read up.
I am creating a new post here in order to give the new workflow better visibility on the forum.
The workflow is made possible by @gareth, software developer extraordinaire, who created a custom post processor that Fusion 360 uses to create code that the Glowforge UI can understand.
Awesome that you posted this. I’ve always struggled with f360: every bit of instruction is video. I learn a lot better with written instructions. The struggle continues.
Me too. Video makes you wait for the nugget that you need to appear. Text you can browse through. Video does help to visualize what’s happening though.
Kerf compensation, automatic centering, ability to choose cut vs engrave in advance, ability to separate operations so you can sequence them the way you want.
Thanks so much. 25 words or less is more of a guide to keep people from spending 3 long paragraphs and never getting there. 26 or 27 would have been fine.
I’ll definitely give it a try.
This plugin makes lines and solids depending on whether you want cuts or engraves
Unique colors for each CAM operation means your ops in Glowforge are always in the same order as they were in Fusion 360 CAM.
edit: if I can get 1 more: * All cuts that are part of the same CAM op are the SAME PATH in the SVG. So they drag and drop as 1 thing in the Glowforge UI!
Hi all,
I’ve been trying out multiple workflows and please correct me if I’m wrong but this CAM approach may be the fastest when reusing models to cut from different materials (with different thicknesses).
That however would require one thing: if one alters a parameter set for “thickness” of the material, that the CAM paths also adjust - would this be the case? Or will the paths be lost and require to recreate them?
Hope this isn’t a stupid question…
Thanks,
B.
When you change the parameters and go back into the CAM module, you will have to regenerate the paths, but that’s a simple two-button keystroke combination (CMD-G on a Mac, I think it’s CTRL-G on PC); you don’t have to reconfigure everything from scratch.
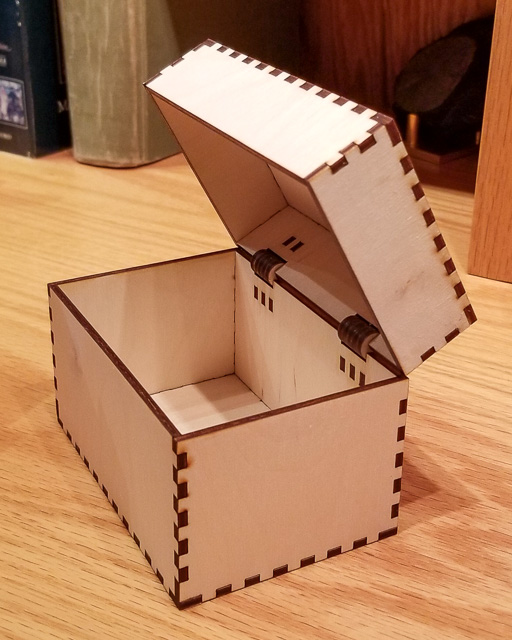
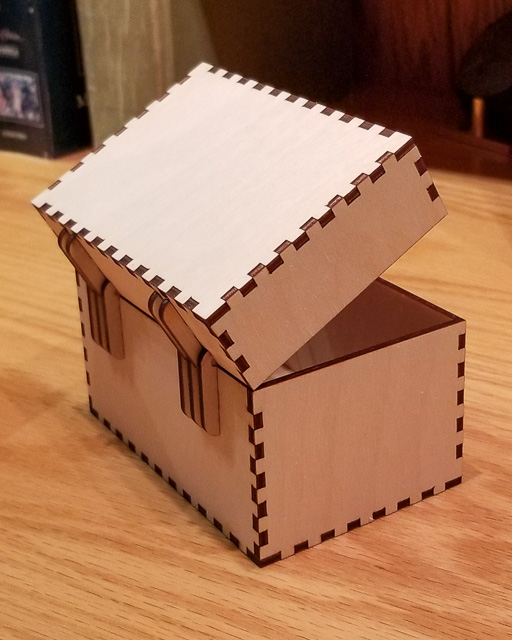
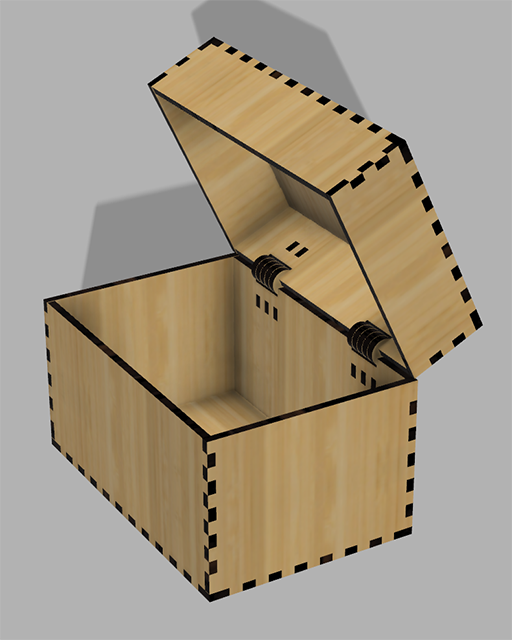
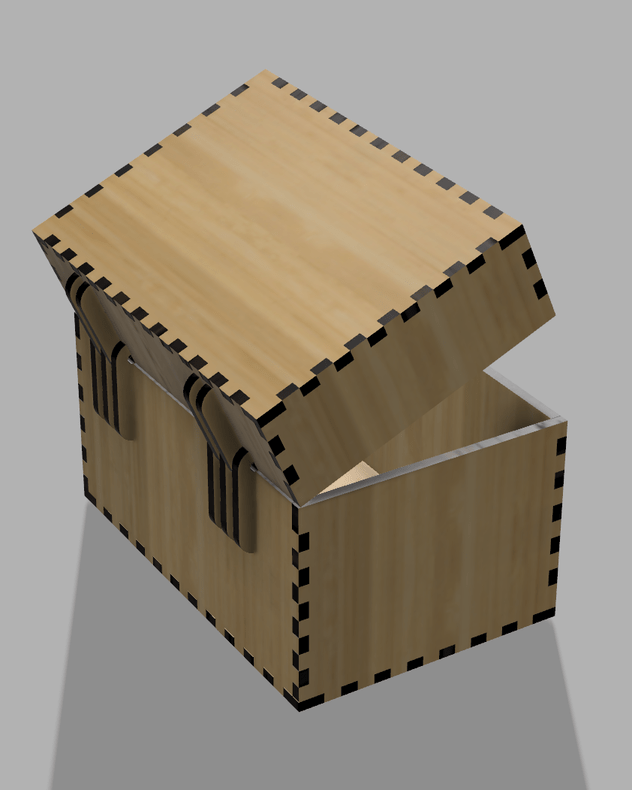
A few days ago I set about learning Fusion 360 and in particular how to do a fully parametric model and how to use the new workflow and Gareth’s plugin. After the mandatory stumbling around that comes with diving into any new software package, things got easier and easier as I went along. The educational project I chose was a typical finger-joint box with a hinged lid. The workflow works very well indeed.
Here are a few pix of the result as cut on the Glowforge:
The box has lots of parameters – overall length and depth, box height, lid height, tab size and hinge pin diameter. I designed it with one set of settings and then adjusted them to match my material (BB plywood). When I cut it on the Glowforge it all came out perfectly the first time – the kerf adjustments in the finger joints and holes are spot on.
Now I need to figure out how to automate finger joint creation. Doing it in manually works perfectly, but is tedious in the extreme because there are a lot of edges, each of which requires several steps. It would be nice to have a script that places finger joints along whatever edge the user selects.
Has anyone seen something like that? If not, it looks like I need to begin the process of trying to grok the Fusion 360 API.
I did something similar to that on a file once, using the Rectangular Pattern. (You have to establish a lot of parameters, but I use it for a lot of things.)
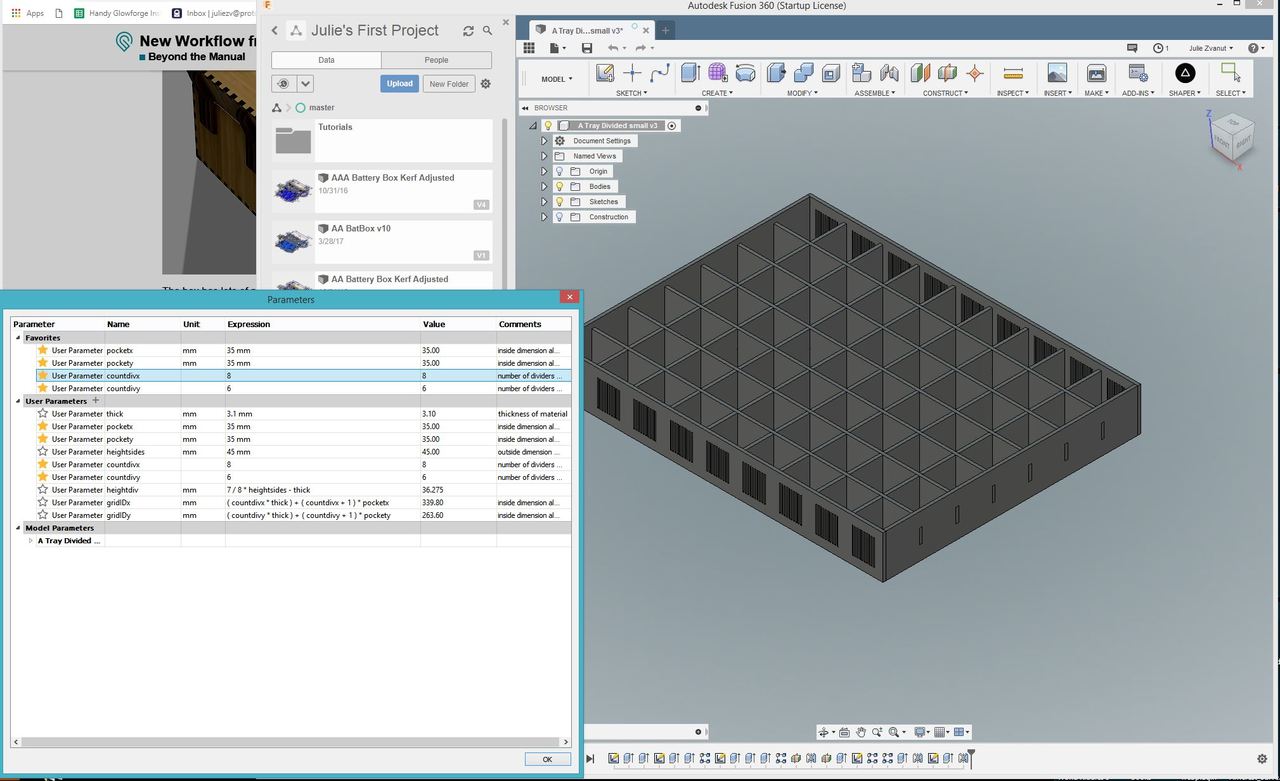
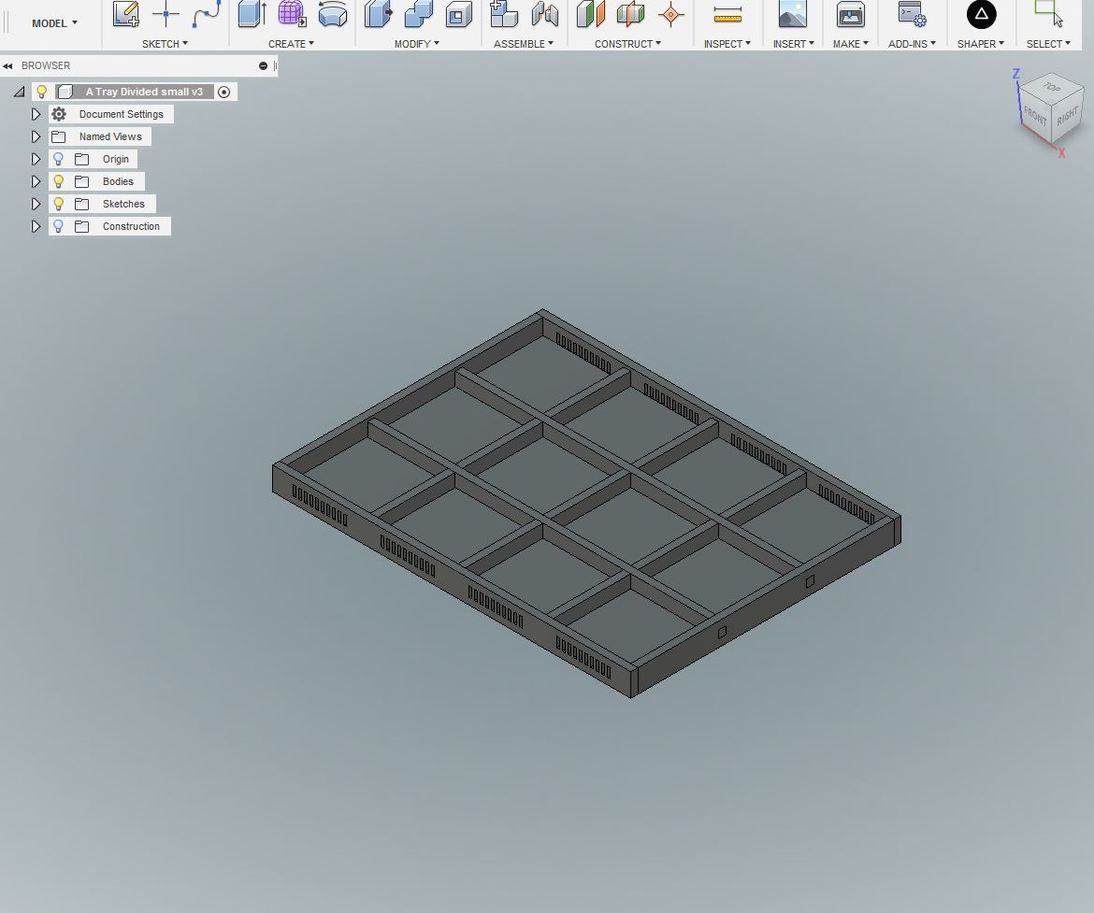
This slotted tray changes the box completely…shape, size, height, drops in the decorative cutouts, creates finger joints, slotted dividers, etc. based on parameter entry.
Good to know I’m not alone in failing to find a script for this. Looks like I should put making one on my to-do list. (Which seems to get longer by the day!)