1. If you have any problems… First report it to @bonny on the Introducing Snapmark thread to help the team develop a workaround. Tell them the dimensions of the snapmarks in your design program, the name of the design program, the version number and the operating system.
2. Make sure you do not accidentally reshape or rotate the Snapmarks…they will not work. 3. Other rules to follow when placing your Snapmarks in your design:
Leave at least 1/4" space to the left of the leftmost snapmark in your design if you are also cutting out around it to create a jig.
Design on a 20" x 12" (508 x 304.8 mm) artboard, and make sure the design is completely on the artboard before saving the file as an SVG.
Working with a Reusable Jig:
In your Design Software:
Create your cutting jig in your design software.
Add a set of properly sized Snapmarks. (Make them a different color than the jig cutlines.) (It’s a good idea at this point to Lock the cutouts and Snapmarks down so they don’t shift relative to each other.)
Add any artwork to the jig file aligning it with your cutting lines.
Save the file (with any embedded artwork and the Snapmarks) to an SVG file.
In the Glowforge User Interface:
Load the SVG file into the app.
Set the Snapmarks to Score. (Not Engrave.)
Set the Cutlines to Cut.
Set the Artwork to Ignore.
Print the file.
Remove the cutouts. Add the objects to be engraved into the cutouts.
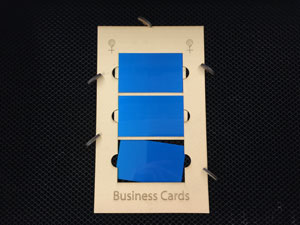
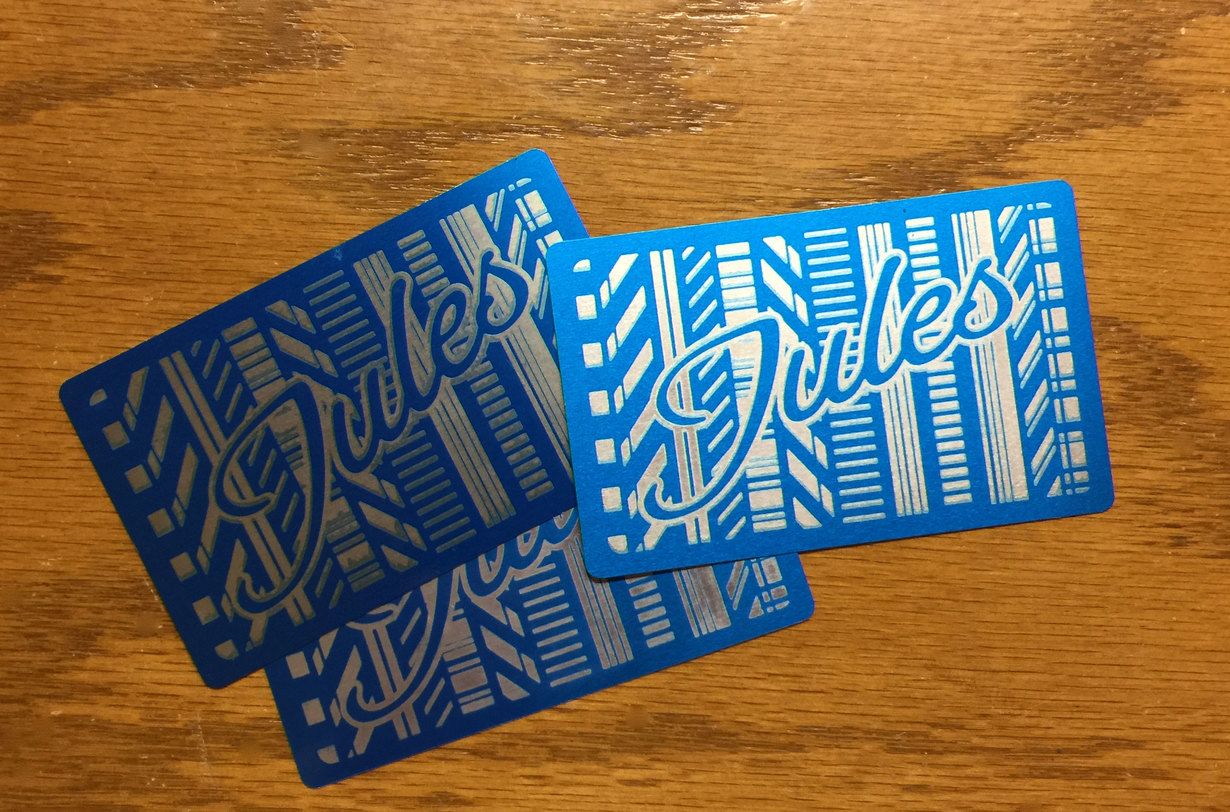
Pro Tip: If you’re working with something flat like thin business cards, keep the cutouts, and just attach the cards to them with some double sided adhesive for processing…it’s easier to just drop that back into the hole and the cards are thin enough that you do not have to adjust the thickness for engraving. Much easier to keep it aligned than dropping it into a hole.
Adjust the focal point for the Engraving if necessary.
I have only been doing print to cut things but here are my design notes. Maybe scored snapmarks work better/differently? but this is what my testing has gotten me to
Snapmarks should be as far apart as you can go; my minimum is 8" but more is better
Having them in the center of your design is better than the top or bottom. even at 10.5" apart I saw perfect cuts near the snapmarks but slight misalignment at the bottom of but cuts 4" lower.
What kind of misalignment at the bottom of your cuts are you seeing? That sounds like one of the Snapmarks might have gotten slightly rotated out of true vertical alignment in the design. (Easy to do accidentally, and it would introduce a slanted error on the bottom of a cut. It might not even be enough to be visible, but it would still skew the design along the vertical axis. I’d try a fresh set of Snapmarks. I don’t see any differences putting the Snapmarks at the top or the bottom for Print and Cut files.)
in the printing/design step, if you add artwork and position it, do that after the alignment step (pressing the magnet button). (In my limited experience, the alignment step resets the position of added stuff).
There is a use case for putting snapmarks upside-down if you’re going to rotate your piece later for extra total size. (But you will also need a set of right-side-up snapmarks to trigger GF behavior)
Yep, that’s correct. What happens is the snapping routine reverts to the original that you loaded, and snaps that, leaving any additions behind on the screen where you loaded them.(I need to get that in there…it’s a good point.)
Note: that has been modified now. The program will snap additions.
Yeah, I used them that way too… on the second silverware basket. Wasn’t sure people would be interested but I can add that in another use section.
I’d suspect that this is going to be machine dependent based upon the individual calibration of each machine.
One wouldn’t think so since it’s using the head camera to fine tune positioning but I’ve seen varying levels of accuracy dependent upon where on the bed the Snapmarks are (varying from really good to not even being able to tell that you scored the Snapmark twice).
(Especially for those who can draw, write or spell.)
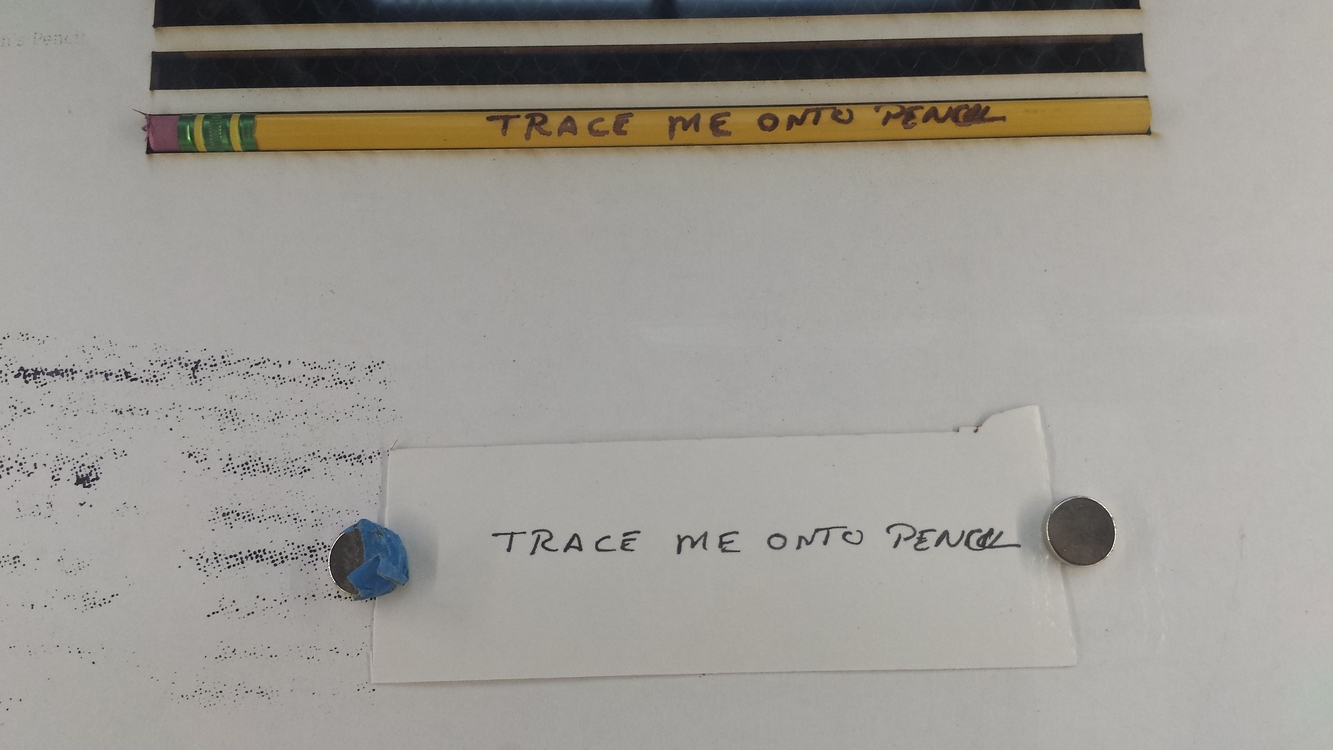
Put jig in GF, snap. Add items to be zapped, very carefully (or add before snapping). Put artwork to be traced somewhere else in GF, Add Artwork via tracing. Move, resize, rotate etc using jig lines as guides. Zap.


 Thank ye kindly…it’s just a few notes. (It might turn into a tutorial by the time it’s done though.)
 ROFL! You are dangerous…every time I just about get to the point of deciding I’m not needed around here anymore, you drag me back in.