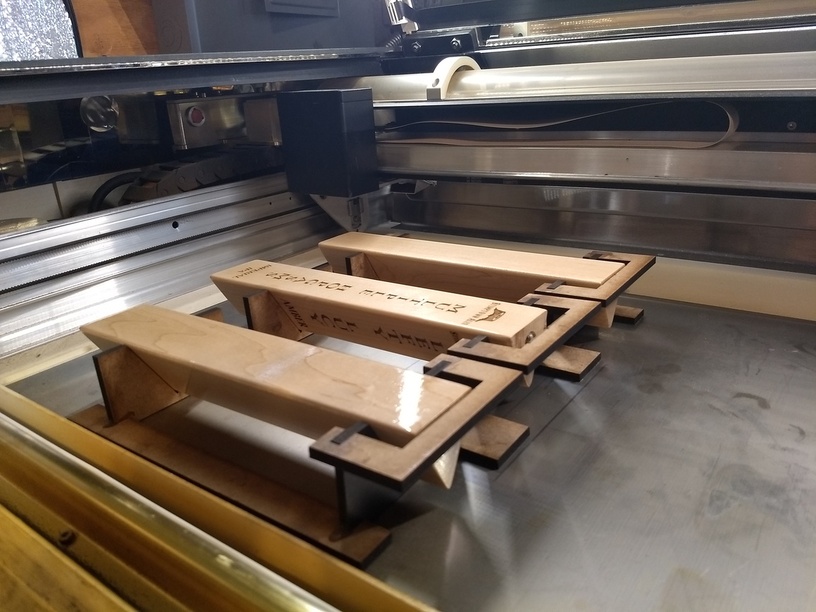
I made a fixture on the medium draftboard (.125 thick) that has 3"x.3" longitudinal slots spaced .5" apart, in a single column, 18 tall, to hold some small round parts I want to engrave. I set the parts up, started the job, and went to check on it after a couple minutes. It seems that the laser somehow pushed some of the parts out of the fixture.
The parts extend .455 over the height of the draftboard.
I want to know how to find out what’s happening. Is there a “dry run” setting I can use to pretend run the job to see what’s going on?
Do I need to make a new fixture? The parts are .490 in diameter.
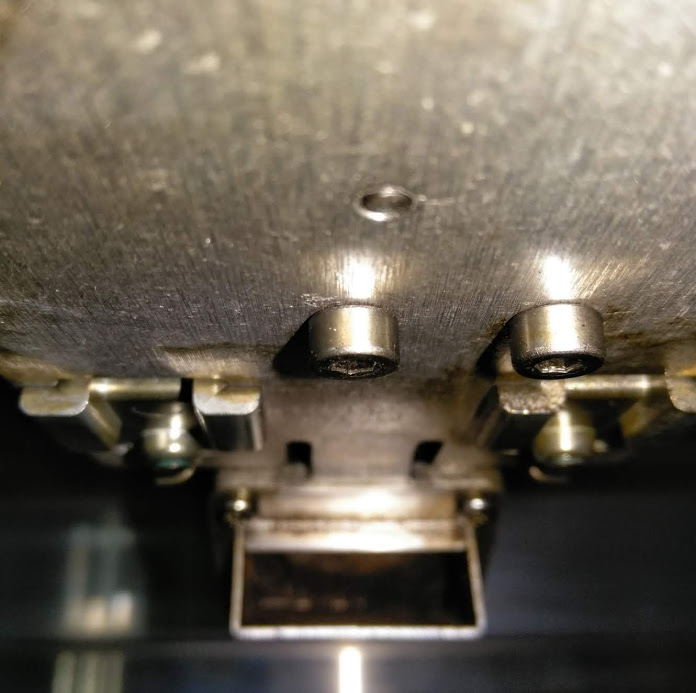
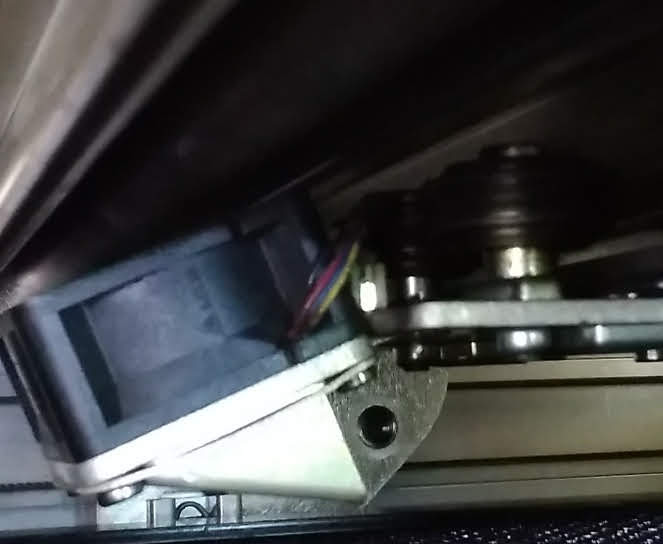
The head itself won’t hit them, but there’s a part behind that sticks down lower. You might get away with it for one piece, as long as it’s small enough that the stickydown part doesn’t ever get close enough to hit it, but when you add more pieces, sooner or later it’s going to run into something.
If your highest part is “south” of the engrave/cut you’re doing, then the head wont ever pass over it. I’ve gotten away with engraving items that were too tall because the tall part was closer to the front of the unit than the laser head ever needed to go. Maybe not applicable for your situation, but thought I would mention it.
It certainly sounds like you an remove the tray and raise the piece up to suit your needs, you only need a couple mm. Curious to see how you work this out.
It only helps briefly. My DNA report shed some light into why I can drink coffee at bedtime without losing sleep. I’m an ultrarapid metabolizer of caffeine (CYP1A2 enzyme), so I really just get a brief window of nonfuzzy brain function, and then the brain fog descends again.
At least one of the 3 genotypes involved was homozygous, meaning you’d have it too, so there’s a good chance you burn through it as quickly as I do.
Wow, I hadn’t heard of that! What are the chances they’ve managed to make it sustained-release, rather than releasing all at once like the flavor in gum seems to do?
I took those pictures with my phone. You can see from this angle how far below it is from the horizontal laser plate you can see. If you have a cell phone camera you can check these things live (before closong the lid and starting the laser of course )
Holy smokes, these threads derail fast!
I’m trying to dream up a fixture, basically a durable, cheap, safe, easy-to-make replacement crumbtray. I’ll see if I can’t let you know what I come up with.
Chuckle! Don’t let that slow you down, the group multitasks very efficiently. Don’t want to inhibit the crumb tray redesign on your part, but there are tutorials and previously created strategies for dealing with cutting without the crumb tray that might save you some time:
And some freebies for support in the Free Files section:
You know, you ought to sell those plans in the Catalog one of these days…that’s my favorite jig setup to date…could easily make different height spacers out of the legs to make it a Tray Table. (Unofficial new term that I hope catches on.)
Thanks for the info. I’ll have a look at it. Right now, I’ve got some scrap MDF, and some old moulding that’s almost exactly the right thickness. Cut cut cut, dowel rods to lock it in place (just like the original), bam. I’ll post a pic once it’s finished.


 )
)