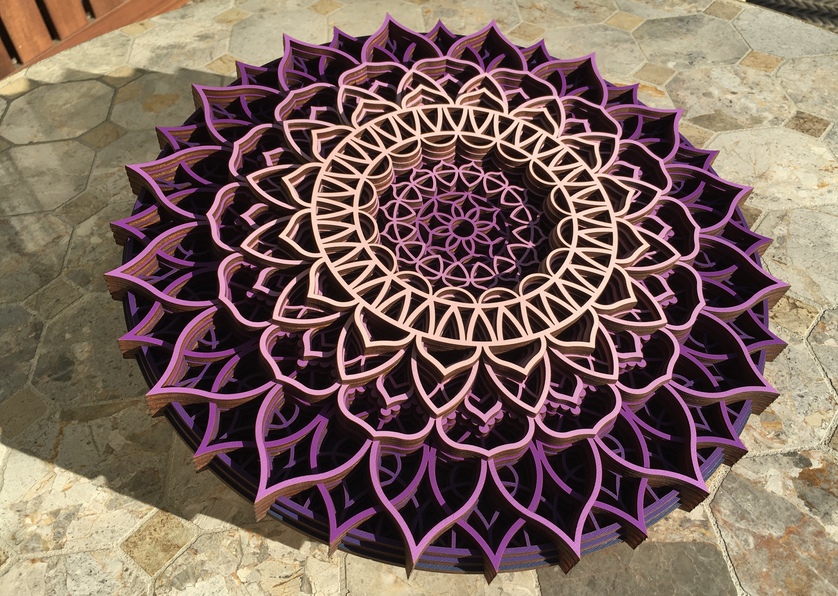
This mandala is made of BB plywood with various shades of purple cardstock glued to the face prior to the cut.
Thanks to @arh2 for the idea to try gluing up cardstock to a wood backing, it was a great idea and I think it worked very well.
Notes:
Glue your cardstock evenly and thoroughly. I used plain old elmers PVA glue, applies with a speed ball ink roller.
-use a squeegee or a roller or something to be sure the cardstock is firmly glued to the wood.
let the glue dry, mask your cardstock/wood beast and then test your material settings. I was surprised at how much more slowly I had to go to get reliable cuts.
clean your hands thoroughly and unmask the paper. Pull carefully, if the cardstock comes away from the wood quickly glue it down with as little glue as you can get away with. Folds and creases will show, be gentle and careful and use tools as necessary.
once you’ve unmasked your parts, you can optionally seal them with clear spray. I used clear acrylic, I figured it would protect the cardstock.
use registration pins for assembly and carefully glue each layer to the next(top down). There’s little to no room for error here, if you smudge your paper there’s no easy way to fix it.
once fully assembled and glued up, I hit it again with the acrylic sealant, just for good measure.
10.9 x 10.9 x 1”. 8 layers of 1/8” ply.
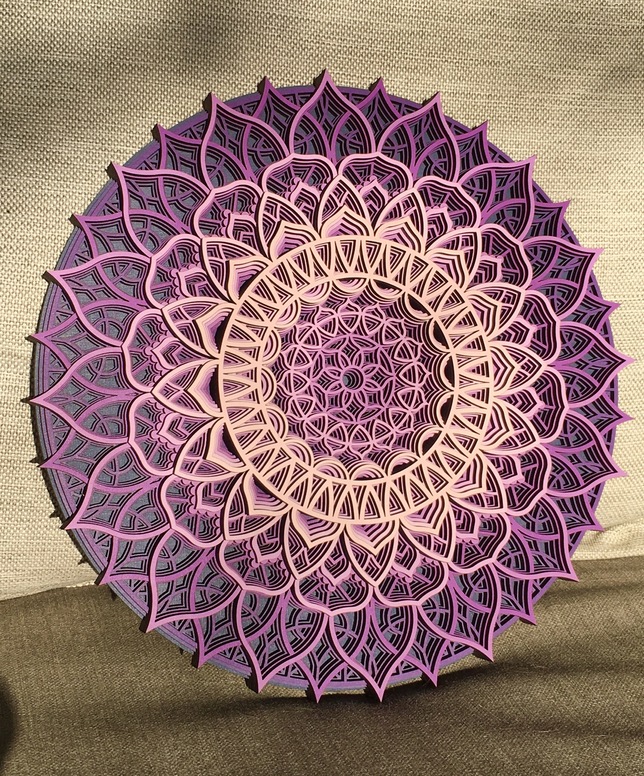
Overall I’m really happy with it. I think the fully painted faces (in my other blue design) are maybe a little more eye catching, but the labor involved to paint all those nooks and crannies is … a lot. This went together so much more quickly and it’s still really eye catching in person.
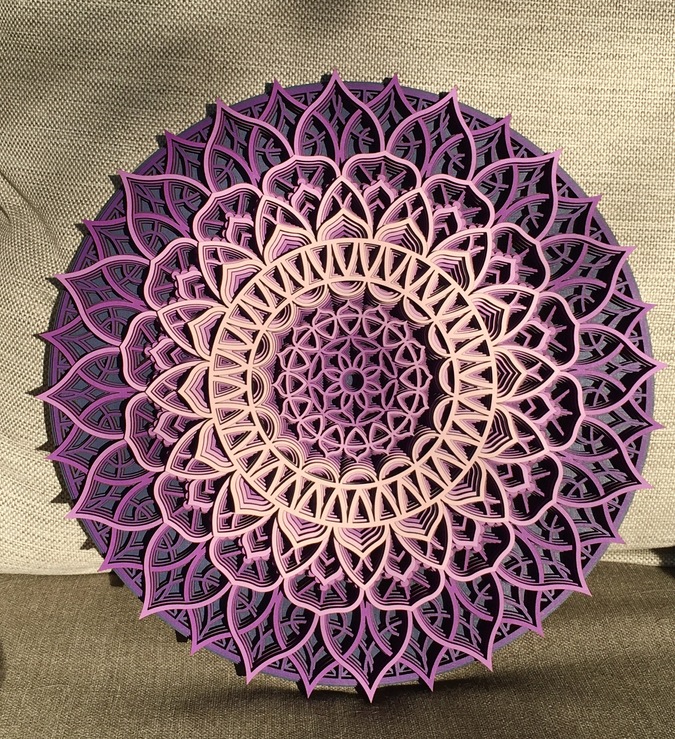
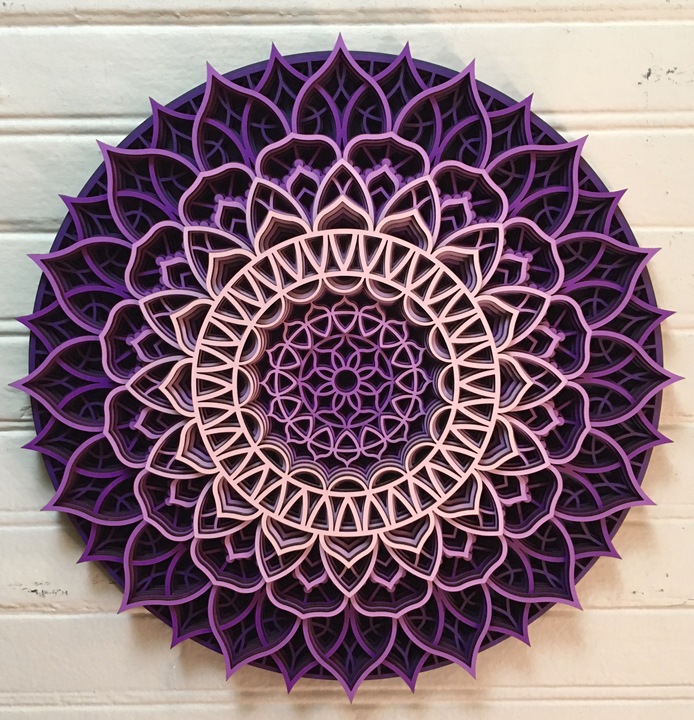
The first three pics were taken in low sunlight so they are a bit warmer toned than how it looks in person. Pic #4 indoors is actually a better representation of its colors. Anyway… more pics!
Question - could you leave the masking on each layer until you’d glued it down to the one below it? I’m terrible with glue so I’m always looking for safe-yourself-from-disaster moves!
You could but I’m not sure how you’d get the masking out from between the layers… I think you’d struggle to get it out cleanly anyway. It adheres pretty well to the cardstock.
Ah right, you’re thinking to glue from bottom to top. I glued down so I’d know exactly where the glue should go, I apply it to the bottom of the layer I’m placing next, never apply it to the papered side.
You could do it your way, of course, but gluing “down” made more sense to me.
wives,sacks, cats, kits………how long did this whole project take? It is extremely impressive with all the detail and consistency. I love the gradient from light to dark. You have great taste!
I like this one even more than the blue one. I really like the depth between the layers. Was there a reason you went with paper rather than paint? Seems like paint (before cutting) would be easier all around.
Modifying the design, scaling and preparing it for Glowforge was probably an hour. Gluing and cutting took probably 2 hours, ignoring drying time. Assembly was probably 1 hour, maybe 1.5.
Overall not too bad. Gotta keep in mind that cutting time is kind of passive, almost like drying. You can do other stuff, sort of.