4" Tile (4.25in x 4.25in) Frame - Flat or Wall Mount

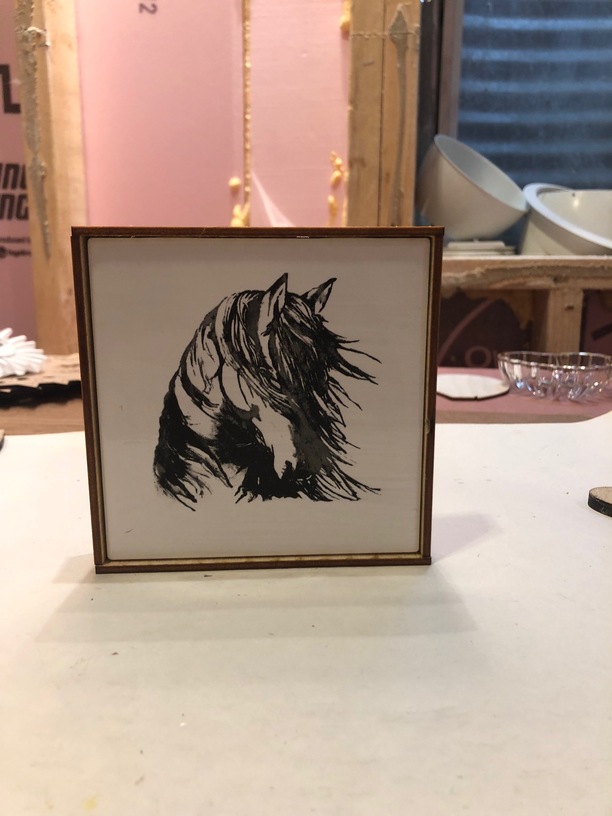
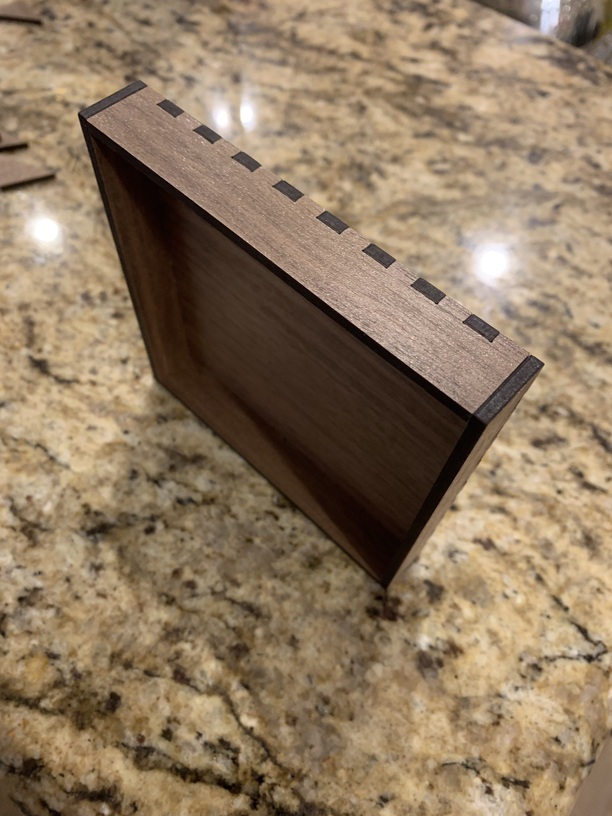
One of my first real projects, a frame for engraved 4.25 tile.

I did it in Proofgrade Medium Walnut Plywood (I think that’s the one).

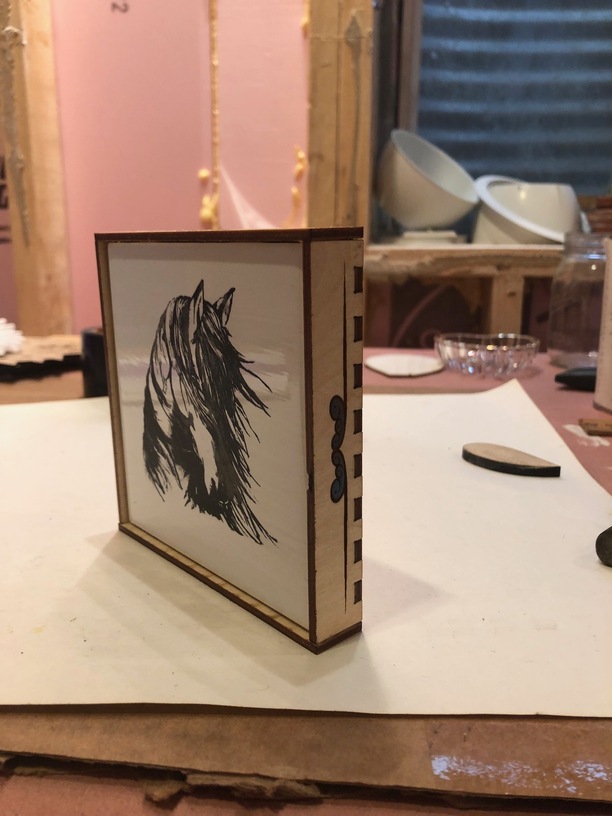
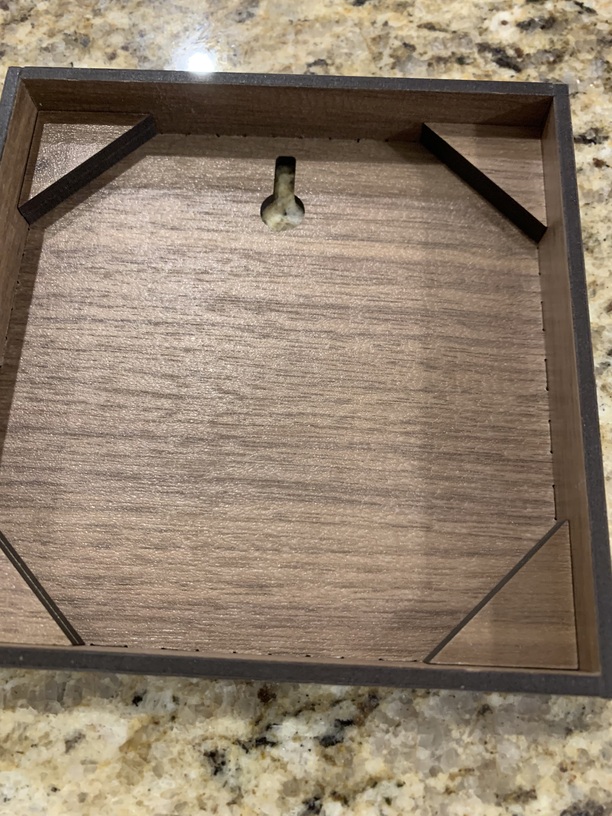
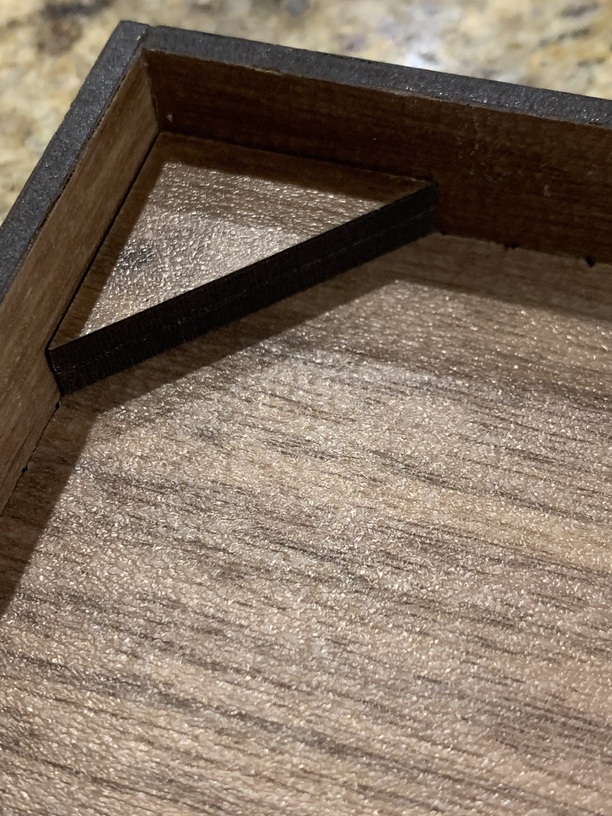
The triangles were cut as spacers for the corners to flush the tile with the frame and also double as an invisible method to ensure the finger joints stay together when glued in. They also provide space for the screw/nail head for the keyhole I added (thanks @jbmanning5) and assembly just took a few minutes of gentle tapping and bit of wood glue. There are 4 extra triangles that I ended up using to space it even further, personal preference.

Weirdly though, I guess I only took one image of the final product. I can add more later.

25

Edit: The SVG is above but you can also click here to download it. Thanks @evansd2


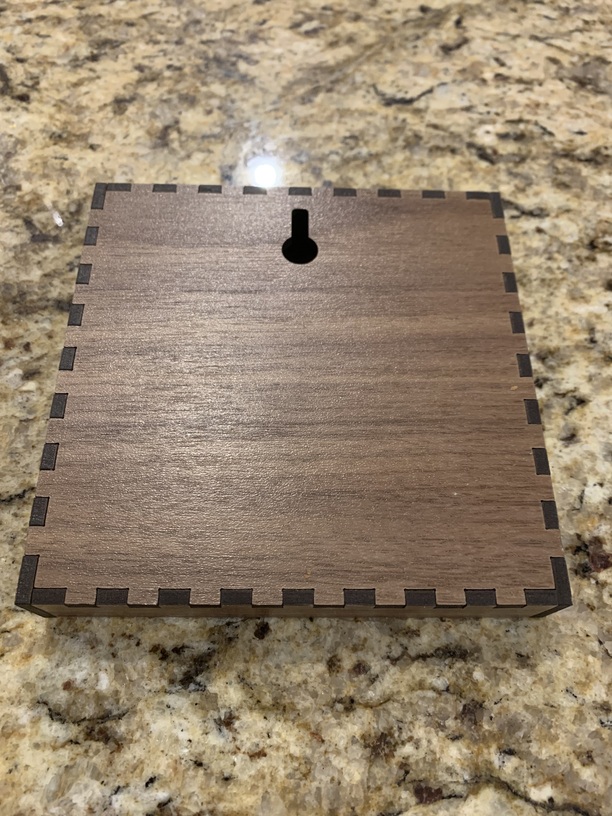
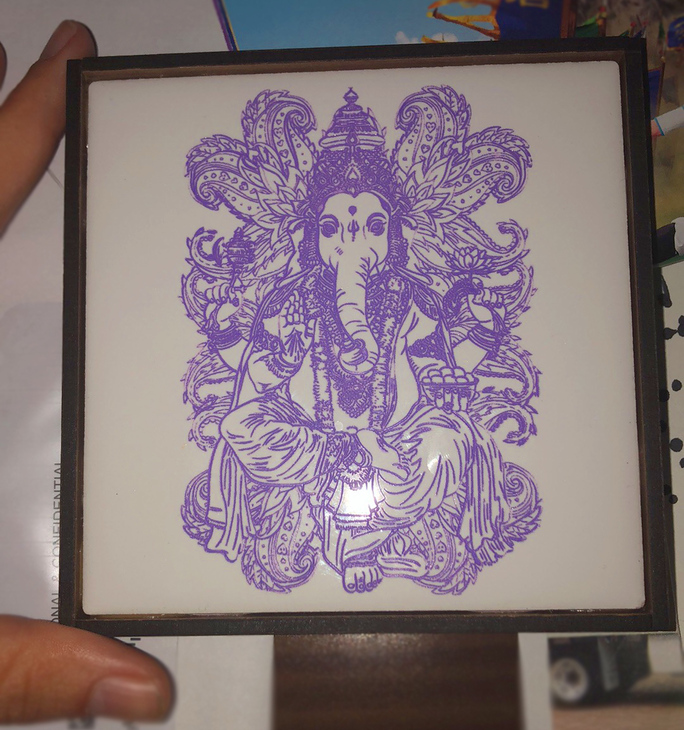
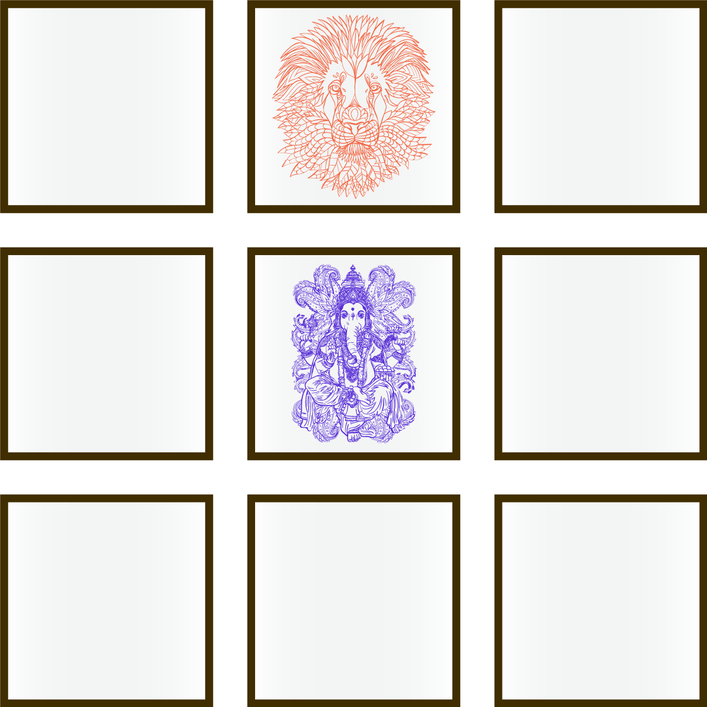
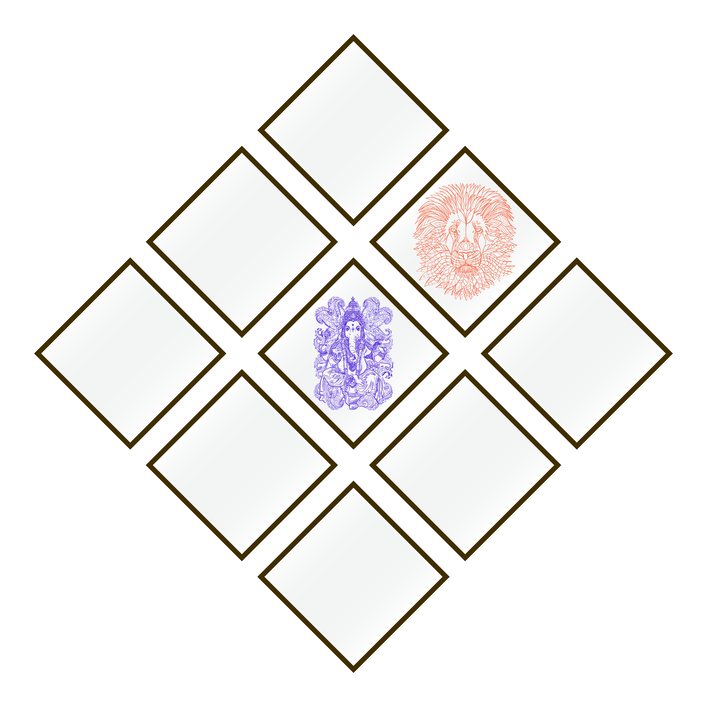
My goal was to give the tile some depth while also making it versatile as a coaster or as flush mount wall art. I do wish there was more variety available of PG plywood, but I think I’ll be branching out to other materials as well, this was mostly a test. I plan on doing a series of nine as a gift to be hung together in a 3 x 3 grid on the wall.

It took me a few tries, and the documentation could be better (anyone have this somewhere?), but Gallery - Boxes.py is a great help with the box. I’d pay money for an app that could generate on the fly joints with different styles. Someone who’s a programmer should get with @evansd2 and incorporate some of his joints into a box joint builder!

I still have a lot to learn and plan on doing some more multi-step thinking before cutting…like, why not engrave the sides then cut for a totally custom looking frame.

I have to extend a thank you @Jules, who deserves a lifetime supply of proofgrade materials from the GF team.

180 Likes

Thanks for the share!

I agree with you about @Jules, she’s the best!!

5 Likes

Thank you for sharing this with us. I do have a real need for something like this and your design is great.

1 Like

Thank you for posting this. I like making tiles but hate the unfinished back. Your design is perfect.

OHHH before I forget! By nature of the design and it being finger jointed, two of the parallel sides are SHORTER than the other two. Before glueing anything in, figure out if you want the seams showing on the sides or top and bottom I went with top and bottom since they will be hung.

Another nice modification I thought of would be to add a hole near the bottom (circular for a dowel rod, rectangular for something cut on the GF) to insert a stand brace. Hard to find what I mean in google but something like below. That would give one frame three different use methods.

13 Likes

Thanks for sharing. Many of us have these tiles with no good way to display them.

1 Like

Thank you so much! This will be useful for a lot of folks, including me.

Oh, I really like that design with the corner risers in it…that’s a great idea for some very unique coaster frames. :grinning:

1 Like

very nice. similar to a box lid i did a while back, but the way i did it hides part of the tile edges and this is able to show the whole tile. how are you holding the tile to the frame? super glue to the triangle risers?

1 Like

Very well thought out design - thanks for sharing!
Yes, @Jules does deserve a lifetime supply of :proofgrade: for sure.

2 Likes

Actually for this prototype I just used wood glue. I thought about placing some kind of lid on it, but decided to keep it open in case there’s a spill or something like that. I also was going to color the sides of the tile black so it disappears more.

1 Like

I just searched for your post, very nice! (Box with a Laser Tile Lid).

I like the box idea a lot. I originally had something similar as your lid where the back piece was sunken in / not flush, but I wanted to mount these flat on the wall. I’ve always been a fan of when art can hang perfectly flush with the wall, no gap at the top, so I figured this way I could have a screw head sticking out just the right depth to create a flush piece. Especially when the plan is to have nine of them, I think it would look best.

Your box makes a great gift idea, I would make one and then line the inside.

2 Likes

thanks. i like the way you created the space to make the flush key mount on yours. i never really thought about making a wall mount frame.

The plan is to make her a bunch as a gift, in different colors and grid them to hang on the wall. I like it better than one large frame with cutouts.

Something like this

16 Likes

Really great design and share. Many thanks!

Good design, thank you for sharing.

Thank you. Very nice and functional design. Love the idea of using multiple of these for a collage.

Thank you! You could go a lot of ways with just a few simple changes. For example if you move the keyhole to the corner at 45 degrees…

Could also round the corners on some of the frames to create an interesting look.

11 Likes

Thank you so much for this gift. I am so grateful. I am just learning how to use a laser, incorporate my art, actually do more than just draw on paper and now etching on tile. So I gave it a try today and made a frame box using your design. I love it!! I put my first etching into it and I think it looks so nice. I added a design on the sides. I also am thinking to add a slot in the back to drop in notes and secrets…cuz it has a hiding place! I don’t know that it needs anything added to help it stand. Mine stood up just fine. I used 1/8 Baltic Birch. And…this is the first thing I have ever put together like this in my life. lol

16 Likes

Really nice. I love how your design on sides hide the finger joints a bit.

1 Like