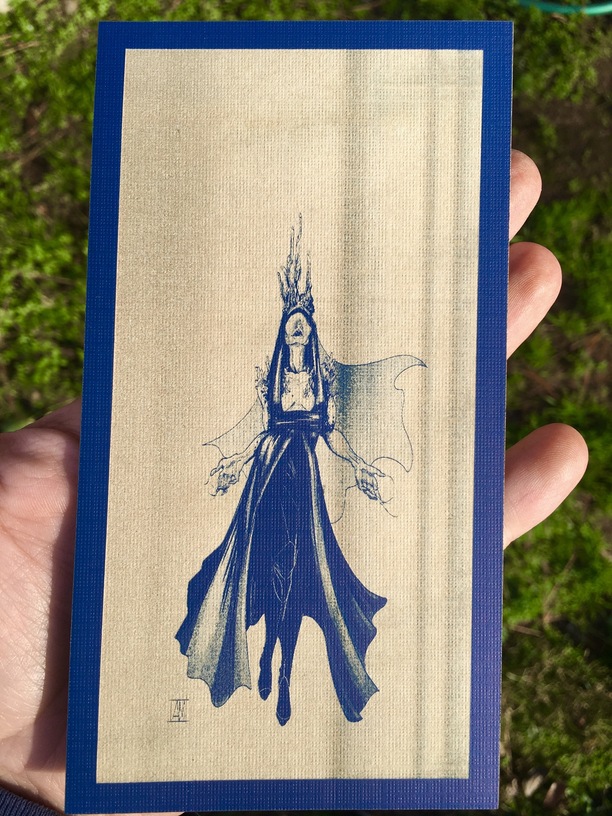
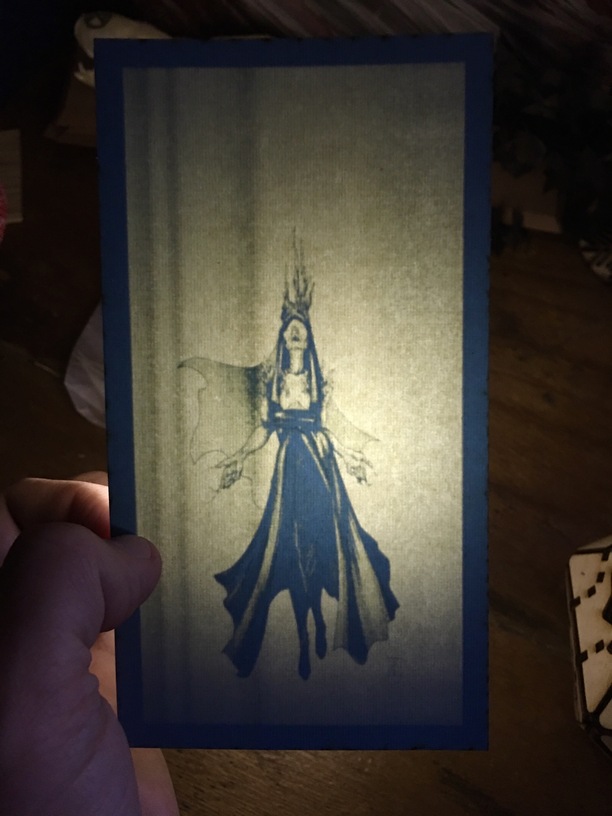
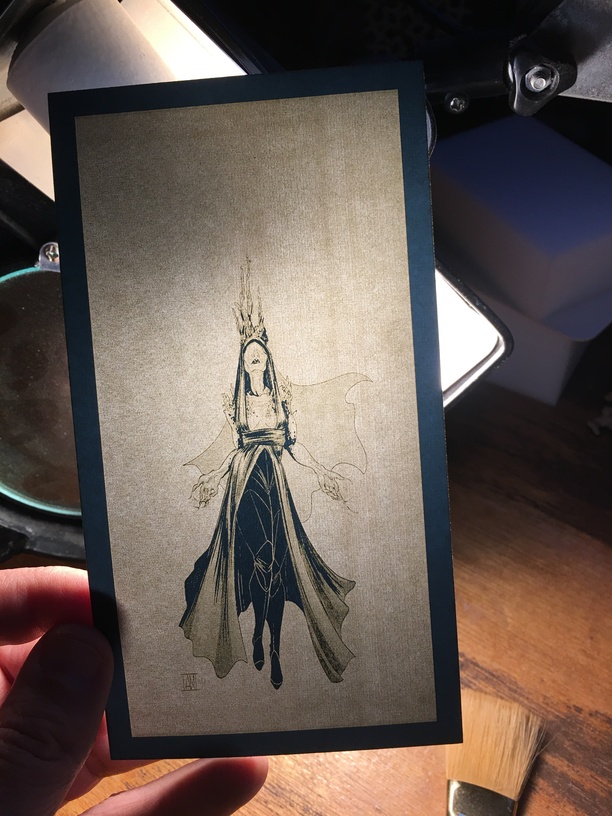
Worth mentioning: The vertical banding is not in the art. I suspect it’s down to variations in the paper, thickness of the color layer, changing density of the paper, something. In the end I like the way it looks.
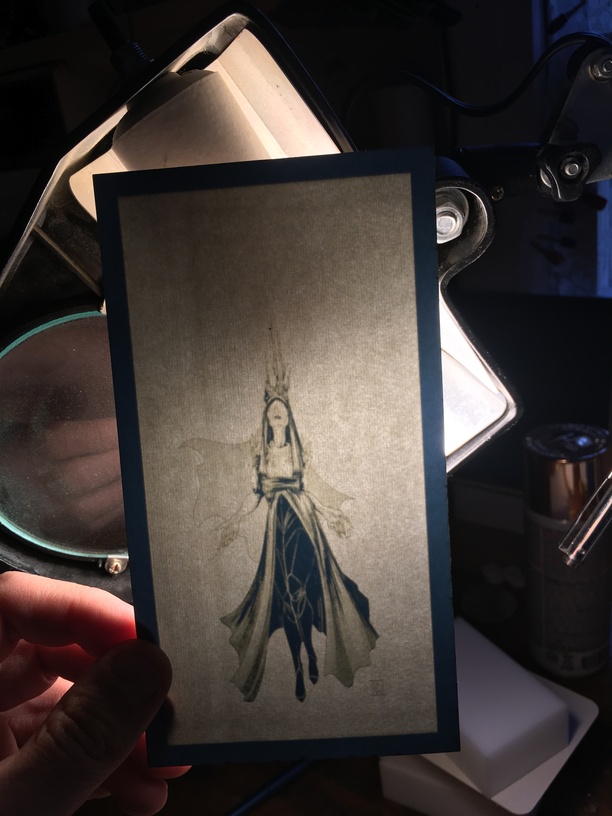
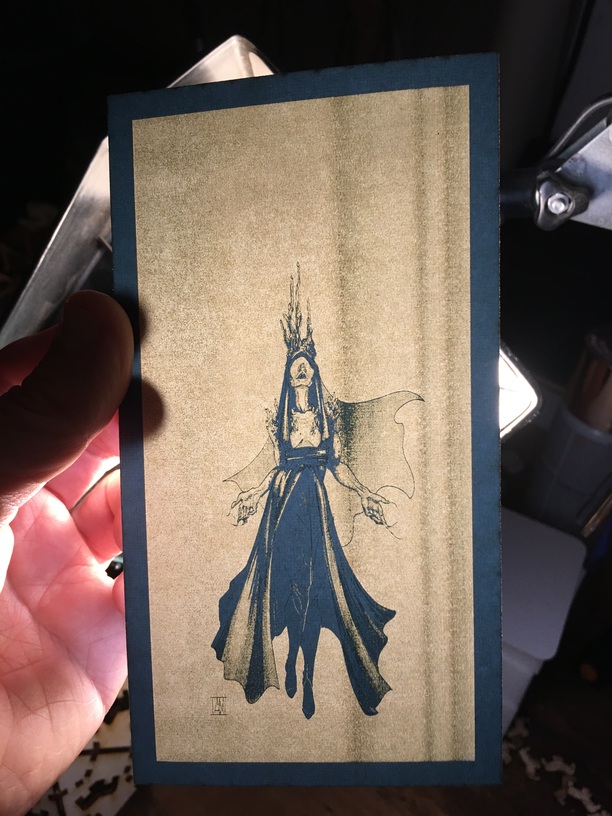
OH, and also, it looks insane backlit. I’ll see about photographing that.
Wow! I can’t believe the shading and detail you were able to get. This would looks so awesome in a shoji lantern and it would be especially cool if the images could spin. Nice work. (As always.)
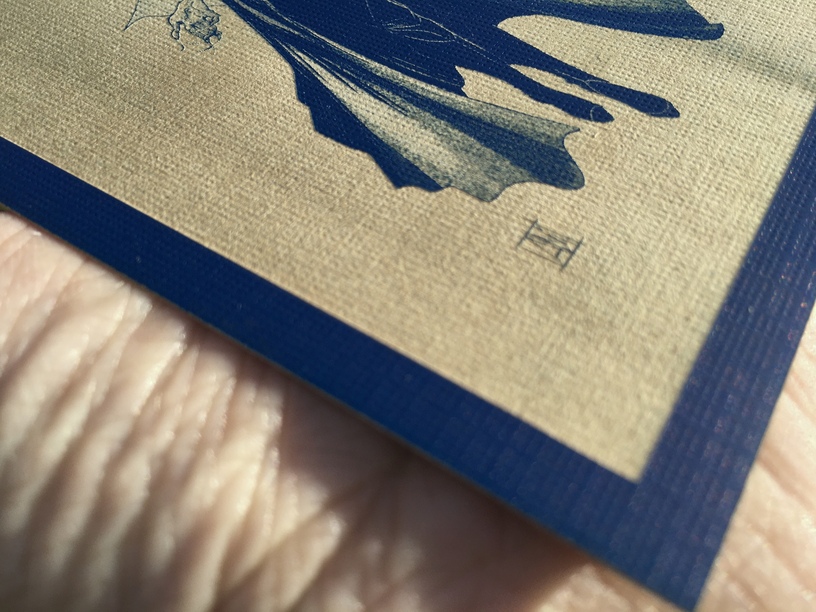
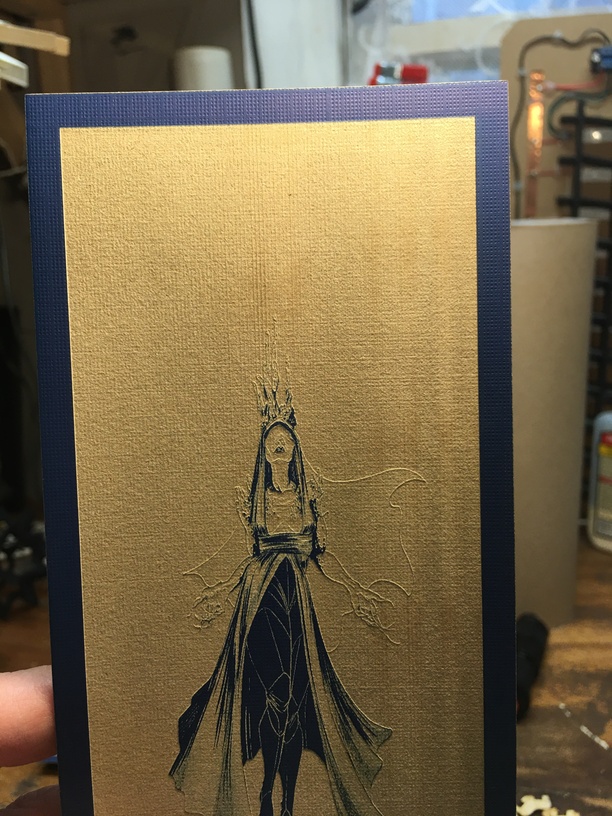
Without getting into settings, it was about 30 mins to do it, comparable to any other medium lpi engrave. It’s 3x6" engraved area, and 3.5x6.5" overall.
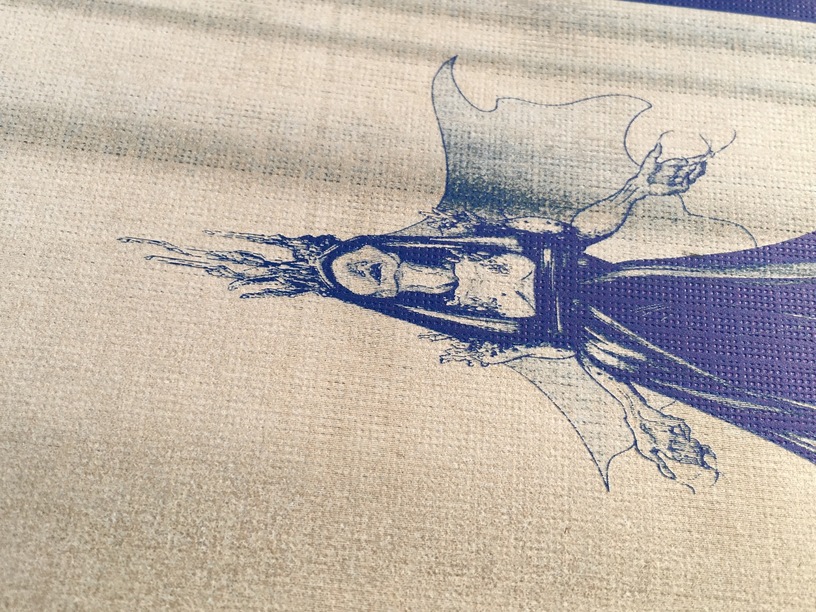
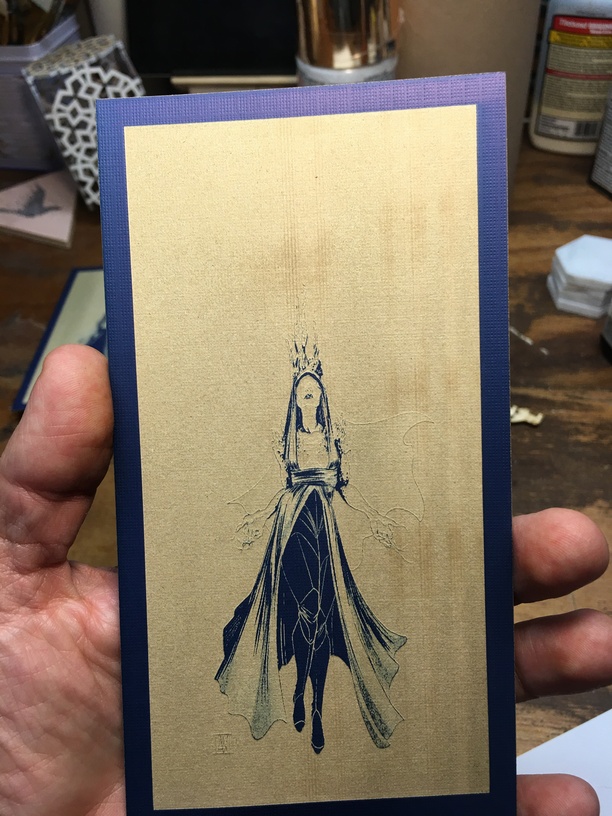
Oh yeah, this one is much better backlit! Her dress has so much more detail in it. Too bad you can’t have the best of both worlds and could preserve some of the blue in the front engraving and maintain the clarity of the second one. I wonder if you could find a good middle ground by splitting up the engraving into a couple of separate sections that could be run separately? (Background, dress, thin outlines of arms/cape etc.) It’d be a real pain in the arse, but an interesting concept.
So, in theory, you could make your own engraved monogrammed stationery too. Really cool (although personally, I’m really liking the backlit lantern idea).
I kept staring at it trying to figure out how you painted it blue. Took me until the last sentence to figure out it was blue cardstock that you engraved away showing the white. Sometimes I can be pretty slow LOL
These are really wonderful. I’m glad to see what you did…I’ve been using cardstock more and more lately…and have a pad of two-tone stuff very similar to what you’re using. I am inspired.
I think the bonus here is that you’re really operating at high speed and low power, so the paper doesn’t char. I’m not sure if matboard would do the same. Unfortunately I don’t have any; I almost picked some up the other day, now I wish I had!
You have to really get the settings dialed in or you’ll brown the underlying white core. It’s definitely an iterative testing process (& one where I curse the arbitrary power & speed units that make it hard to shave off 10% of the last attempt’s settings ).
I also found that the settings changed by top color - I think there are slight variations in the thickness of the top paper based on the color. I would get a nice white exposure on one color but then get toast using the same settings on another. And it wasn’t a dark vs light color thing - navy blue settings on black gave me toast color but navy blue settings on dove gray gave me a paler light toast/mottled white.
Doesn’t that make sense? The black would eat up the laser energy more efficiently than dove, in theory. I mean we’d have to know the albedo in the co2 laser frequencies, but I suspect the dove color is more reflective to the laser than the black given your result.