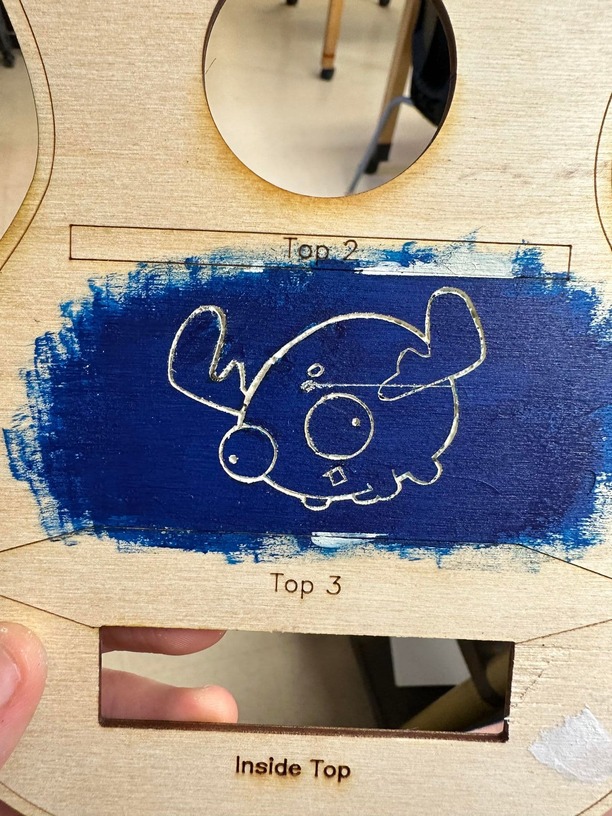
You will probably never get great results, especially engraving on plywood. The paint will soak in in some places and remain on the surface in others. I have had better luck with spraying a few coats of a clear sealer before painting, but they are still less that stellar.
Have you tried just scoring the masking, weeding the image and spray painting? If you are going to varnish/shellac the finished piece it would give you great results.
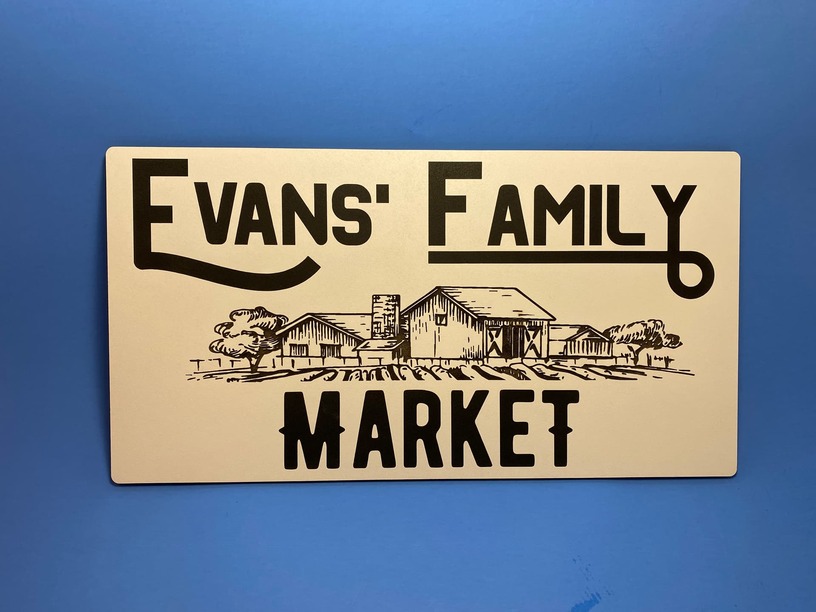
This is an example of both scoring and engraving. The sign was first painted white and then masked. The text was scored and the graphic was engraved. After it was scored and engraved I removed the tape from the text and painted the entire thing black. When everything was dry I removed the remaining masking a clear coated the whole sign.
This is also a pretty good candidate for a veneer/engrave inlay. You can do pretty fine details that way. I’d use raw veneers, not the proofgrade stuff.
Inlay in general looks really classy, really steps the design up. You could do it with solid-colored acrylic too, as a through-cut inlay. This is a slightly tricky through-cut inlay because it’s got shapes inside other shapes, but it’s attainable. Done well it would make people stop and gawk.
A engrave/powder inlay would also work well and is much less technical to pull off. Check out previous projects involving mother-of-pearl and glow powders. It can work so well.
Mother of pearl (veneer and powder projects)
Glow in the dark powder:
@evermorian took that concept and really knocked it out of the park with these:
Spraying or brushing clear poly on after engraving will help prevent bleed-over into adjacent wood fibers. You have to experiment to find what works best for your material.
Just about any of the generic masking will work just fine. If you’re engraving then painting on pre-masked, pre-finished Proofgrade woods, that works just great as well.
Not sure I’d recommend the wood glue technique on anything porous. Works well on tile, plastics, and acrylic, but I don’t know how you’d get it off of rough stone or wood.
As for traditional masking and Baltic I think you’re never going to get a great result with any paint that the fibers will absorb. Sealing the wood first is the way to go.
That said if you really want to keep trying traditional masking and can’t get the masking to hold well enough you might like this post about getting a better masking seal on woods like BB ply.
I mask with 12" paper based transfer tape and roll it out with a 6" hard rubber brayer to eliminate air bubbles and ensure optimal activation of the adhesive.
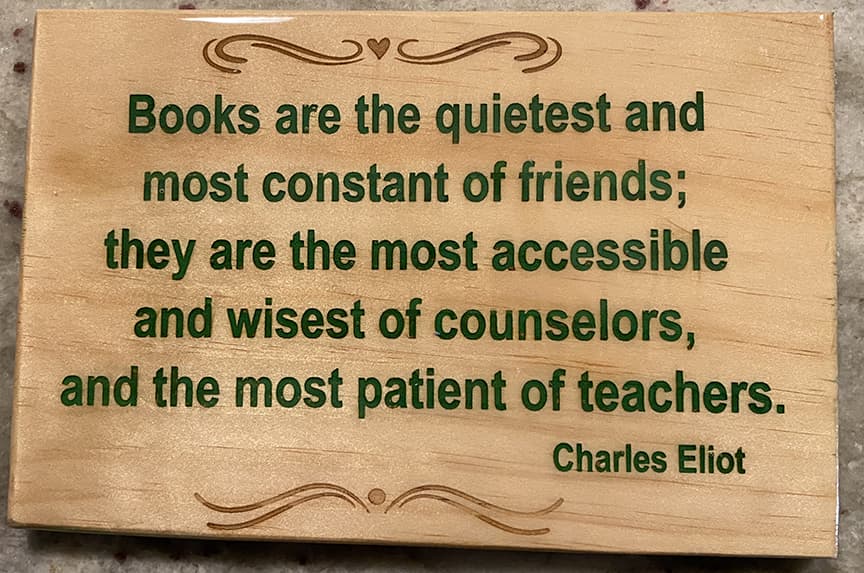
Here is my technique. I use shellac to seal the wood from the acrylic. Using a brush, work the acrylic into the engraving making sure the bottom of the engrave is covered by the paint, wiping the excess with a damp paper towel as I go along. Since the acrylic drys very quickly there will be some left on the shellac surface. Using a cabinet scraper, scrape the shellac surface enough to remove the excess acrylic. It is not necessary to remove all the shellac, just enough to clean off the excess acrylic. Finally do a resin pour over the entire surface. The result is a beautiful, shiny surface.
It’s a little more expensive per oz than the stuff at Lowes/Home Depot, but for small/one-off projects it works just as well.
I’ve worked with epoxy resin for almost 30 years. There’s nothing magical about any of them. Just that slow-cure generally dries to a harder, glossier finish than fast cure varieties.