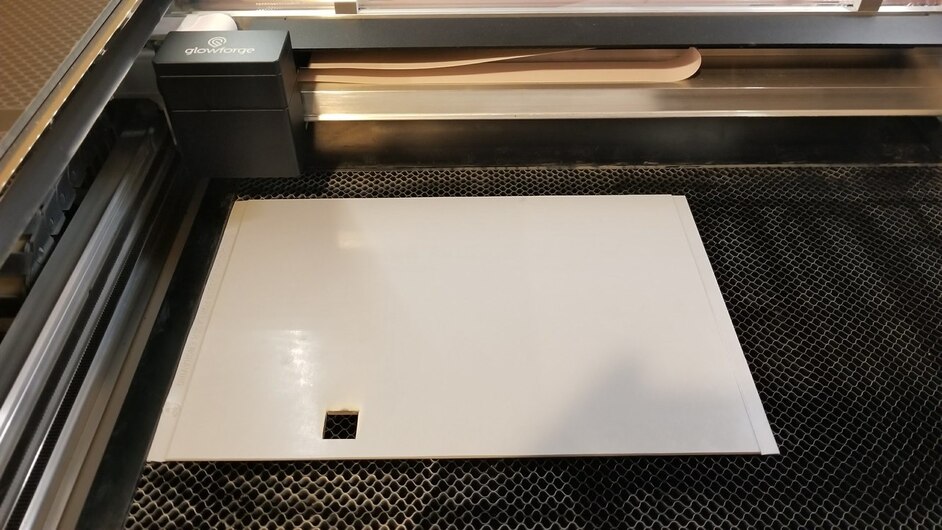
I need a rubber stamp with my name and title on it to help speed some documentation at work. I picked up a sheet of “low odor” rubber from Johnson Plastics and got to work. The item number is RUS001 if anyone is interested.
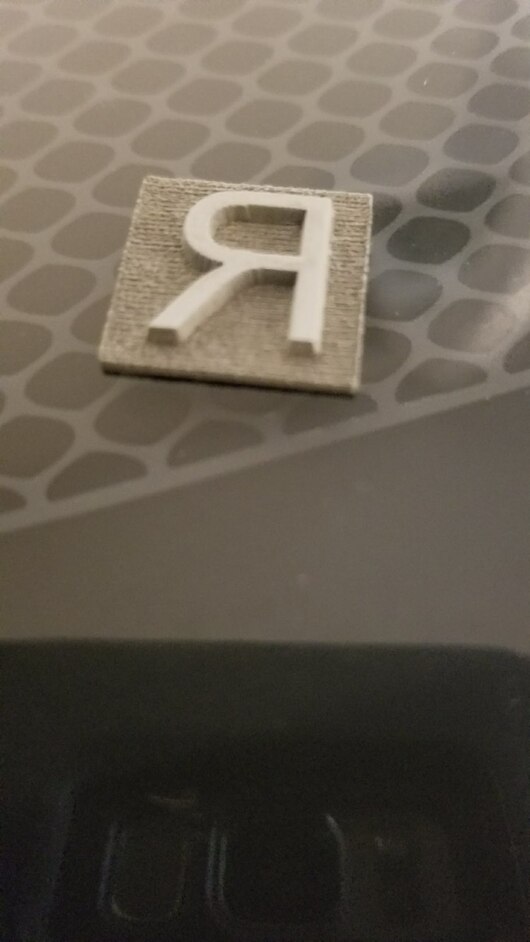
The first thing I learned was that “low odor” is a subjective term. VERY subjective. Other than that, the material itself was good and consistent. I did an “R” (and then flipped it horizontally) to test it on inkscape, and it was pretty easy. I used two different colors, and the GFUI wanted to engrave them both. Since they were different colors, the GFUI wanted to engrave them in different steps, so I just told it to ignore the step where the “R” itself would be engraved, leaving only the other step which cuts everything BUT the R.
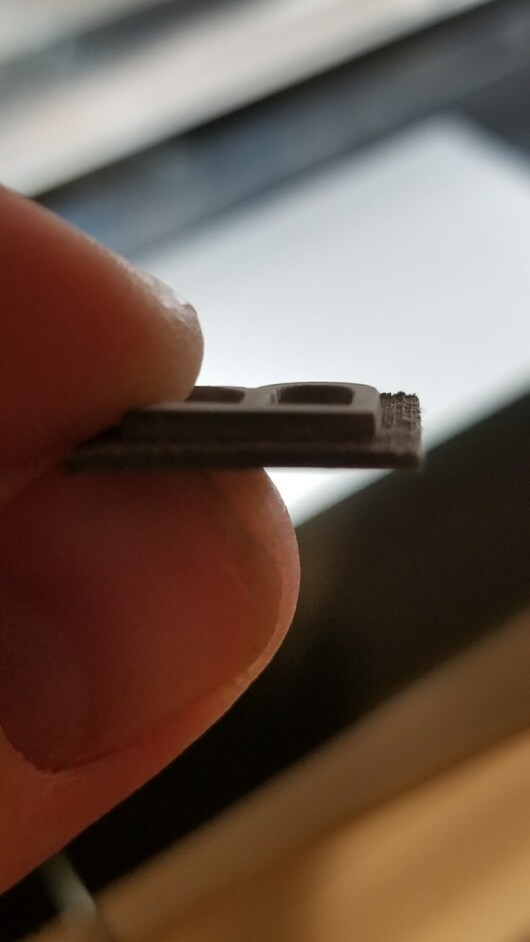
For settings, I found another post here from earlier and found the settings worked pretty well. I used 70% power at 340 speed, with two passes. To cut, I used full power at 200 speed, and I got a nice clean cut.
Attached some photos so you can see how it came out. Make sure you are well vented, or maybe try the “No odor” variety of material, because it smelled like, well, burning rubber…
That’s mainly why I posted. I had some difficulty finding settings to use as a starting point, so I hoped others would find it helpful. I mean, who doesn’t need a stamp?!
Now, if in the future you want to make stamps with really thin lines, keep in mind that you would need to create a greyscale image with a ramp to white (unengraved surface) so the base of the figure (next to the engraved area) would have some support. Otherwise the thin parts would wiggle when you tried to stamp them. I hope this makes sense.
It totally does. I’ve actually used the exact same technique to create what you just described. I didn’t post it here because it has a lot of personal detail, but it’s done without the type of gradient support you describe. If it wobbles when I stamp, I’ll try the greyscale ramp you’re describing and update the post. Based on Leahgee2’s input above, it may be that I don’t need to cut quite so deep as well. Nothing teaches so well as failure :^)
And for those who want to learn from other people’s experience as well, I’ve linked to posts below. Note that settings in earlier posts may not be applicable because of changes to the power settings over time. (Links to ‘Beyond the Manual’ do not display the same way as links to ‘MOAG’.)
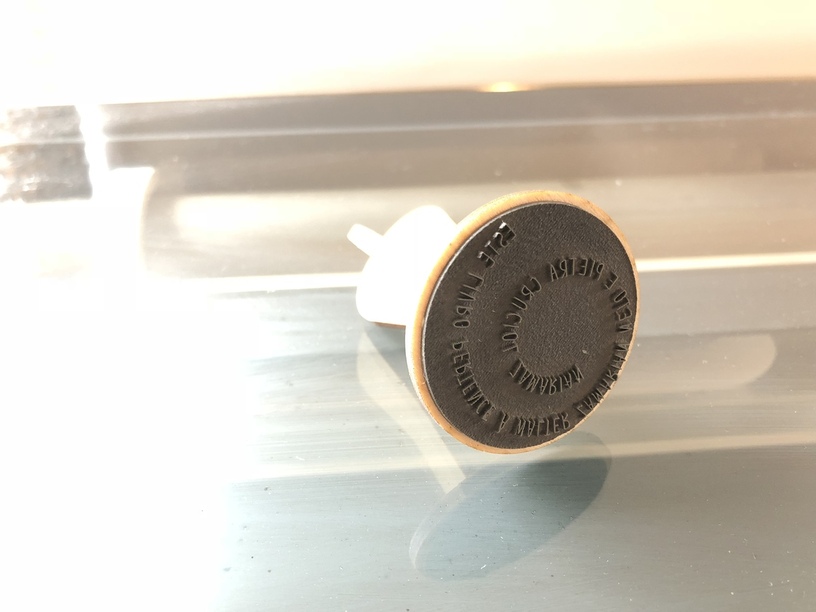
In testing my real stamp (the one with all my personal details on it), I found it did wobble a little, but with even pressure it worked very well. That said, I’m going to cut another this weekend with the font bolded so the letters themselves are thicker. With this particular rubber anyway, I do not feel the gradient support is necessary. Your mileage may vary.
Well done! Just received my Glowforge recently and am interested in making some rubber stamps. What is the best design software for rubber stamps. Are there any tutorials available to help me get started?
And used the settings he mentioned, worked perfectly.
For the engrave and cut I did two passes ! (the cut just to make sure) or you can try reducing the speed of the cutting part.
I see that though it’s Chinese origin, they say item location is GB, and a delivery in three days.
Is that your experience, with a quick delivery ? I’m assuming your UK based because of the link !
John