Hi, I’m hoping the GlowMind can help me out with something here quickly. I’m working on engraving some 1/4 baltic birch. I’ve had really good results in terms of depth and definition just going at it with a setting of Max/Full/1 Pass/270LPI on a Pro, but I was wondering if anyone could recommend changes to those settings that would reduce the amound of burn on the bottom of the engrave (less worried about the sides of the non engraved sections, if that makes sense). Basically just looking for something that be a lighter starting point for applying brighter colour stains.
I’m a bit wary of spraying it with hydrogen peroxide or DNA to remove the char, as I don’t want to inadvertently remove the mask around the engrave. Thanks!
I’ve read doing a last pass at a very low power may just remove the char without leaving any additional char. No idea how well it works in practice.
PrintToLaser recommends soaking in alcohol for 15 or so minutes. I’d be going with a 99% IPA or a methanol/mix. As this would probably defeat your wanting to keep the masking in place you may want to consider cutting out a second mask from a masking material and use it in conjunction with a jig to reapply the mask. I haven’t had the greatest luck in keeping paint from wicking up underneath the masking so I am growing a bit cynical about it for that purpose. That said, I also need to do more experimentation here.
And beyond that, some meta learning: Baltic [ply in general too] doesn’t love going too deep or you hit the middle layer which can blow the fidelity of your whole engrave. The middle layer can have weird textures that can make your globe have knots in the ocean:
Or it can cause your darks to “bottom out” and get too dark for the rest of the engrave (note the dark hair on left. Muddy and too dark):
Properly powered though, you can get good fidelity and grading:
and here:
… and that’s just what I’ve posted. Search around, there is more than you will know what to do with.
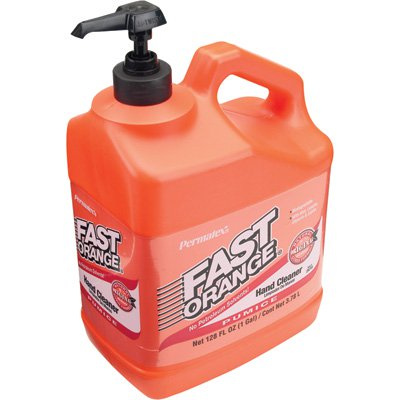
The best thing I’ve found for removing the charring is use a toothbrush and this orange hand cleaner with pumice.
Apply some onto the toothbrush like you would when you put on toothpaste. Brush it into the engraving and then wipe off with a cloth. I quickly clean the toothbrush and with the clean toothbrush (that’s just a little damp), I’ll brush over the engraving again to get any residue out that might remain. Try it and see what you think.