Hacking Illustrator (and CorelDraw) to make dashed lines for folding/tearing

Personally I’d expand the dashed lines (to rectangles), direct-select (shortcut: A) the lower half of the rectangles, and delete them, which would leave you with the strokes comprising the top half. You’d then move them down by 1/2 the stroke width. This only works for straight lines, though.

I believe you can do something with pattern brush & symbols, then expand the symbols, too.

5 Likes

That really works very well - just tried it. :smiley:

(Update: If you have a closed shape it works even better - you can specify that the stroke fall on the inside of the shape, make the rectangles as thick as you like to make them easier to grab, and you don’t have to move the dashed lines when you’re done.)

3 Likes

That is fine for simple shapes.
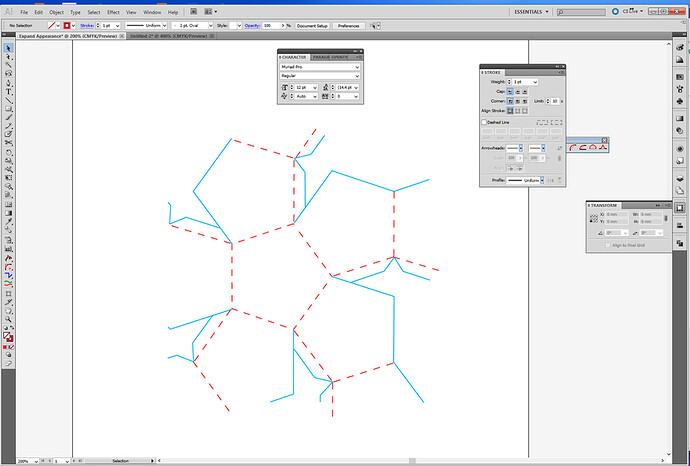
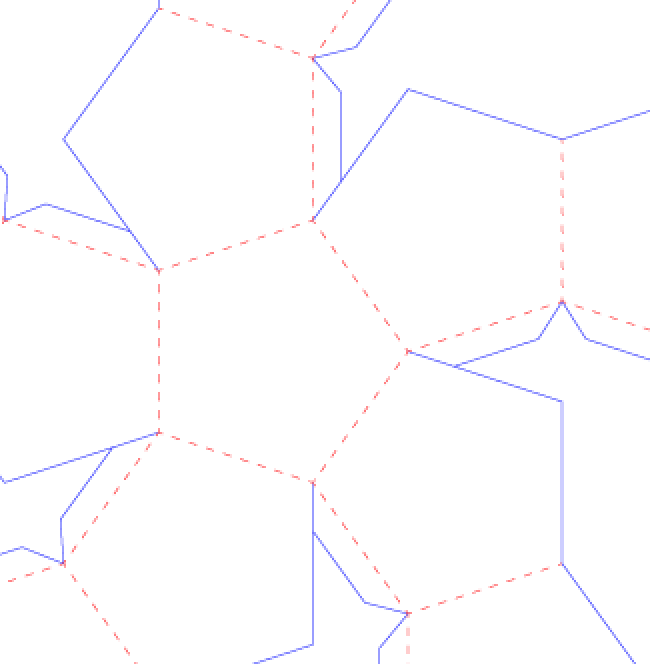
But, unless I am missing something, how would you do the dashed lines in this?

That is what I was doing when I figured out the programmatic method above.
Works great!

5 Likes

For those less familiar with Illustrator - this is what Dan is talking about doing:

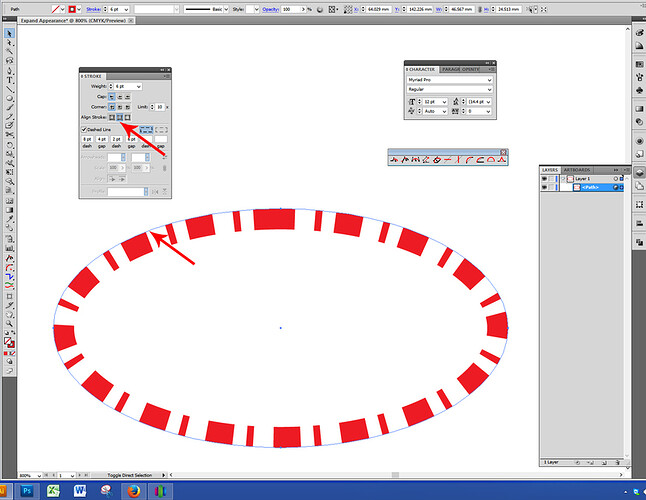
  1. Create your shape, zero fill, and set a dashed line for the stroke. (If you make the stroke fairly thick, it’s easier to grab.)

  2. If you’re working with a closed shape, align the stroke to the inside of the actual shape:

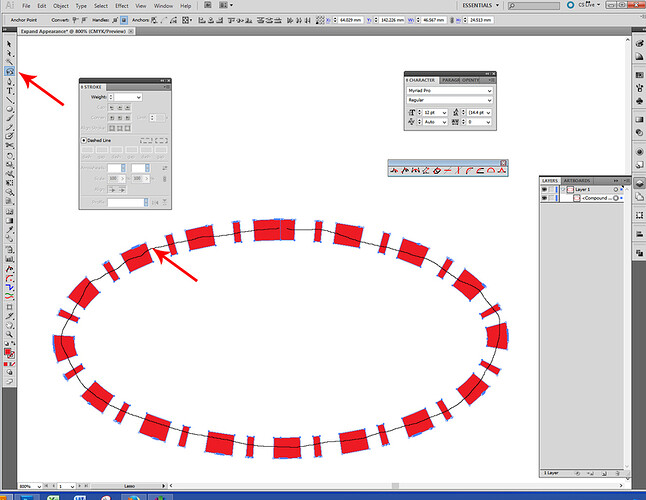
3 . Select the shape, choose Object > Expand.

4 . Draw a line halfway through the dashes, using the freeform selection tool:

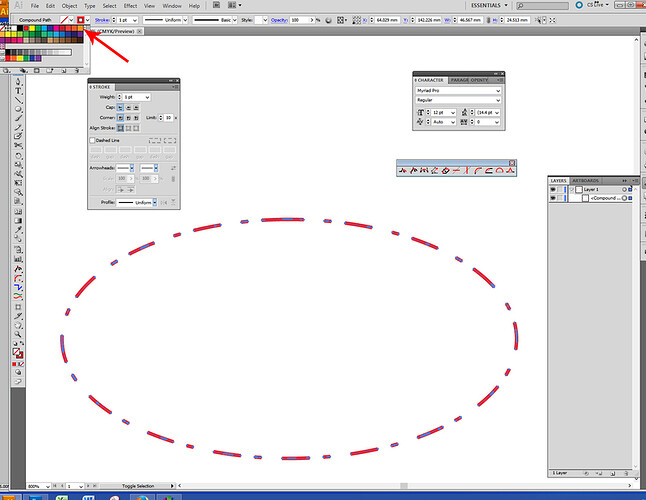
5 . Delete the selected points.

6 . That’s it! (You can turn off the default infill for the strokes and set a stroke color, but it’s essentially done.)

5 Likes

I love a challenge…:smile:

1 Like

Heh, I am definitely too lazy to do that. :slight_smile:

5 Likes

Played with it some more and discovered something interesting, but it only works on straight horizontal or vertical lines.

After you have created the dashes and expanded them into the little rectangles, (using either Expand or Outline Stroke) you can select them and just set the height (or width) to zero in the Transform Palette, and it turns them into pure strokes, centered exactly where you need it centered.

So that eliminates a few of the steps.

But zeroing the height/width is not going to work for your dodecahedron…

For that…your method works great, and it’s now been officially incorporated into my “Toolbox of Tricks”.
(All other methods are more work.) …:smile:

4 Likes

:thumbsup:

I went there too. I even tried rotating the entire drawing over and over so each line was horizontal or vertical. That was a big pain.

I went through many iterations of “what if I do this and then that” before I hit upon a fairly easy and reliable one. I am sure there are other better ways, but having found one I stopped looking. :slight_smile:

2 Likes

I’m surprised Illustrator doesn’t have a simple centerline function yet.

1 Like

Since the software is mainly intended for design/illustration work, I am not sure it would be very useful. The dashed lines in their native format have a centerline and retain better accuracy. This is really just a hack so we can use them for our own weird purposes.

3 Likes

True. :no_mouth:

1 Like

Hey cats and kittens; Illustrator guy, here!

I happened to catch this thread and, while I applaud Jkopel’s clever method of creating lines, I wanted to pop in and let you know you’re beating yourself up with extra work and to save you some time in the future.

So here’s my handy dandy dashed line method, sure to make you hate making dashed lines a little less:

Step One:
Draw a dash!

Adorable, right?

Step Two:
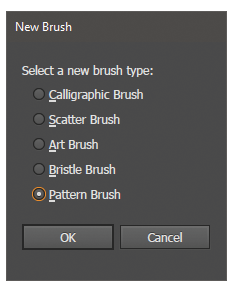
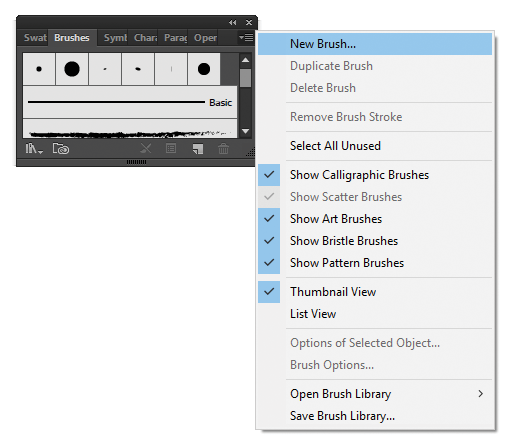
Go to your brushes menu and select “New Brush…” then Pattern Brush
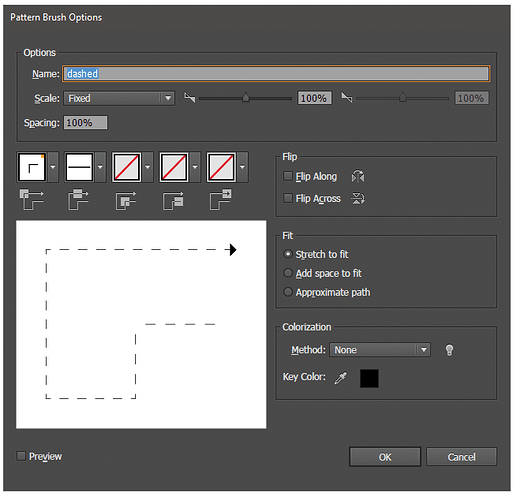
In your Pattern brush menu, give it a clever name and set the “spacing” attribute to whatever percentage looks best to you (I went with 100%) then hit OK:

Now you’ve got your super sweet dashed brush. Let’s try it out!

Step Three:
Draw some shapes!
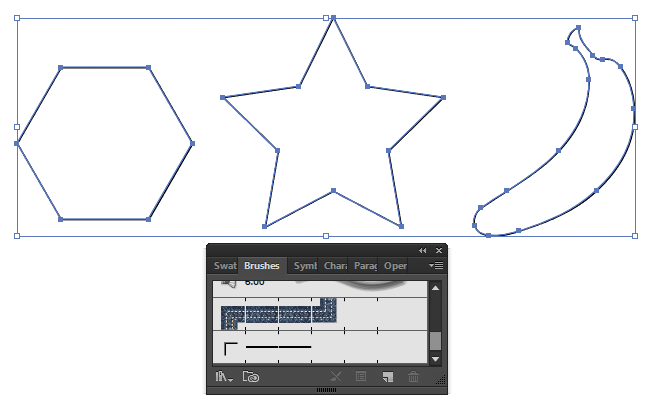
Then click your brush to apply it
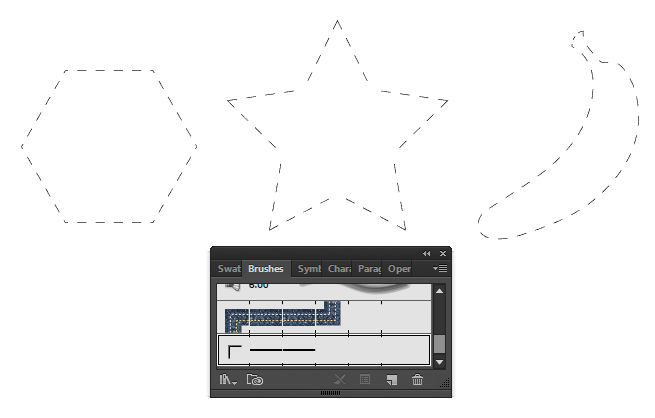
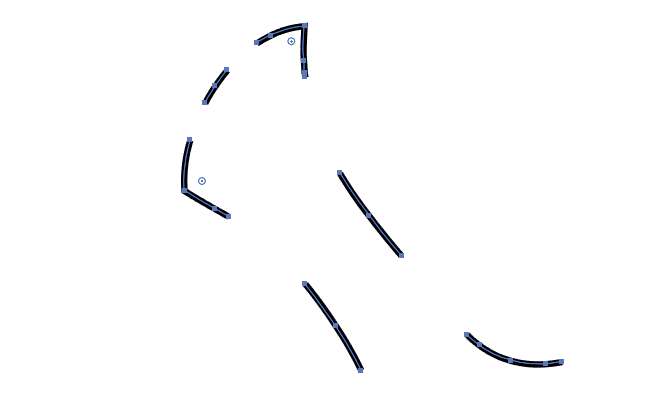
And now, when you go to object>expand appearance, you get centerlined dash segments, even for unusual curves
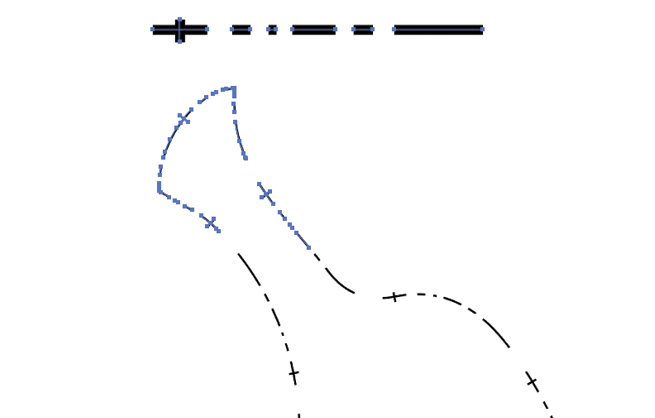
And the best part is, once you have your dashed brush, you can keep it and apply it anytime you need another fold line. You can even make a variety of styles of dashed brushes for the various uses they have. you can even get really ridiculous with them if you’re so inclined, like this:
Hopefully, you’ll find this saves you a lot of time.

52 Likes

Ooooh! Advanced stuff! :heart_eyes:

(This is why I keep buying new toys - always cool new knowledge to pick up along the way! )

Muchas Gracias! :smile:

1 Like

Hell yes that is amazing, it even works in my ancient CS5.1.
Thanks so much!

4 Likes

Happy to help! If you run into any other illustrator things like this where you just know there must be a better way, feel free to shoot me a message. I may not have much experience with lasers yet (DAN) but I’m an old hand at AI and might be able to offer some shortcuts.

6 Likes

That was amazing Likeable (not a jerk)! This is why I love this place: everybody is so generous with their knowledge.

2 Likes

That’s great, thanks!

I know nothing about illustrator, but I know I primarily use dashed lines (rather than a shallowly cut score line - I don’t know if this has a word or if I’m using the right ones) for fold lines when I don’t want to change the cutting settings on the cameo because it’s slow, requires 2 cuts, and I’m lazy. Is there a pro of dashed lines over score lines for folds? Like, are dashed lines stronger? Are dashed lines also faster of the laser?

Reinventing the wheel is standard MO. It sticks better if I slap it into me…

4 Likes

I certainly understand that. I’ve been teaching myself illustrator since back in the days of AI7 so I’ve done my fair share of banging my head against the wall. I’m starting to think this whole “self-taught” thing might have been a scam; turns out my teacher didn’t know what he was doing, either.

8 Likes