Prototype Quick Disconnect Magnetic Vent Hose Coupler

I really was caught unprepared to physically receive a Glowforge. I was ready in terms of design ideas, workflow and materials but other than putting the exhaust hose out a window, I didn’t really picture what I was going to do. Luckily the few weeks before I had transformed the basement office into a work room and had picked up the table and gave a few thoughts to the window situation.

I procured a piece of Celotex from a parishioner and used a 28 oz. tomato can to pierce the two layers of Celotex and hooked the hose to vent out of the window. So that took care of the quick solution. Over time the spring in the hose loosened where it connected to the can and I needed to find a way to clamp it down tighter. But I wanted a disconnect too.

With zero temperatures, I needed to disconnect the exhaust hose overnight to keep the cold out of the room and out of the Glowforge since I didn’t have any in line dampers or check valve.

I knew what I wanted to do, but couldn’t find the neodymium magnets I had purchased a few months ago on sale. Finally found them so I spent a little time designing this project: This might help folks think through their venting situation if only to show them what they shouldn’t do!

VentConnector.svg

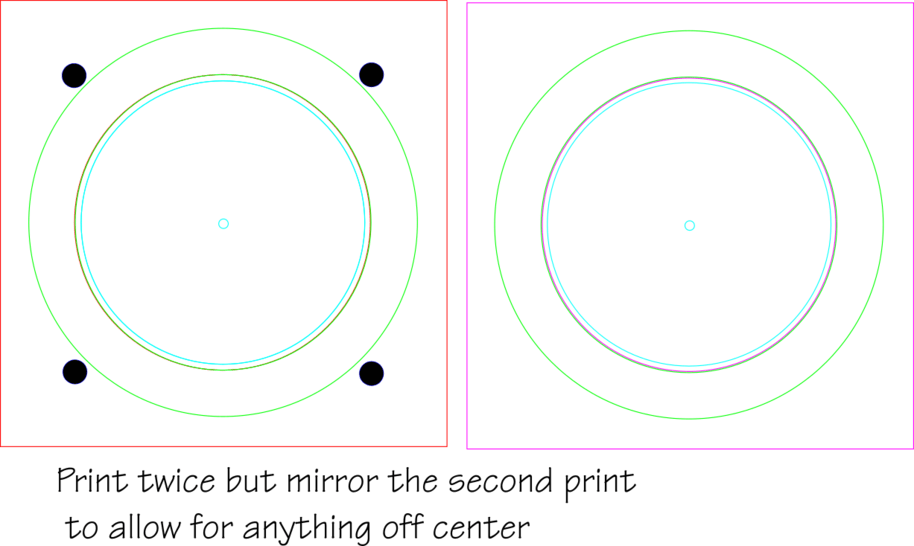
This file will serve for several operations.

  1. Engrave the pockets for the rare earth magnets. Mine were 8mm diameter and 3mm thick. I put a shallow pocket in one flange as a test. It worked out perfect to press fit the magnets in. I scored around the engraving hole to define it even more precisely, not sure if necessary.
  2. Cut the inner circle for the can to go through. The center hole in the wood of the surface flange with the magnets is made to press fit into the can lip/ring. The center hole in the backing flange (without the magnet holes) is cut slightly smaller so as not to go past the lip/ring of the can. You need to cut a can in half to get it to fit.
  3. Glue the surface and back plates together positioned on the can. I found that gluing them off the can caused the wood to swell just enough and glue to seep out that I had to do some sanding and cleaning out for them to fit back onto the can.
  4. Epoxy the magnets in. Make sure you clean off the char before using the epoxy or you will learn how to make black epoxy that doesn’t come off your hands. Also, most important, make sure you put the magnets in correctly to insure that polarity is correct on all four magnets for the mating flange.

Here’s something that might have worked, but didn’t take care of backflow.
Here are some photos that explain some of the issues I worked with.

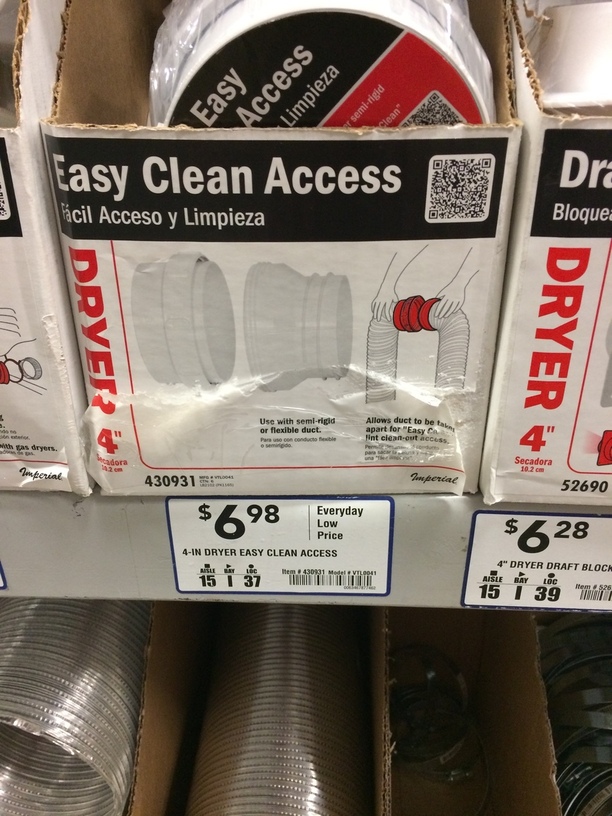
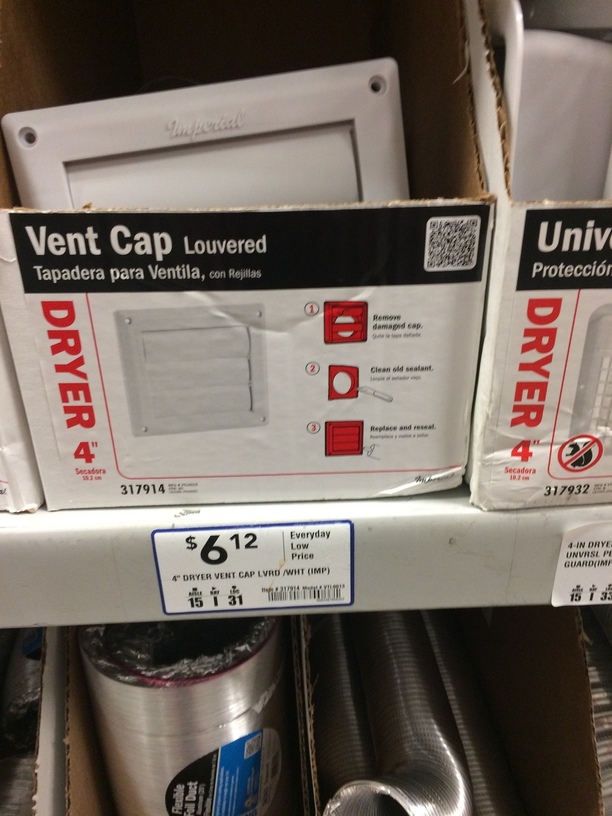
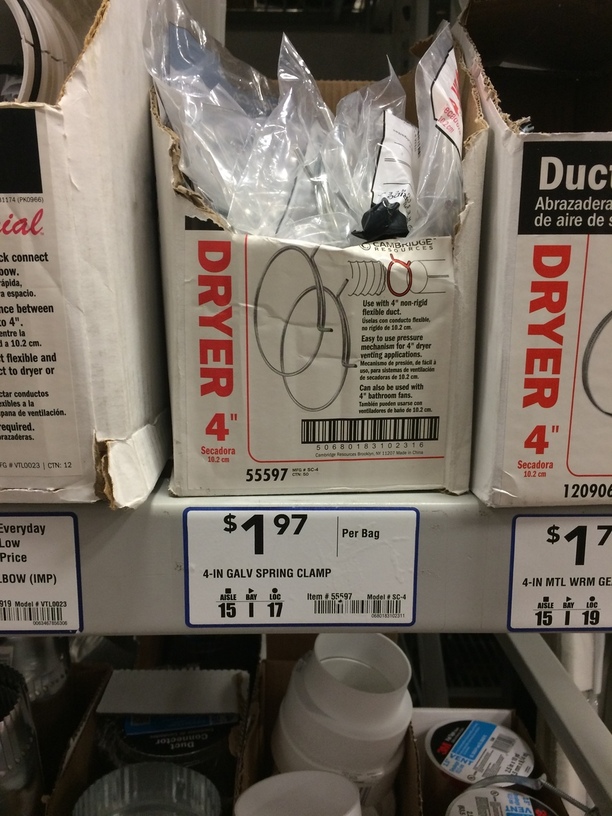
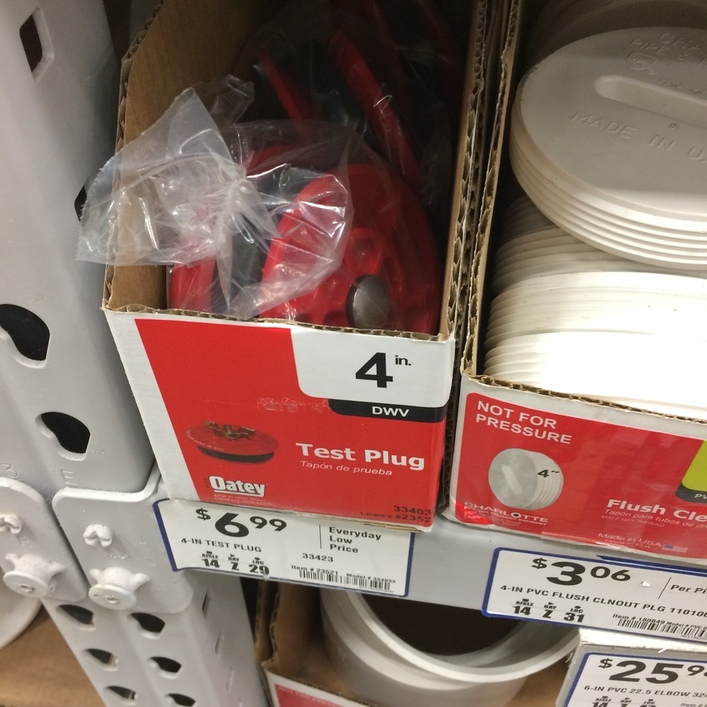
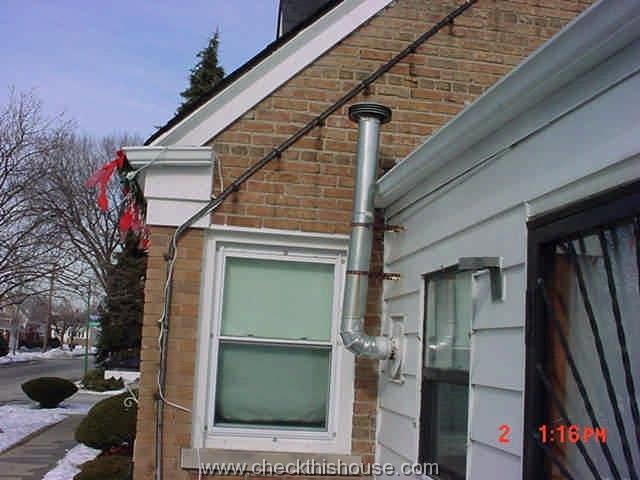
Here is what a normal person might buy.

But then you have the outside issue to take care of with the back flow installed damper installed. I also don’t want to impede the airflow at all as it exits, even with a free swinging damper. Maybe that should not be a concern.

Here are the two plates assembled and glued. Note the messy surface of the plates. I didn’t mask the plywood I used and then the epoxy and char can make a mess. Note to self: clean the char edges thoroughly before attempting to glue anything. Note the leather gaskets I cut. It works pretty good as a mating surface. I put some udder balm on the gaskets to give them a little more resiliency and make a better seal.

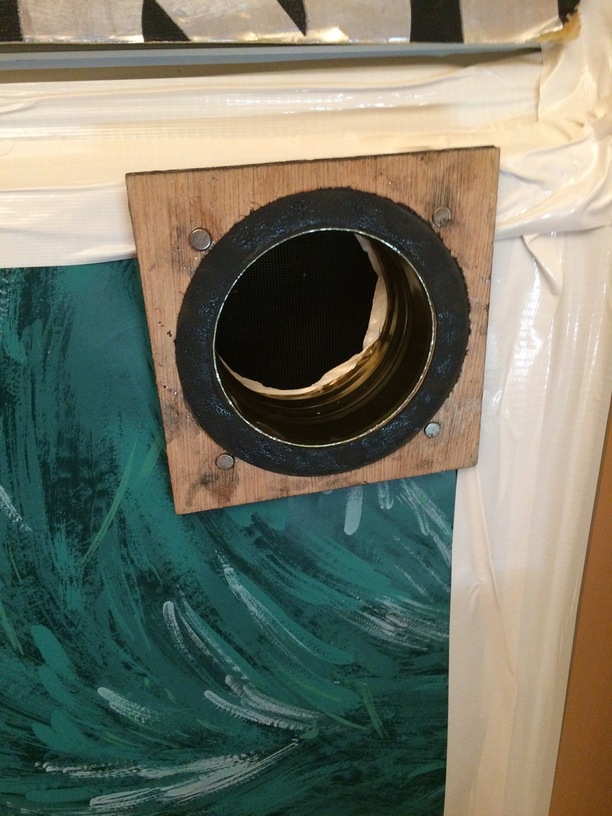
The window plate is installed.

And the two ends are mated. I need another hose clamp or a zip tie to keep the hose fastened tight to the coupler. I think I have a zip tie somewhere at the office big enough. Or I could buy a hose clamp. Hose clamps are my preferred method because you have control over how tight the connection is.


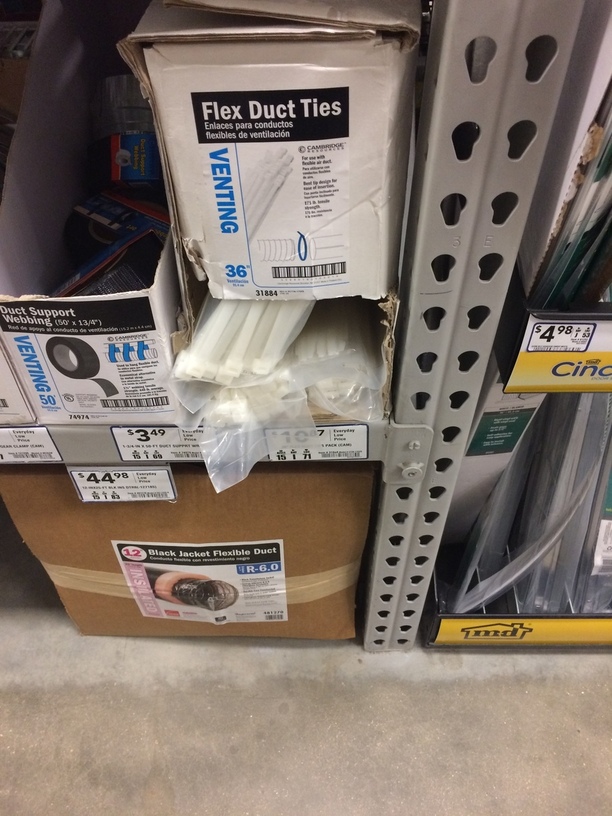
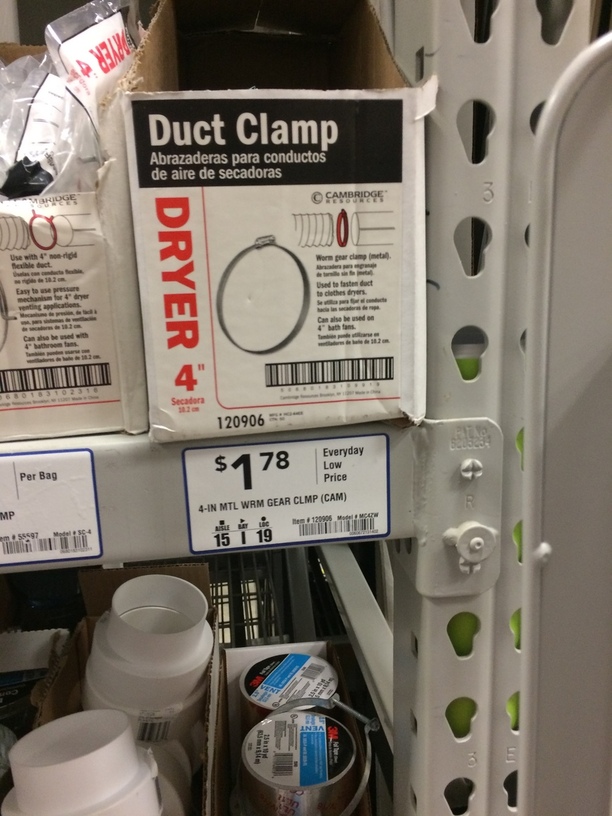
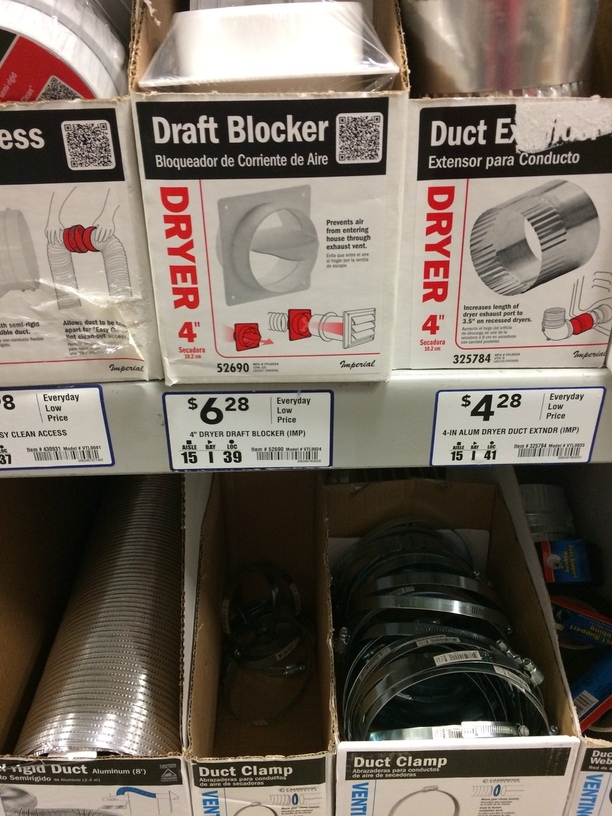
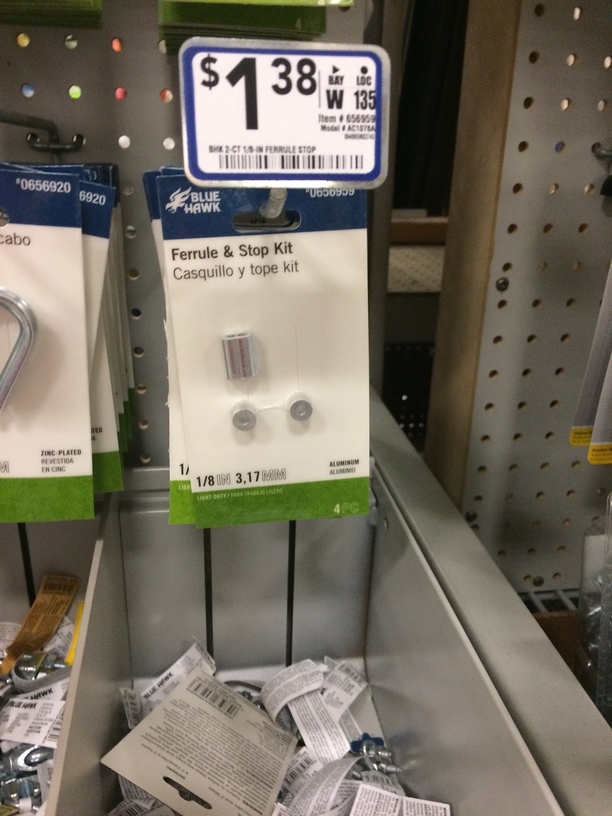
Or you can get one of these:

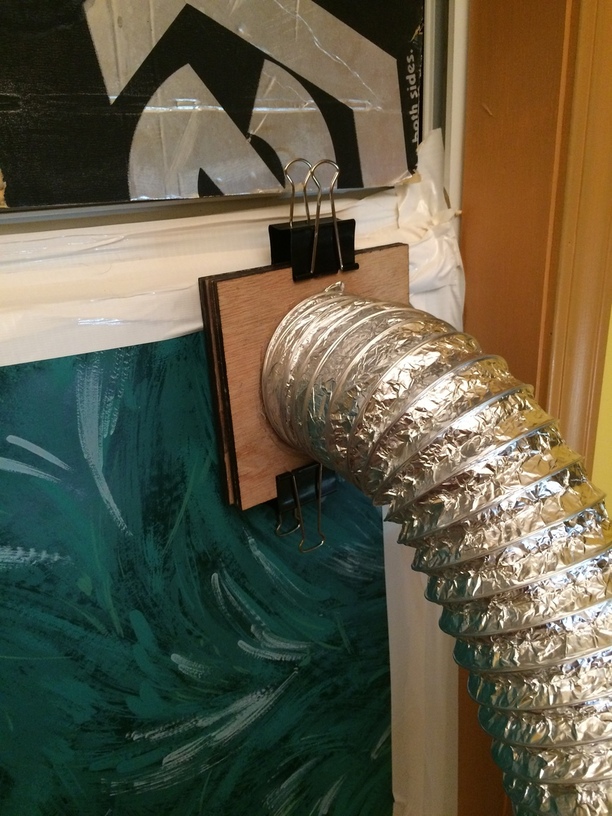
Here is the coupler in action. It didn’t hold very well. Somehow I had put in one of the magnets the wrong way and was getting three pair sticking and one pair repelling. I had tried so hard to keep them straight, but they kept jumping around. So I used some binder clamps until I had time to come back and turn that one magnet over.

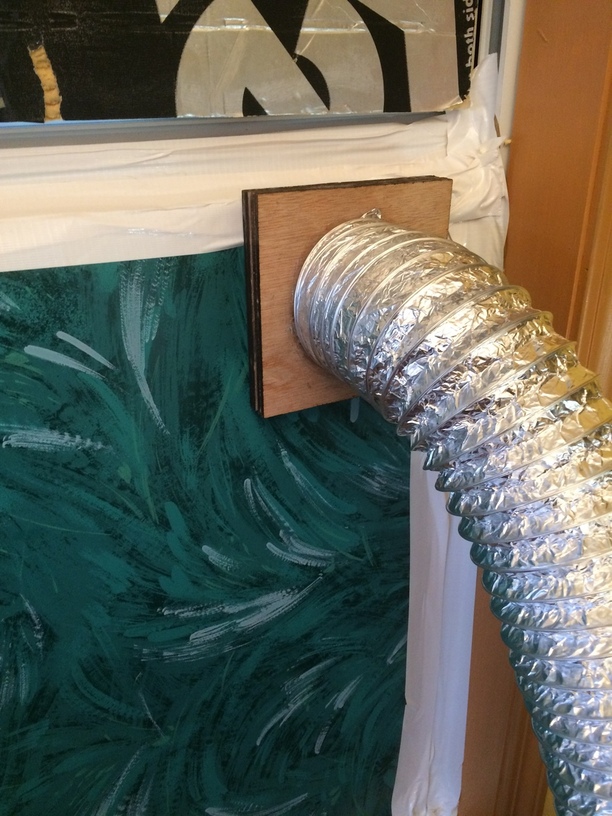
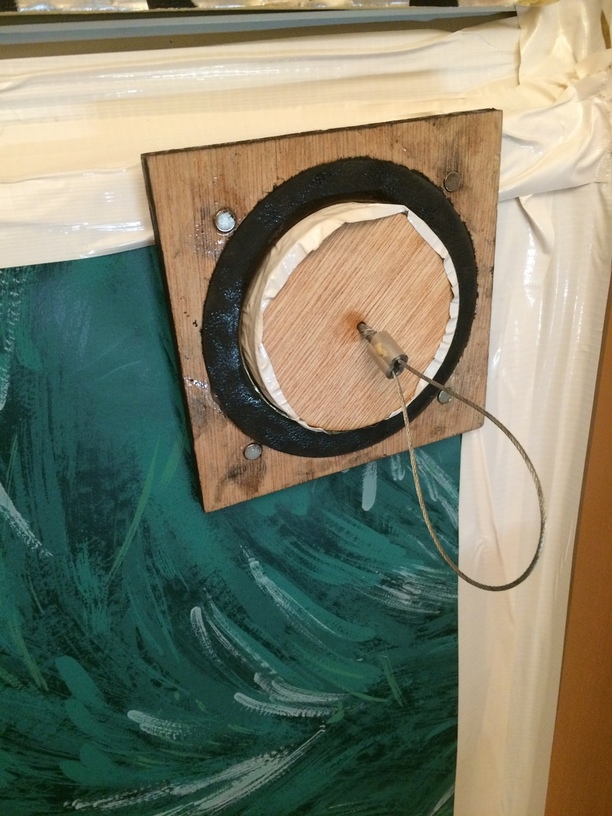
And here is the final fit. I used some silicone to adhere the back plate to the Celotex and seal any gaps.

Final thing was make a plug to put in when the hose is disconnected. A store bought plug costs money.

I thought about a nice ring bolt to put through that would be pretty sturdy. I could have just used a coat hanger and a piece of wood.

But I decided to use cable (23 cents for a foot of it) and ferrules to make it sturdier. The top and bottom are off wood cut out from the cutouts of the surface and back plates. The center is the two cutouts from the Celotex from inserting the tin can.

Here it is working pretty well. Haven’t checked for air gaps or anything, but it feels pretty tight right now. I probably should neaten up the duct tape wrapping the Celotex for cosmetic purposes.


It is probably better than the insulation in my house, which is minimal. The Celotex over the windows is always warmer than the walls of the office.

Improvements: I need bigger magnets or more of them. They do hold ok and keep the seal pretty tight, but a slight knock on the hose might disconnect it. Also, I engraved the recesses for the magnets in one surface plate deeper than the other, not thinking about the thickness of the leather so the magnets don’t quite touch. That’s ok because it puts force all the way around on the leather, but it does decrease the holding power slightly because the magnets are separate. I might dig them out of the deeper holes and re-epoxy them a little more.

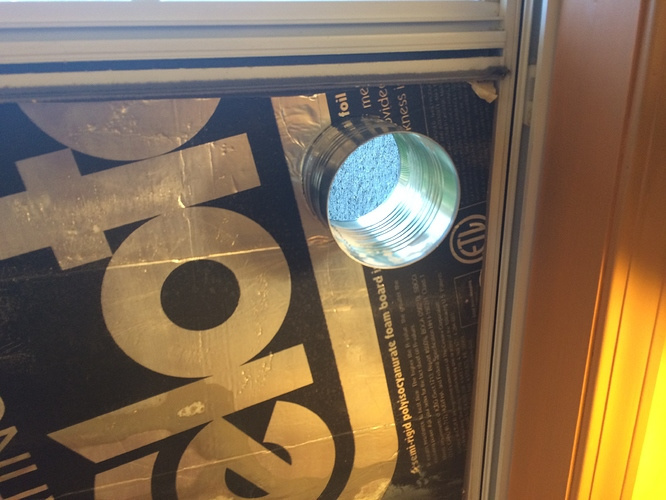
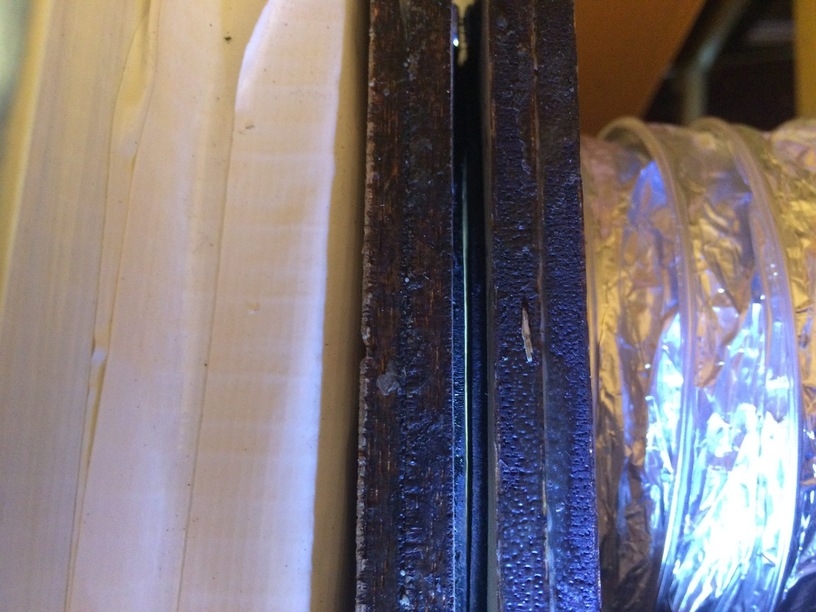
Here is the connection. The slight blue tint is the leather and at the top you can catch the glint of a magnet and the space between it and its counterpart.

Will see how it works for keeping cold out when disconnected with the plug in, and keeping the exhausted vented when coupled.

78 Likes

Fantastic resolution to your vent set-up…and a great blow-by-blow description. You are an inspriration!

7 Likes

Wow looks great!

One question though. Did you consider making another plate (sans hole) with magnets to use as the cover when the hose is disconnected? It seems like that might be easier to work with than the plug since the magnets would pull it in place and align it just like attaching the hose.

I’m guessing the answer might be trying to be economical with your materials, which would totally make sense, but thought I’d toss the idea out there just in case :slight_smile:

14 Likes

Nice documentation of your process. Thanks for the details.:thumbsup:

4 Likes

I kept thinking I need a thick plug, something that blocks the cold air. You have a great point, I could just make a plug and glue it to another plate. I could even engrave something cool on it like @tony did with the sewer cover engraved coasters. Would have to get some more magnets though. Lowes, where I bought the cable and ferrules and looked at what was available for ideas does not have any rare earth magnets. Two associates I talked to were unsure of what I was even asking. Neodymium even perplexed them more. JoAnns salesfolk were likewise stumped. I’ll have to check out @dan’s online supplier.

11 Likes

This is awesome! The first thing I printed on my giant chinese monster when I first got it was a window adapter, but it wasn’t nearly this clever.

12 Likes

An idea, in case a second version is coming, instead of relying the magnets for all the holding strength, perhaps you could partially attach the hose mechanically. I’m thinking the flange that’s attached to the window cover could have a hook of some kind on the bottom of if, maybe a ledge with a slot cut out of it, or a series of slots, and the bottom of the flange on the tube could have matching tabs that fit into the slot(s). The hook and tab would take care of holding the tube up and would also serve to loosely clamp the bottom. The top could then have a row of magnets to give the rest of the clamping force. It would resemble the battery cover on most TV remotes.

If you do end up with a line of magnets, arranging them N-S-N-S can increase their strength.

9 Likes

Particularly if you link the back of them with some steel. I made a 3D printed hook to stick to the wall of my steel shed and hang garden tools. I embedded six magnets in ring with alternating poles and a 30mm steel washer to complete the magnetic circuit. It is very difficult to remove. I will use four magnets next time.

It did slide over the shiny painted surface until I printed a thin rubber boot to go over it. It is solid as a rock now despite a small gap between the magnets and the wall comprising of 0.5mm rubber and 0.25mm ABS.

8 Likes

Is this the sort of thing that everyone has in their shed , or do you have a dairy herd ?

John

11 Likes

LOL! Thanks for the advice / warning. You are “taking a lot for the team” in terms of learning curve, and that is much appreciated. :hugging:

9 Likes

If you have a home depot close im pretty sure they have them there.

1 Like

Check Home Depot or Amazon. I get them at both places.

3 Likes

A trick for keeping them correct is to either mark the surfaces with a Sharpie dot or for a foolproof method - have the pair together when you glue them. Put a small piece of wax paper between each one and you won’t have to worry about any epoxy squeeze out getting on them and gluing them together.

15 Likes

Honestly I’m not even totally sure you need a plug at all. If you put another leather gasket on there I would guess that the seal would be sufficient to keep out the cold. Essentially the identical plate that you have for the hose, just without the hole in the center. If the connection is solid enough to keep the vent hose from falling off and to keep air from leaking it should be more than enough to prevent a draft from leaking in.

All that said though, I can’t imagine that the plug could possibly be hurting anything, it just seems like an extra step you might be able to avoid.

I’ll also throw out that if you have a Harbor Freight anywhere in the area they usually have rare earth magnets pretty cheap. They won’t have nearly the same selection for shapes/sizes that you’re likely to find online, but they should have some disks that would work fine for your application.

6 Likes

I’ll second the wax paper/epoxy method for gluing magnets. I had to replace the glass bed on my 3d printer a while back and used that trick for making sure the magnets were oriented properly. It took most of the stress out of the process and made the setup super easy.

6 Likes

From a quick peek at the online catalog, it looks like Lowes only has regular black magnets, and keeps them in “cabinet hardware”. They have welding magnets too, but those are larger. Of course what is in your local store can vary from what is on the web catalog.

Funny though, because Lowes owns Orchard Supply Hardware, and my local OSH carries the Master Magnetics neodymium packs (they keep them next to the suction cups and the double-sided sticky mounting tabs from 3m). They cost something like 7 bucks for a three pack, tho, so i’m sure an online source would be a better value.

Ace Hardware has them too, same product & price.

I just ordered a 50-pack of very small neo mags from a vendor on the walmart website, $6.88 (after California sales tax) and free shipping. They are supposed to arrive by the 9th, I will try to remembe to report back about quality.

3 Likes

Here’s the link to the Home Depot variety. Some aren’t available in the store but a bunch are. The site actually tells you the aisle/bin they’re located in (which isn’t always where you’d expect them to be).
http://www.homedepot.com/s/rare%20earth%20magnet?NCNI-5

Haven’t tried Walmart.com for them before. I’ll have to take a look. These magnets are good for box lids, purse flaps, etc. as well.

2 Likes

I like home depot’s store-location callout, it is a great tool for a huge store like that. The same info is relayed to the devices that the associates have in-store.

Unfortunately, it is far from perfect. If something is moved to a new shelf and not updated correctly in the system, especially if it is the last of an item, it is essentially gone. The associates will not be able to find it, but the automated ordering system will not have called out for a re-stock, as it will think there is still a unit left on-shelf.

edit
this worked out for me when I had ordered a shop-vac that they could not find when I came to pick it up. They gave me the next size up, an eighty-dollar difference, for the same price.

4 Likes

My question is how did you do the outside part? I was wondering about if putting an 90 angle elbow up with two foot peice then a rain cap like this if that will help block any of the cold out…

4 Likes

Great writeup! I love seeing your thinking unfold into the results. We’ll have to have a similar solution, so thanks for doing so much of the work for us!

1 Like